
This page may contain affiliate links. As an Amazon Associate I earn from qualifying purchases. Please see my Privacy Policy for more details. Advertisements displayed do not reflect endorsements or recommendations made by Veggie Inspired.




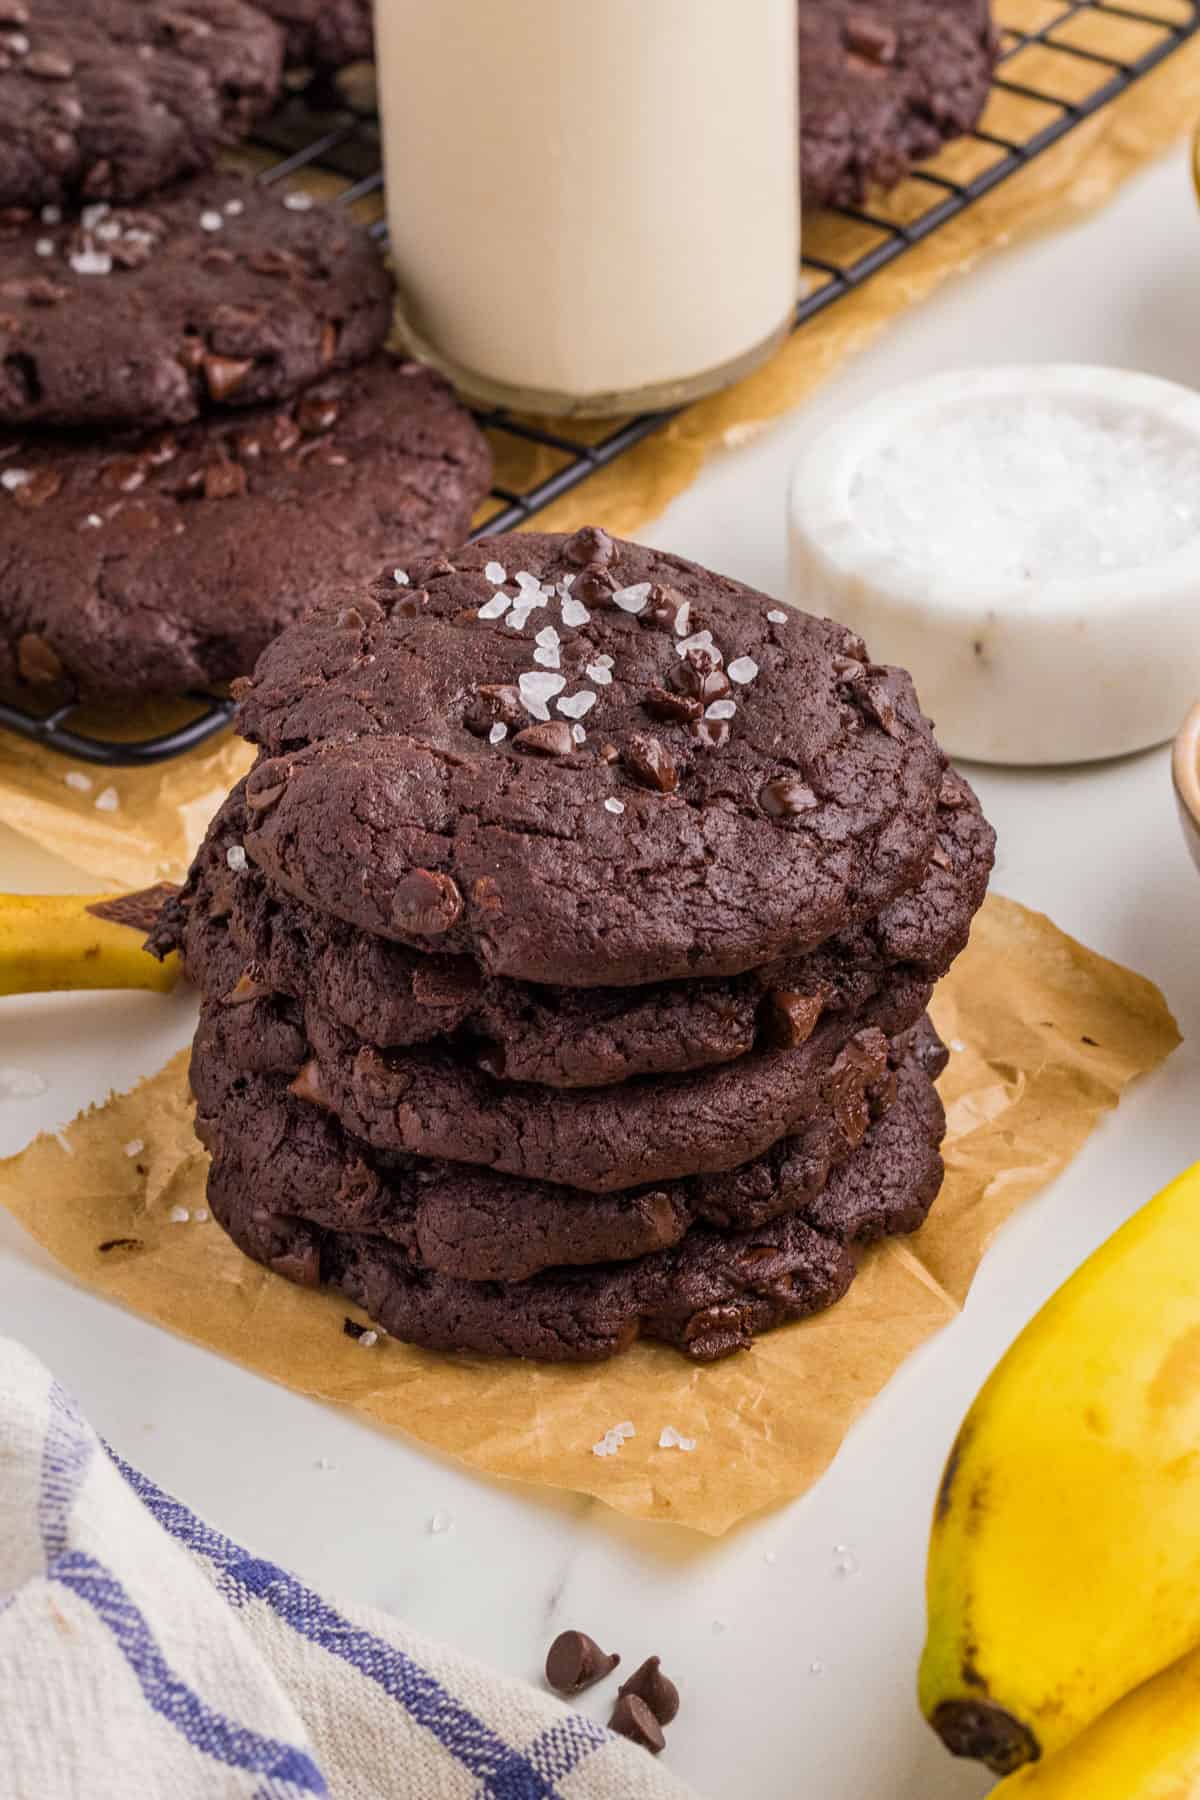
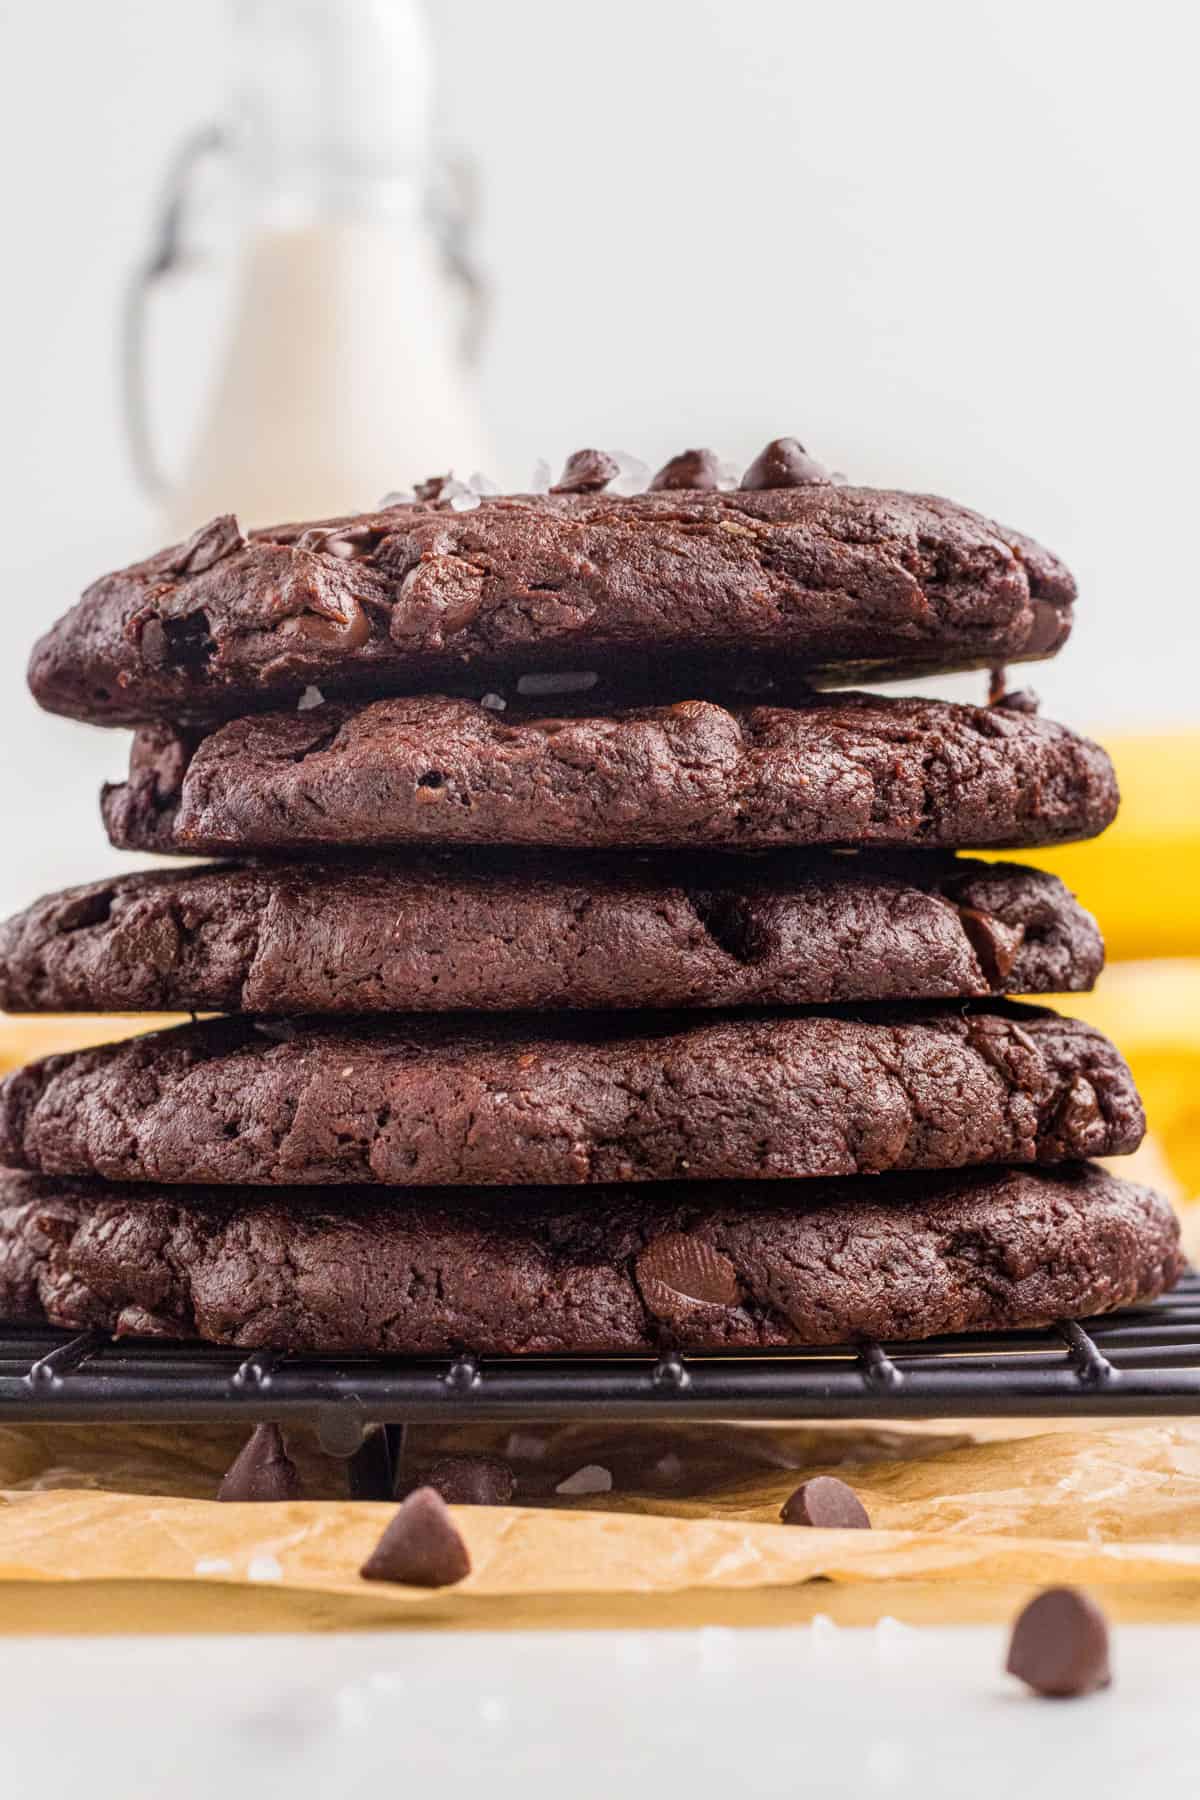
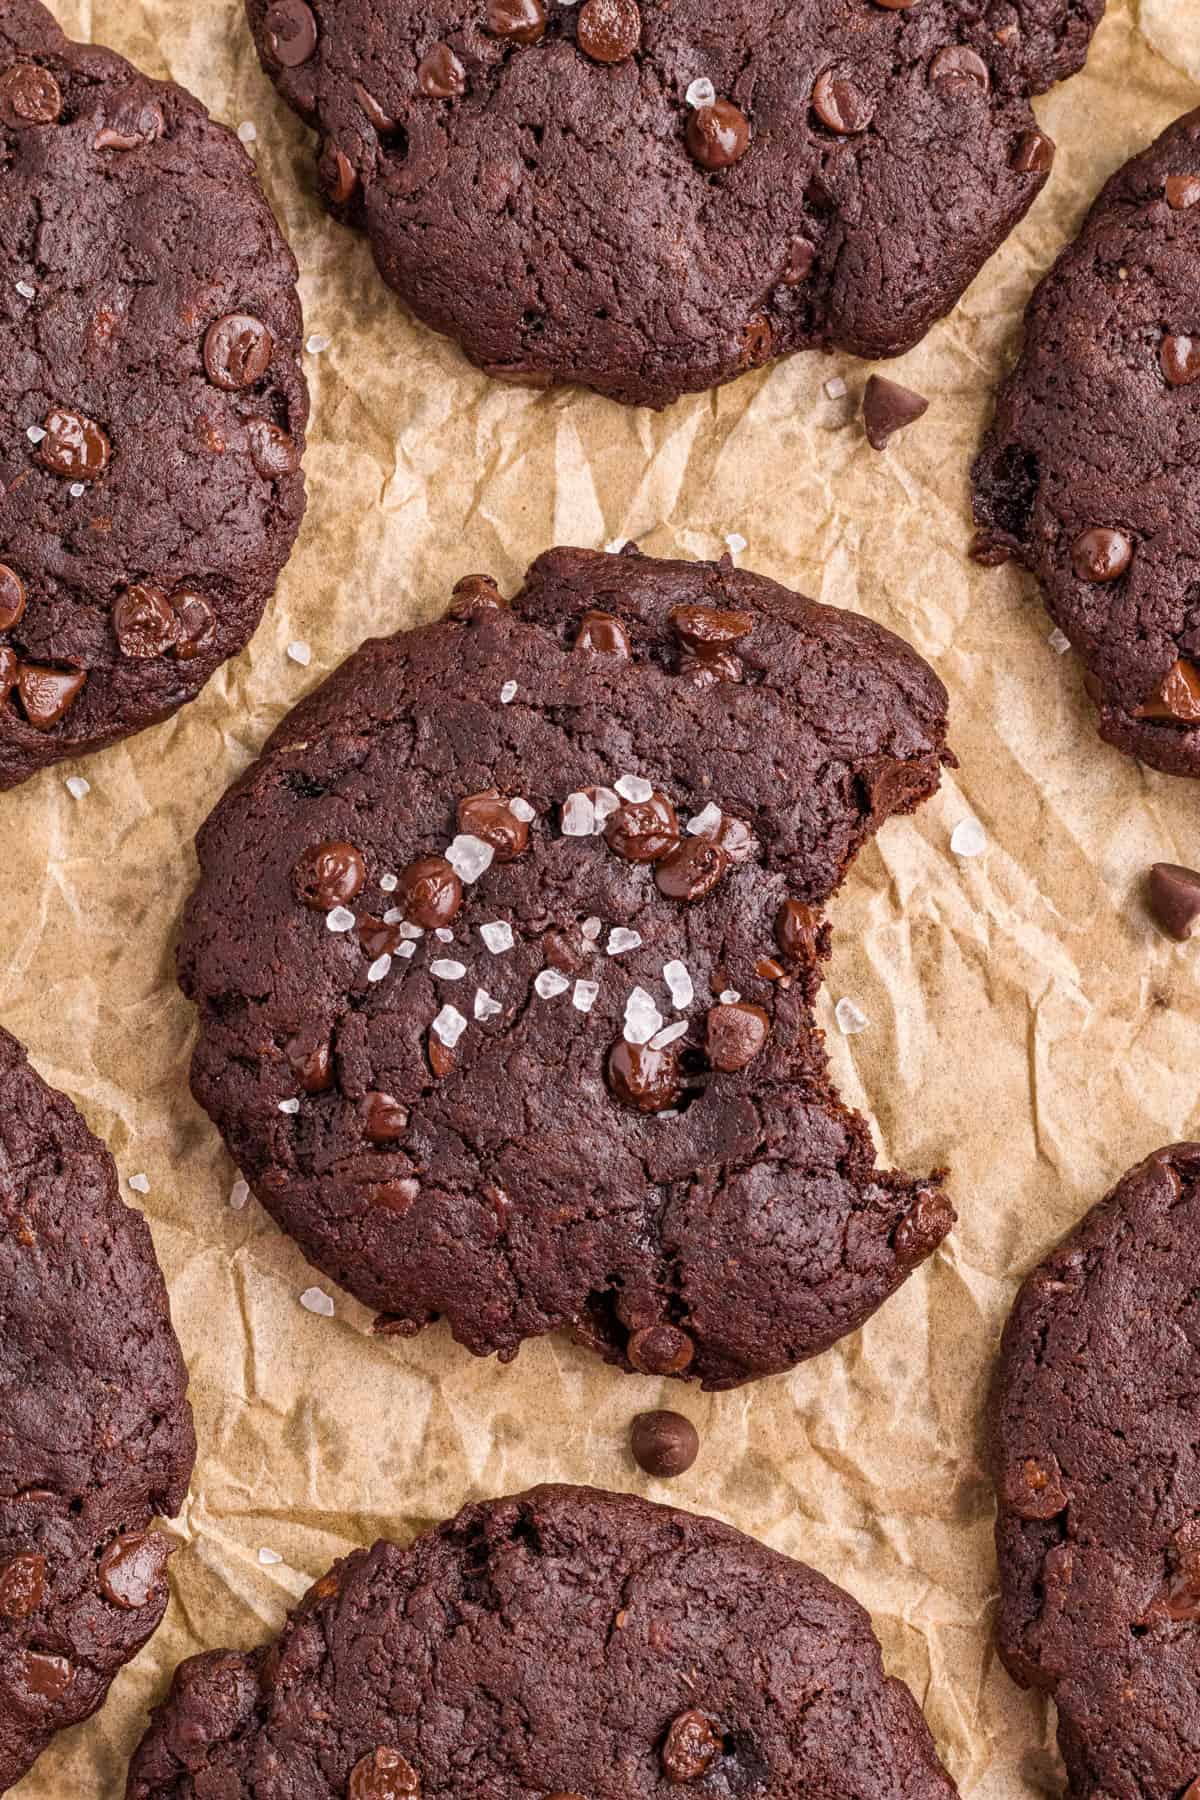
These Fudgy Banana Cocoa Cookies are what I reach for when I want the decadence of a brownie without the heaviness of chocolate cake. They’re rich, deeply chocolatey, and just fudgy enough — with a slightly set edge and a soft, chewy center that the chocolate chips make even better.
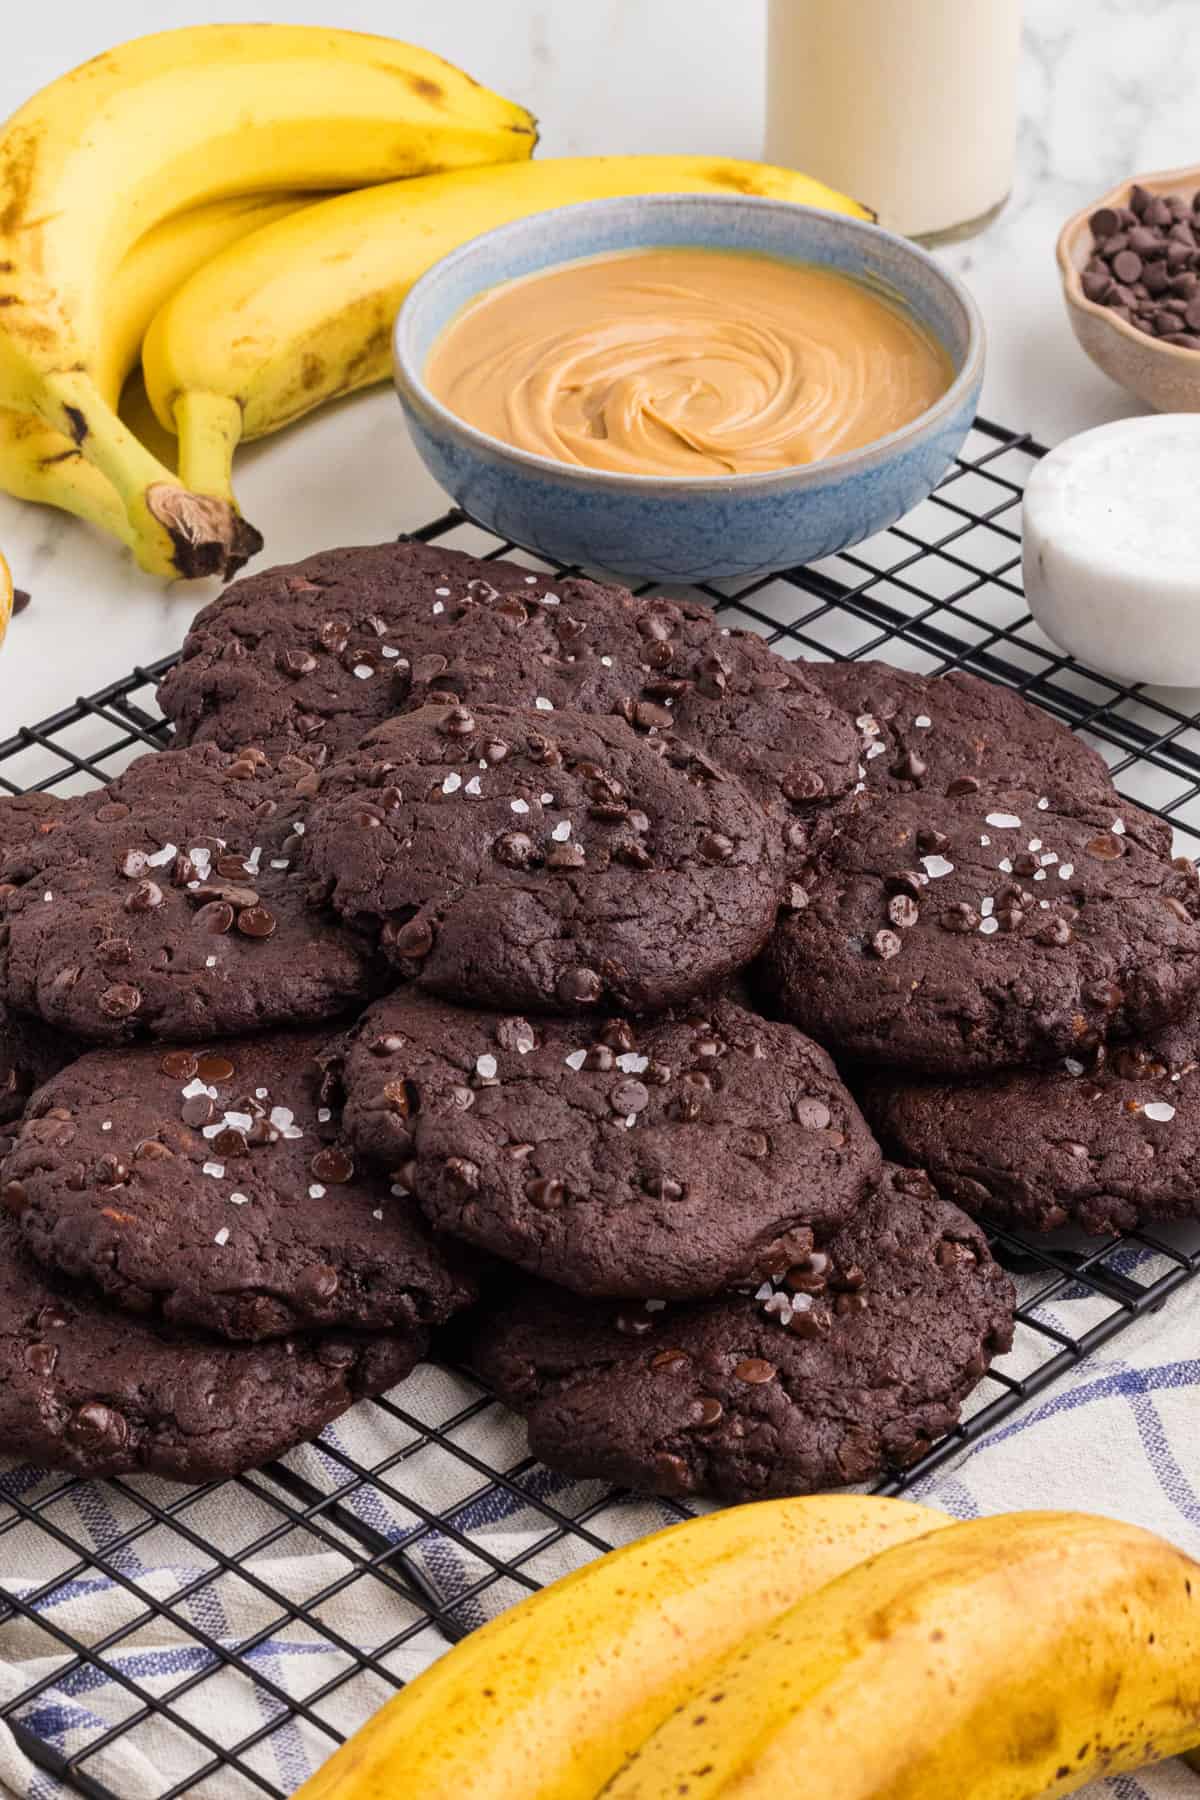
The flavor combination is a classic for a reason. Ripe banana, peanut butter, and cocoa powder come together into a dough that smells incredible before it even hits the oven. And the best part? They’re ready in about 30 minutes — 10 of which is just the dough chilling in the fridge.
Save this Post!
These cookies are also completely vegan without trying to be. The banana does all the binding work naturally, which means no flax eggs, no aquafaba, no complicated substitutions. Just straightforward, pantry-staple ingredients that most people already have on hand. All you need to check is that your chocolate chips are vegan-friendly — and you’re good to go.
One of my testers said it best: “The banana did not overpower the chocolatey side at all — it was present but not intrusive. It wasn’t too sweet at all.” Another went back for two cookies in a row across both testing rounds, and she told me she’s not even a big chocolate fan. That’s the magic of this recipe — the banana and peanut butter make the double-chocolate profile surprisingly approachable, even for people who usually find rich chocolate desserts too much.
Eat them warm, straight off the baking sheet with the chocolate chips still melted. Or let them cool completely and store them for up to four days — if they last that long.
Ingredients you need
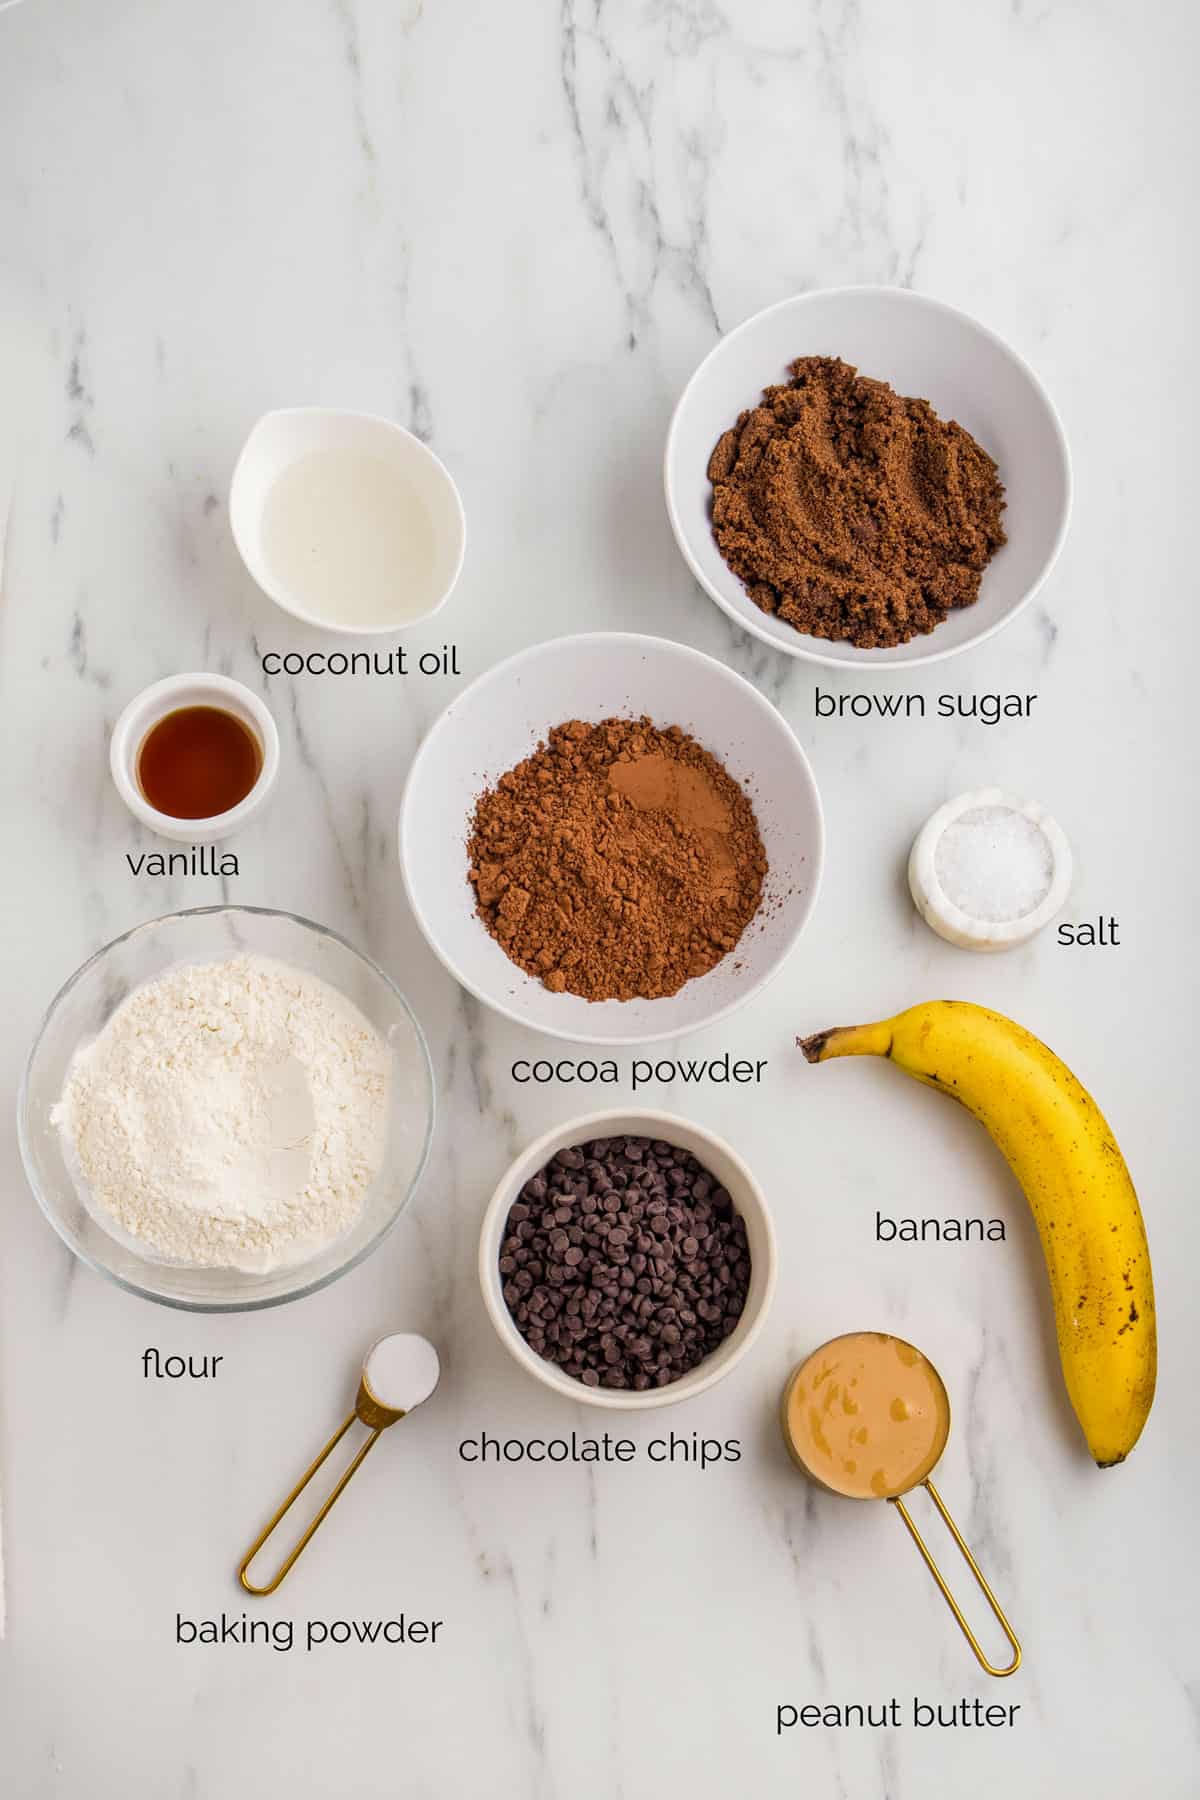
Ingredient notes and substitutions
- Ripe banana — The banana is doing a lot of work here: binding, moistening, and sweetening all at once. How ripe you go is up to you. A very spotty, almost-black banana will give you a stronger banana flavor and a sweeter cookie. I personally prefer a 3-day-old banana with smaller brown spots — it provides the right amount of moisture and a balanced flavor that lets the chocolate and peanut butter shine without the banana becoming the star.
- Natural peanut butter — You need 100% natural peanut butter made from just peanuts because the natural oils provide the right amount of fat and hydration for the dough. Make sure to stir it very well before measuring, incorporating both the oil on top and the thicker paste below. Note: If you can’t find an unsalted variety, reduce the amount of additional salt added to the recipe to just ¼ teaspoon.
- Dark brown or Muscovado sugar — Either works, but Muscovado sugar (an unrefined cane sugar with a deep molasses flavor) adds a subtle caramel richness that pairs beautifully with the cocoa. Don’t be tempted to reduce the sugar significantly — it plays an important role in managing the moisture level of these cookies and keeping them from turning out with a brownie-like texture. Light brown sugar may be substituted at a 1:1 ratio.
- Melted coconut oil — I use refined coconut oil here. It provides the fat the cookies need without introducing a strong coconut flavor, so the banana, chocolate, and peanut butter stay front and center.
- Vanilla extract — Standard pure vanilla extract works perfectly. If you have vanilla bean paste on hand, use it in a 1:1 swap — you’ll get a deeper, more complex vanilla flavor, which is especially nice if you’re using Dutch-processed cocoa powder.
- Unsweetened cocoa powder — I developed this recipe with natural unsweetened cocoa powder, which gives you a classic chocolate flavor and a little more flexibility with baking time. Dutch-processed cocoa also works and gives a richer, deeper chocolate taste — just keep a close eye on the cookies, as the darker color makes it harder to judge doneness and Dutch-processed cocoa can burn more easily.
- All-purpose flour — Standard all-purpose flour. No substitutions tested. For a gluten-free option, try my Almond Flour Chocolate Cookies.
- Baking soda — Important for lift and spread.
- Salt — Don’t skip it. One of my testers specifically called out the salt as a highlight: “The salt was amazing in contrast to the chocolate chips.” It balances the sweetness and deepens the chocolate flavor significantly.
- Chocolate chips — I use semi-sweet chocolate chips for a decadent contrast to the cocoa powder. You can also use dark chocolate chips, white chocolate chips, caramel chips, or even peanut butter chips depending on your mood. Just make sure they’re vegan-friendly if needed — Enjoy Life is a widely available dairy-free option.
How to make the recipe
Please scroll down to the recipe card for exact ingredient measurements and instructions.
This recipe comes together in one large mixing bowl and one smaller one — and the process is simple enough that you can have the dough ready in under 15 minutes.
Preheat your oven to 350°F and line a baking sheet with parchment paper or lightly grease it with non-stick spray.
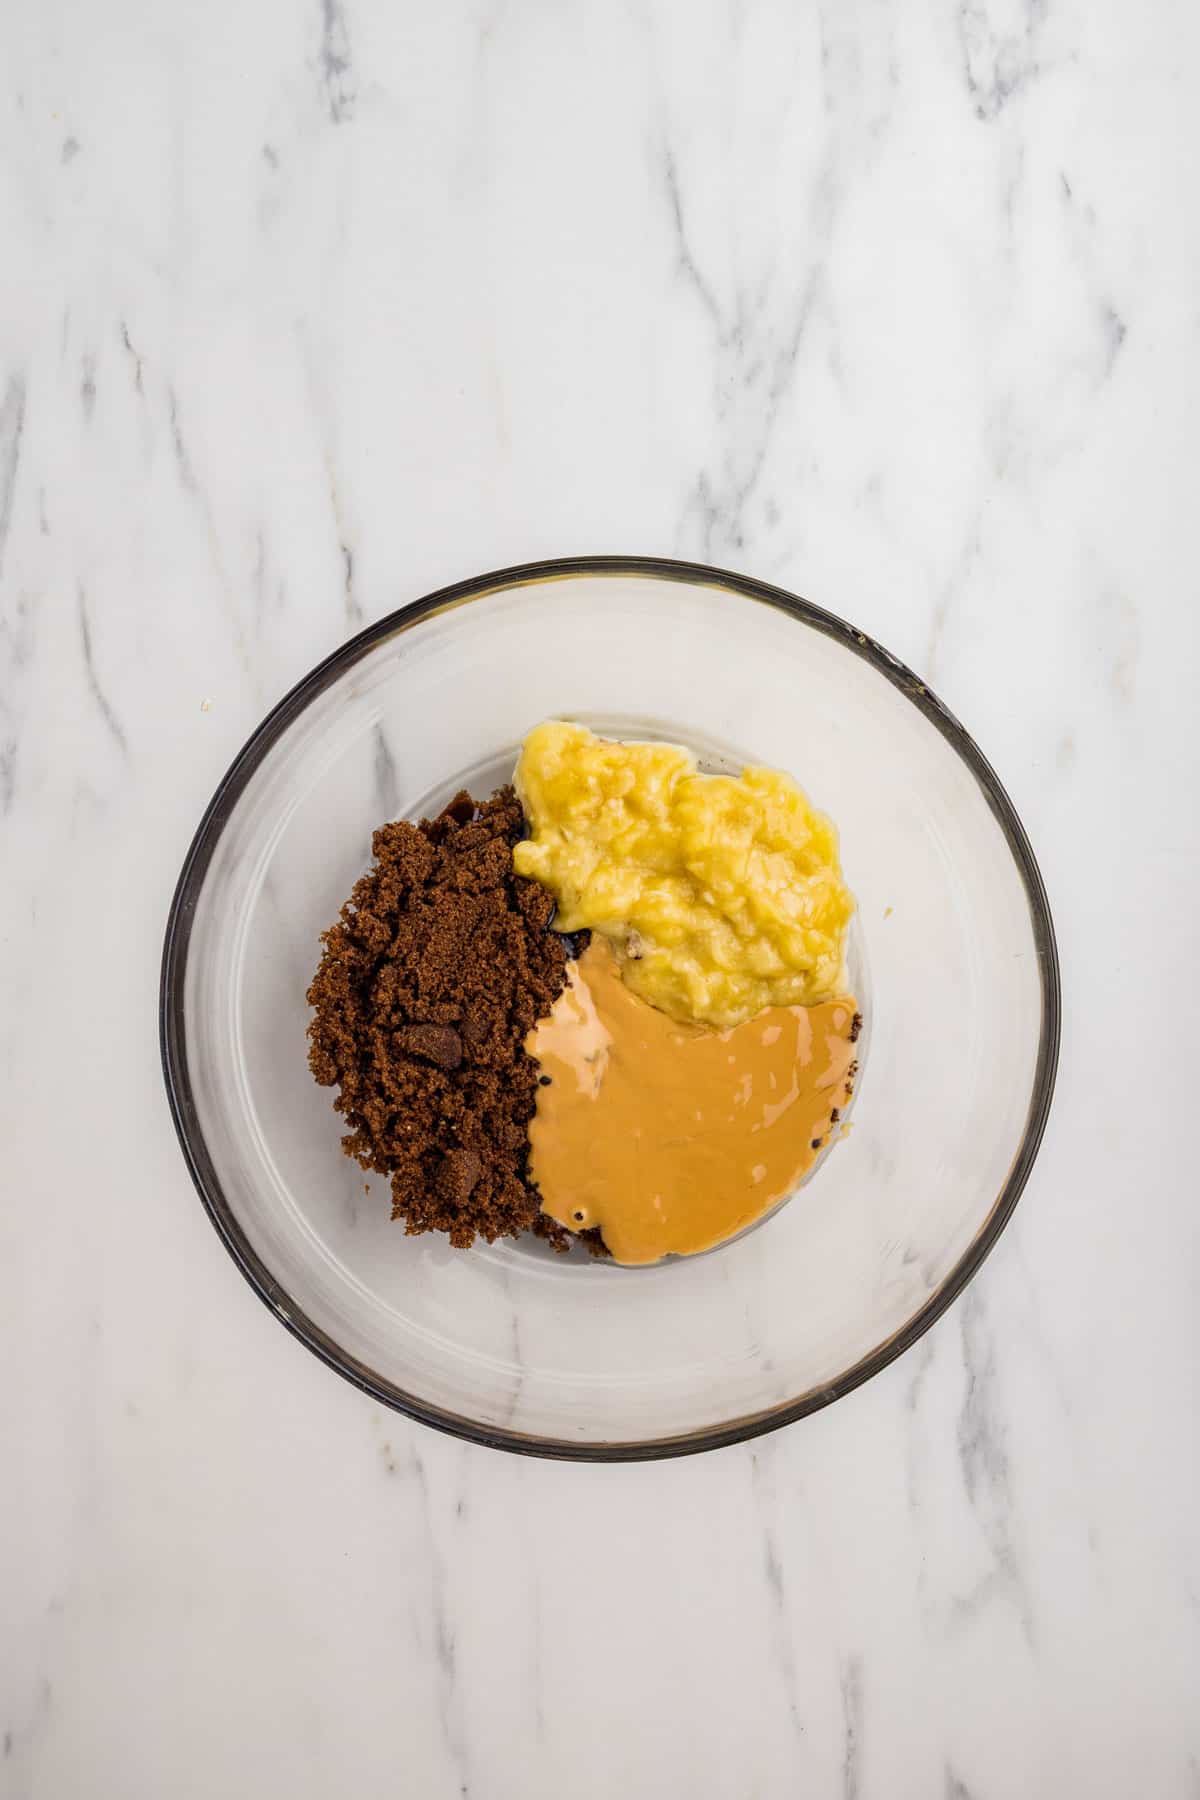
- Step 1: In a large mixing bowl, add the mashed banana, peanut butter, melted coconut oil, brown sugar, and vanilla extract.
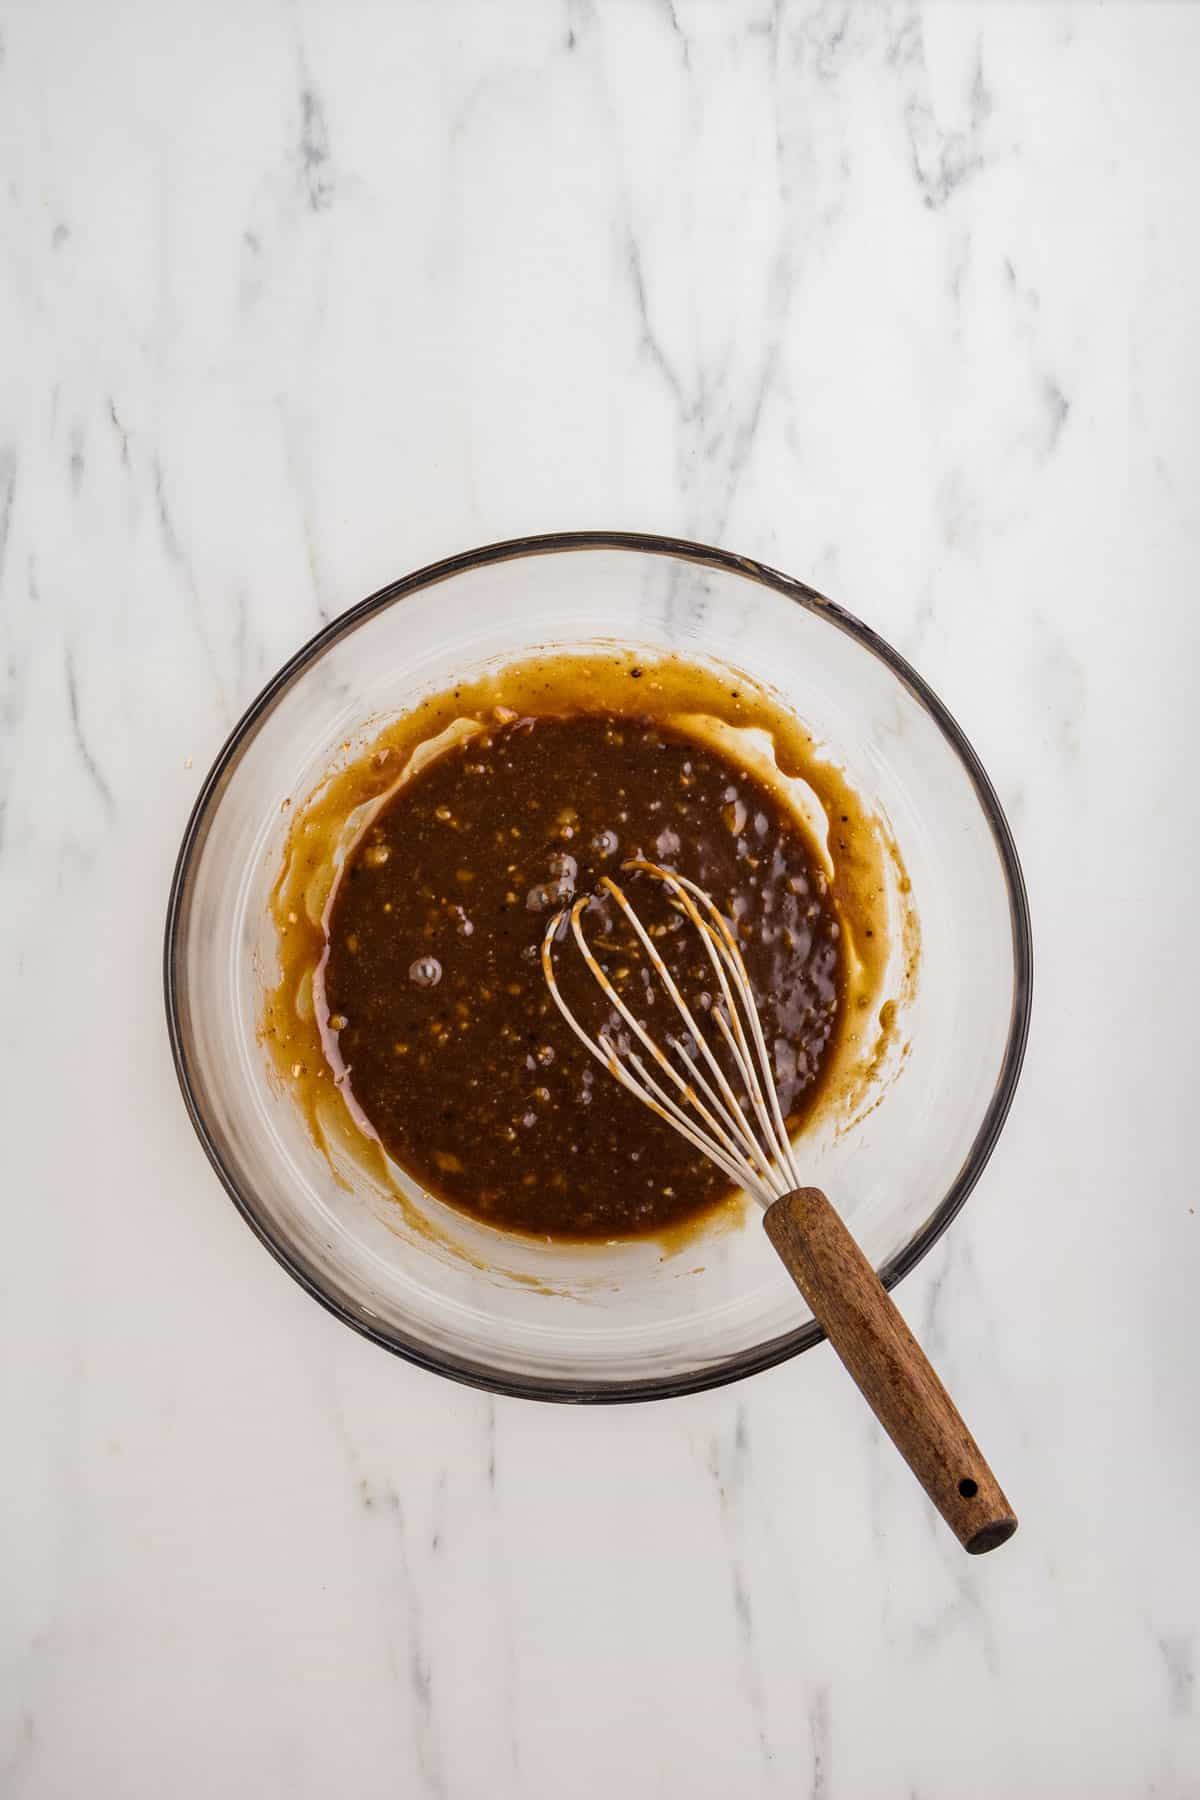
- Step 2: Whisk until well combined.
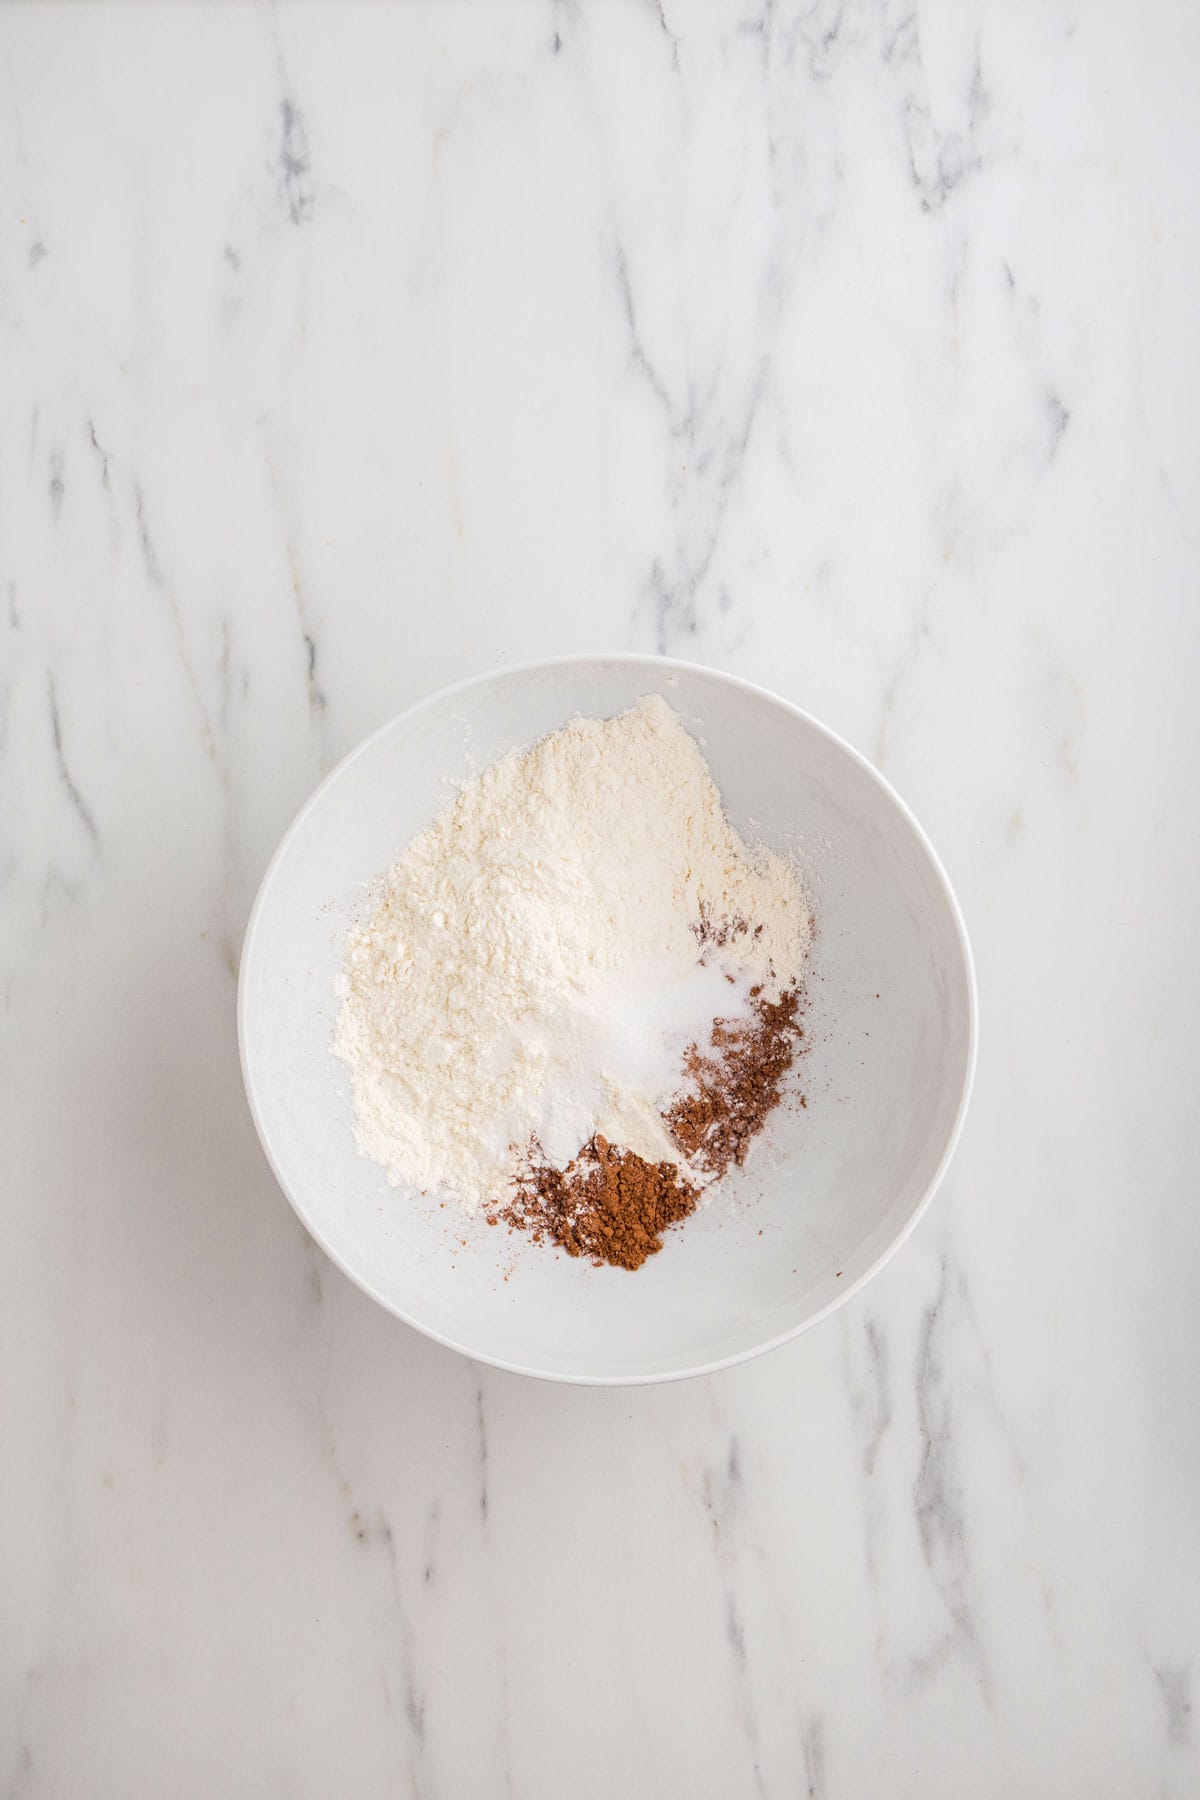
- Step 3: In a separate bowl, whisk together the cocoa powder, all-purpose flour, baking soda, and salt.
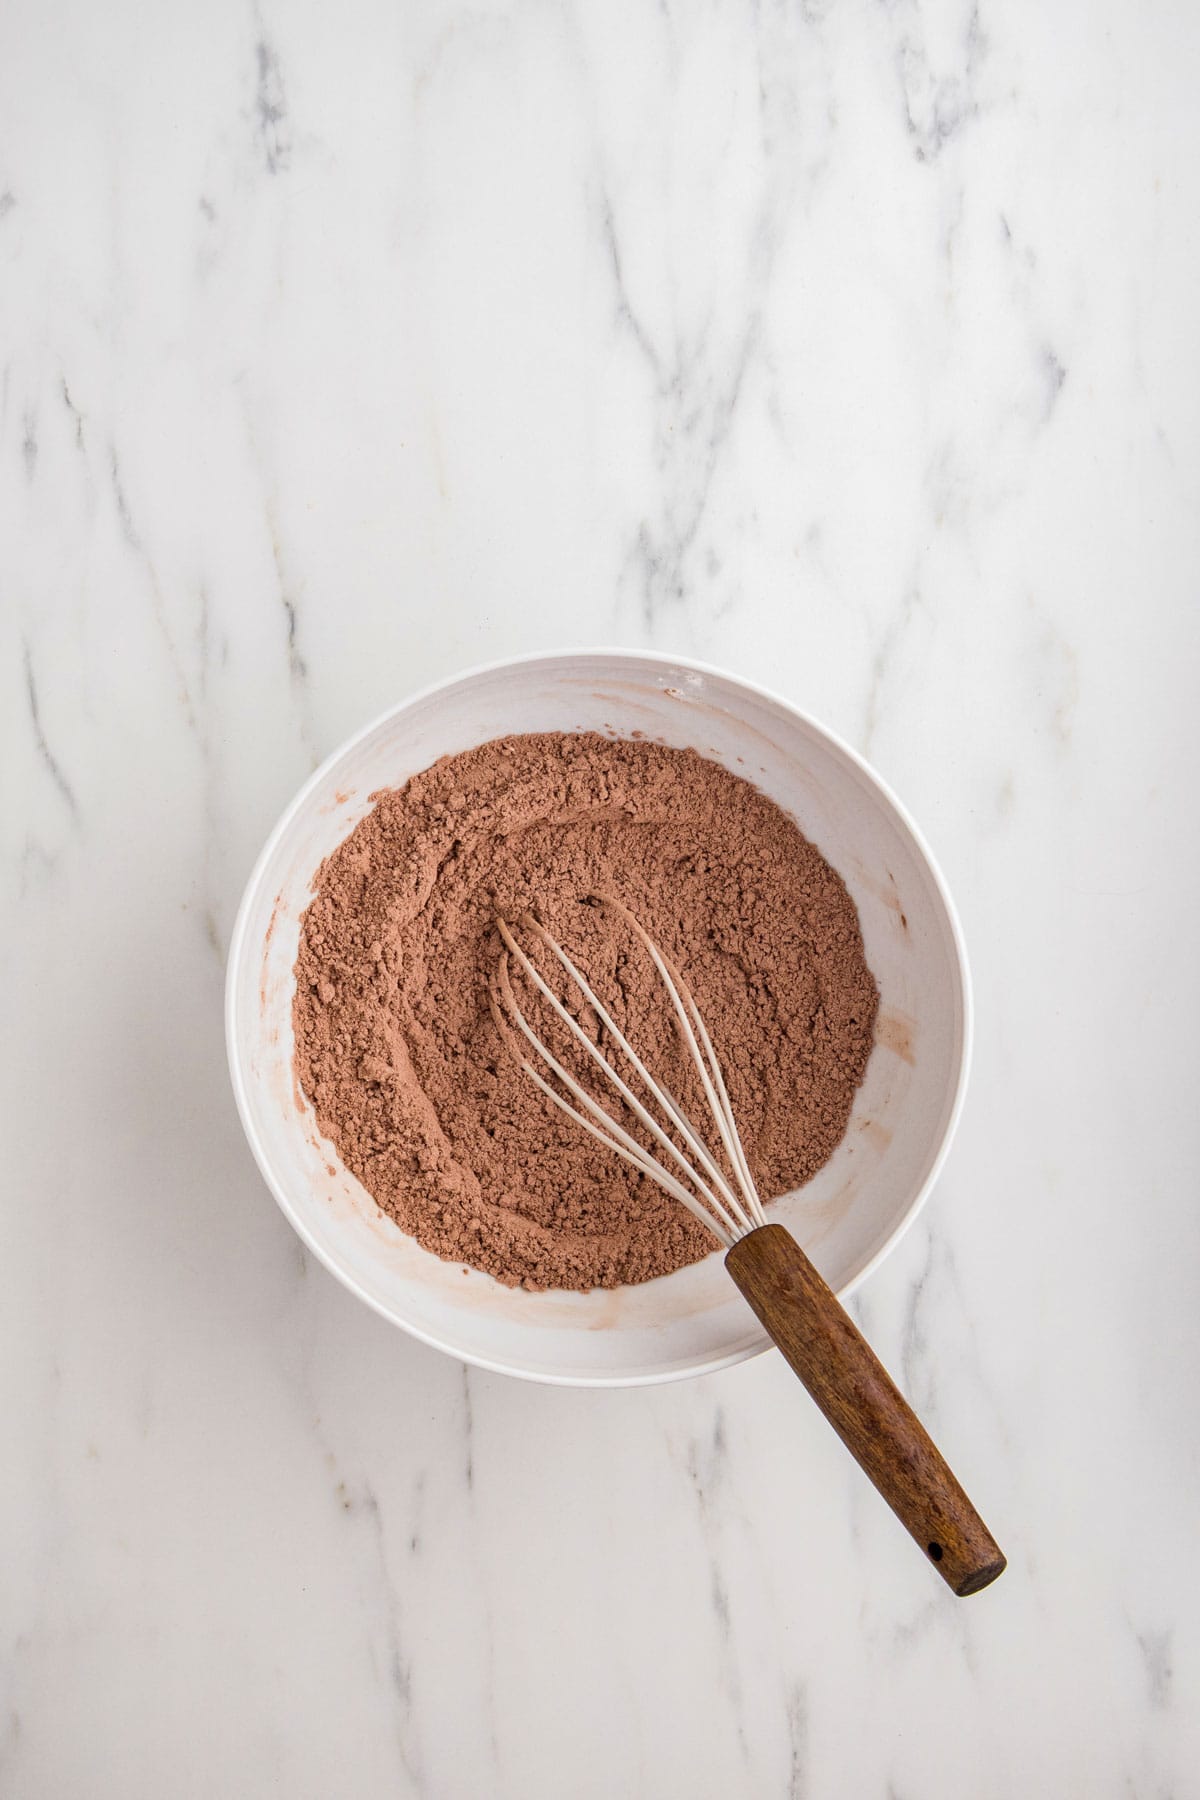
- Step 4: Whisk together until well combined.
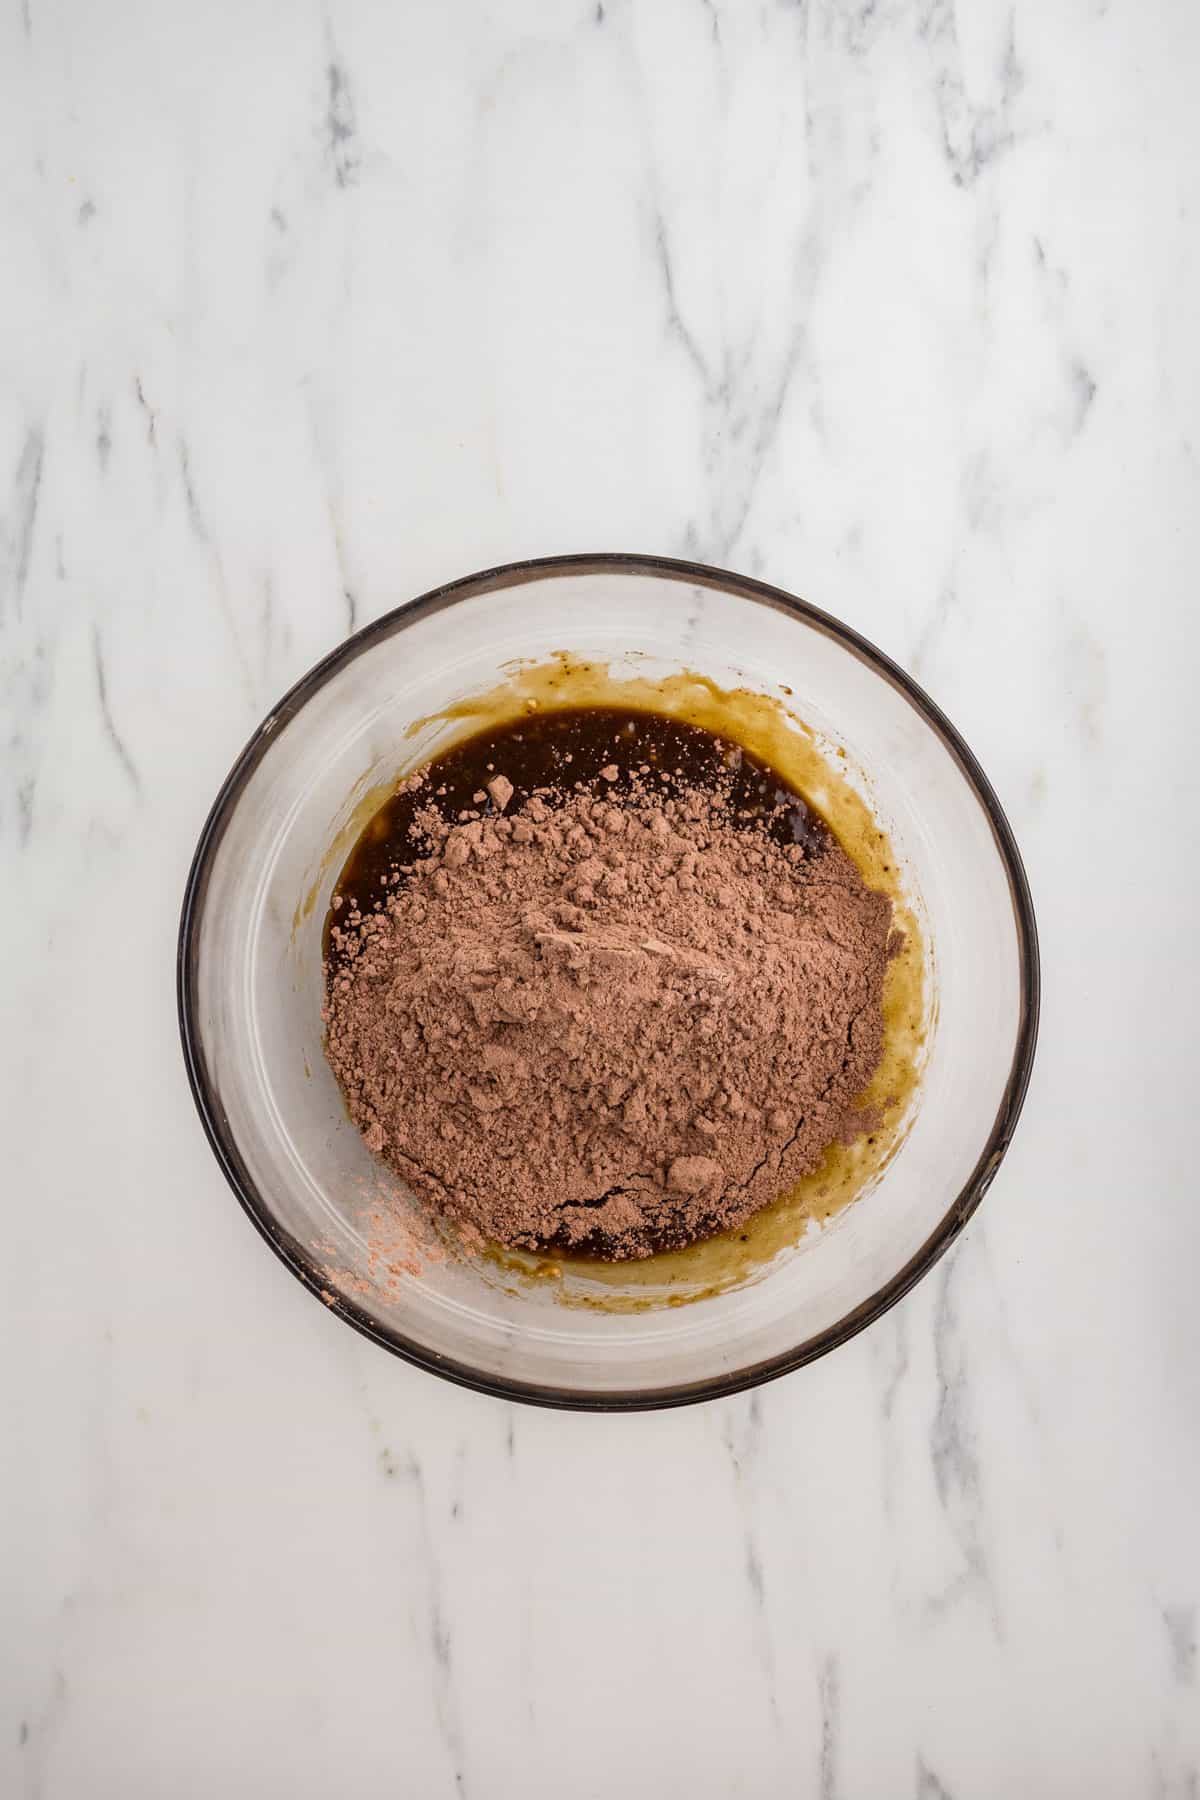
- Step 5: Add the dry ingredients to the wet ingredients.
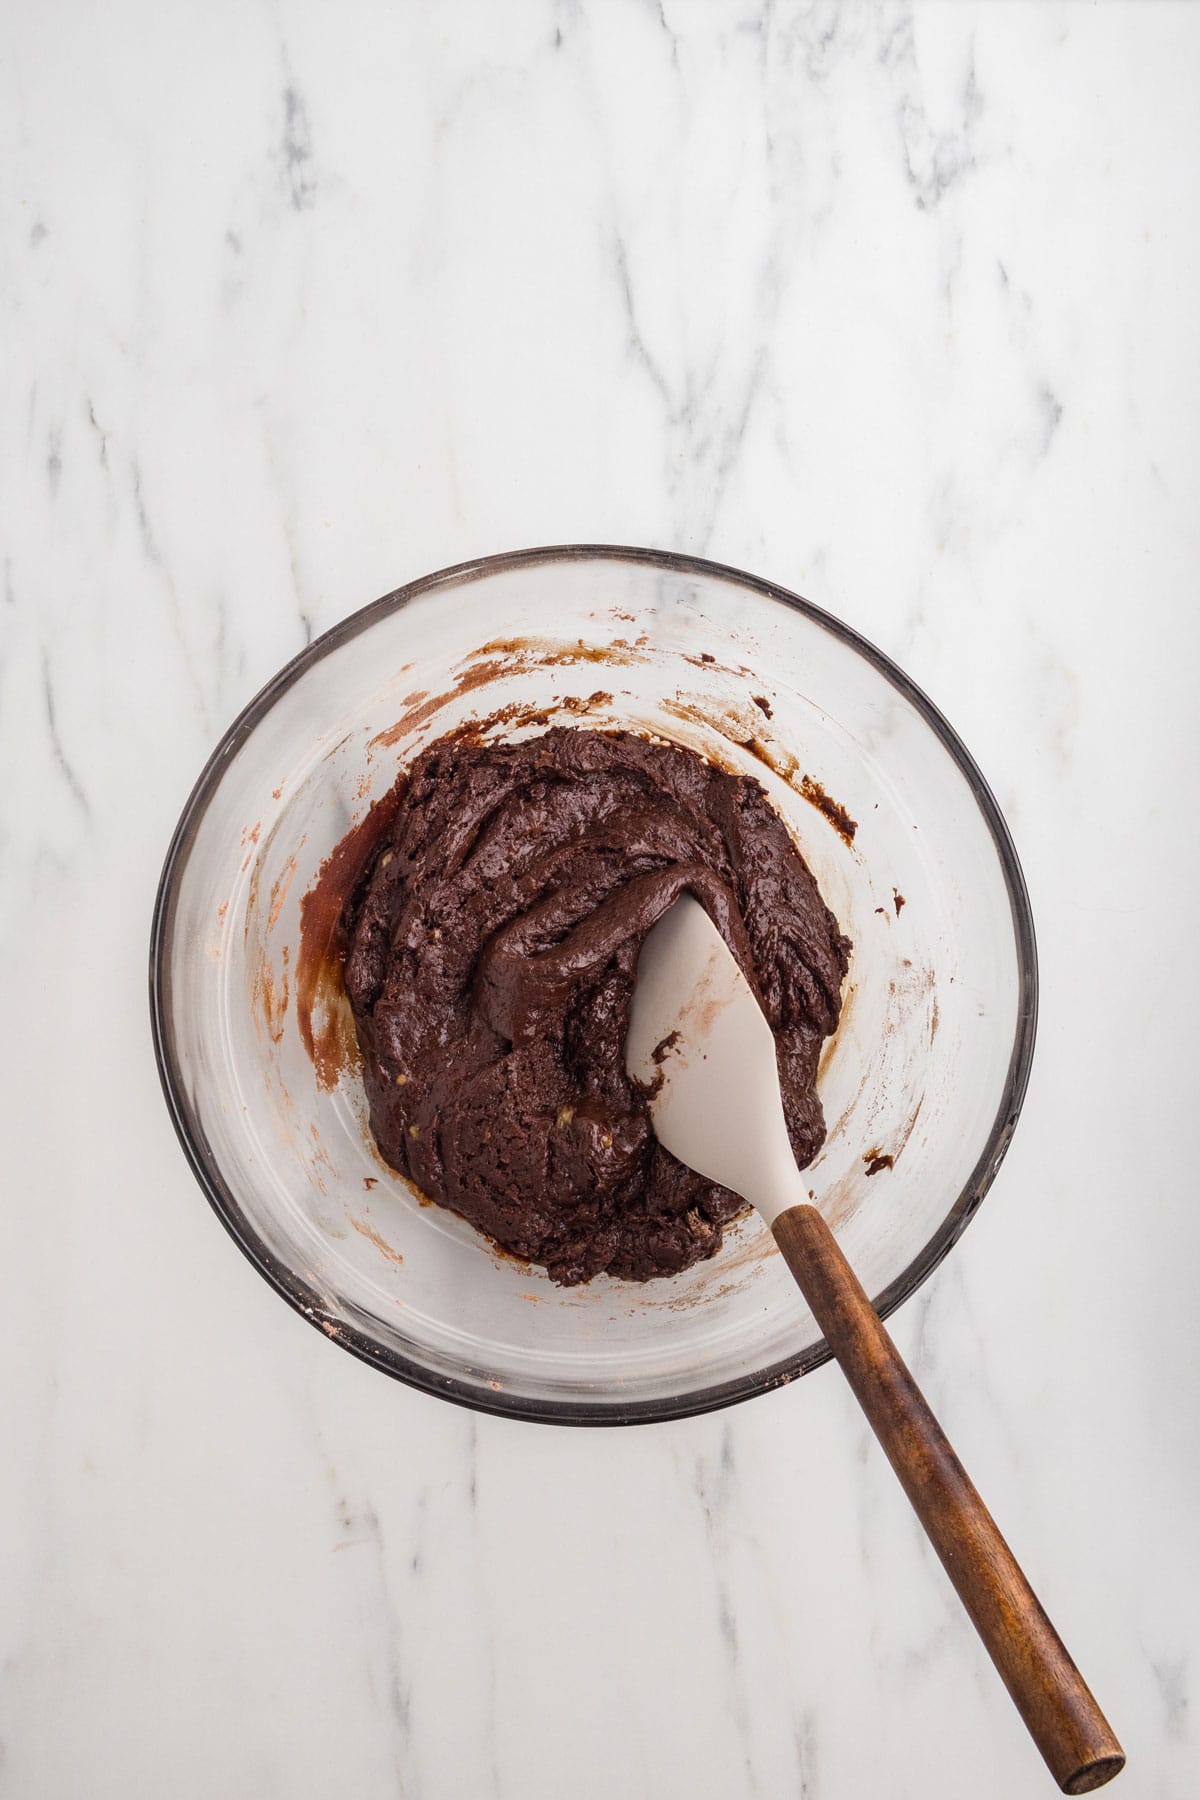
- Step 6: Mix with a spatula until the dough is uniform and you no longer see any dry streaks or visible white flour.
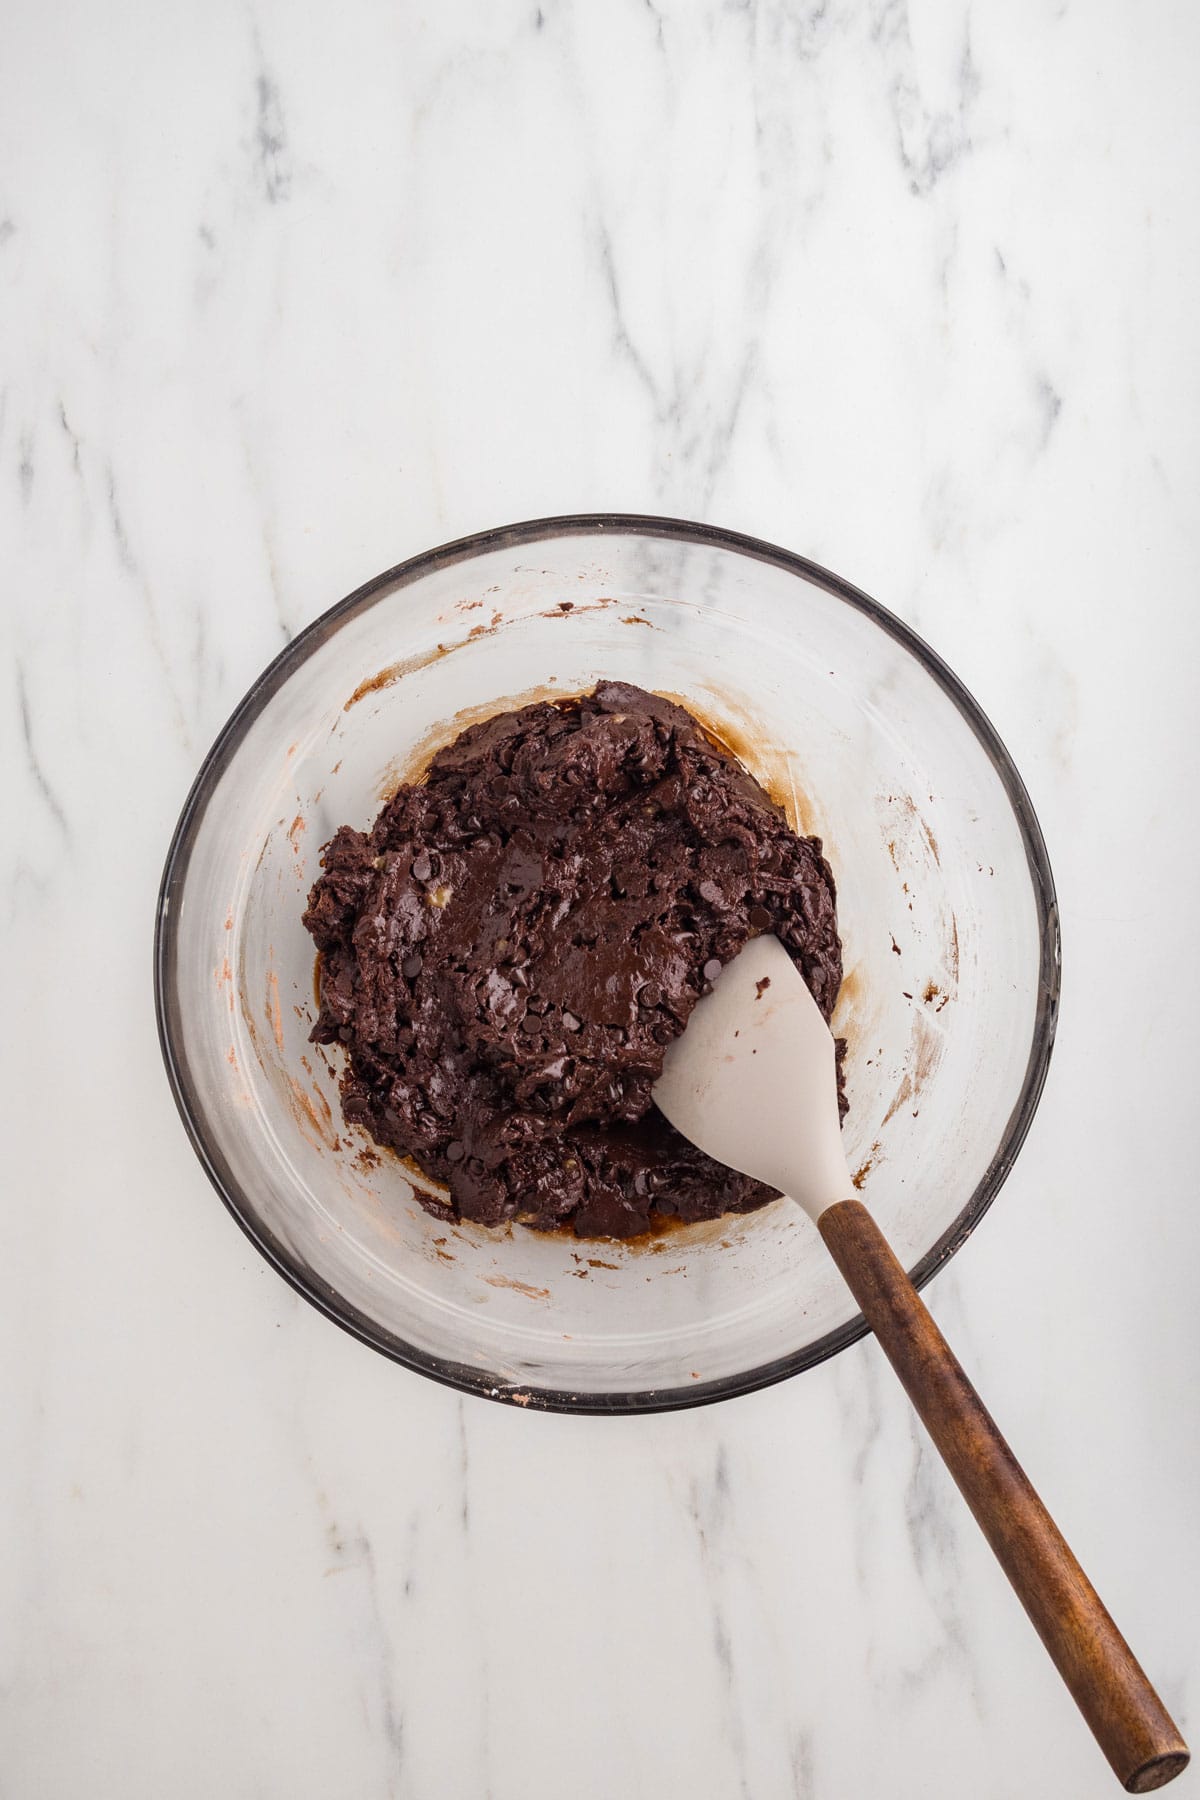
- Step 7: Mix in the chocolate chips until evenly distributed.
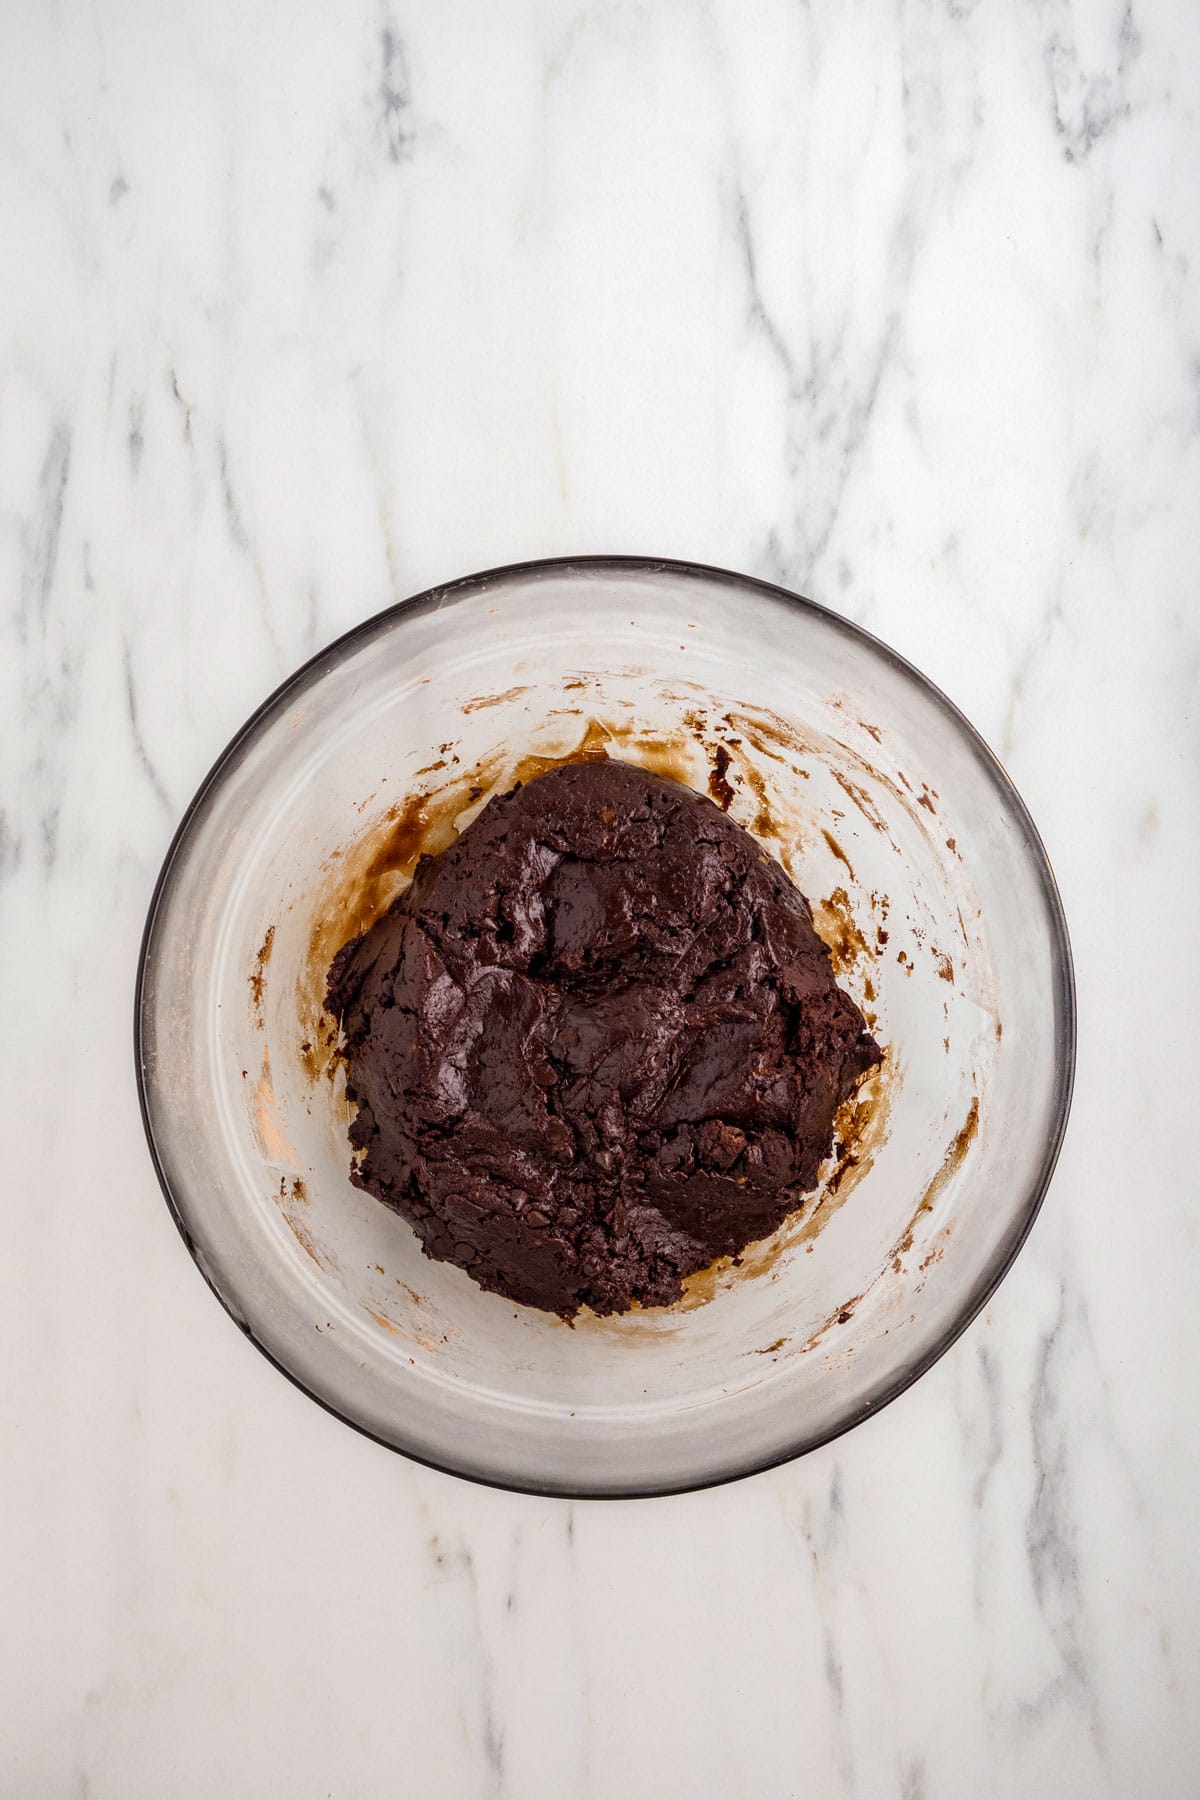
- Step 8: Cover the bowl with plastic wrap and refrigerate for 10 minutes.
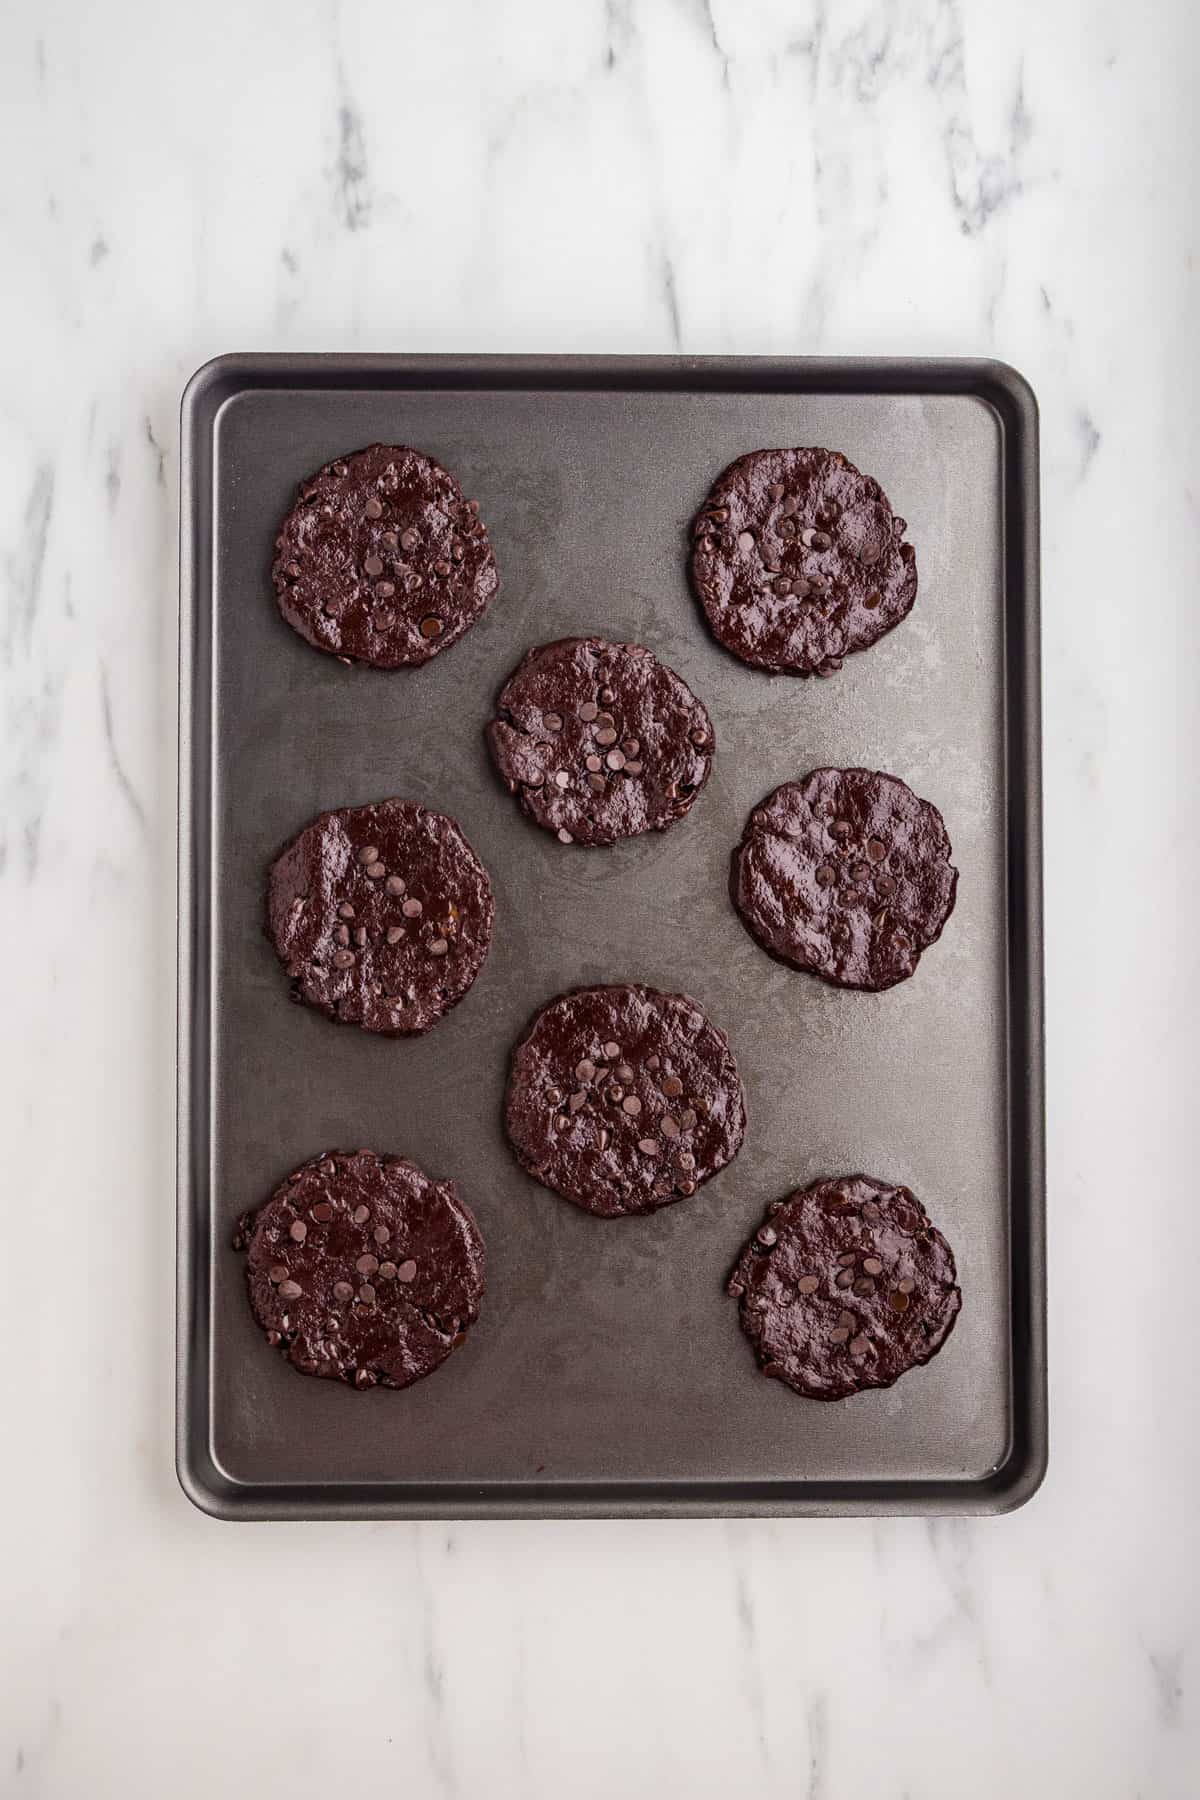
- Step 9: Use a cookie scoop or spoon to portion the chilled dough into 14 equal balls. Place them on the prepared baking sheet and press down gently with your palm to your desired thickness.
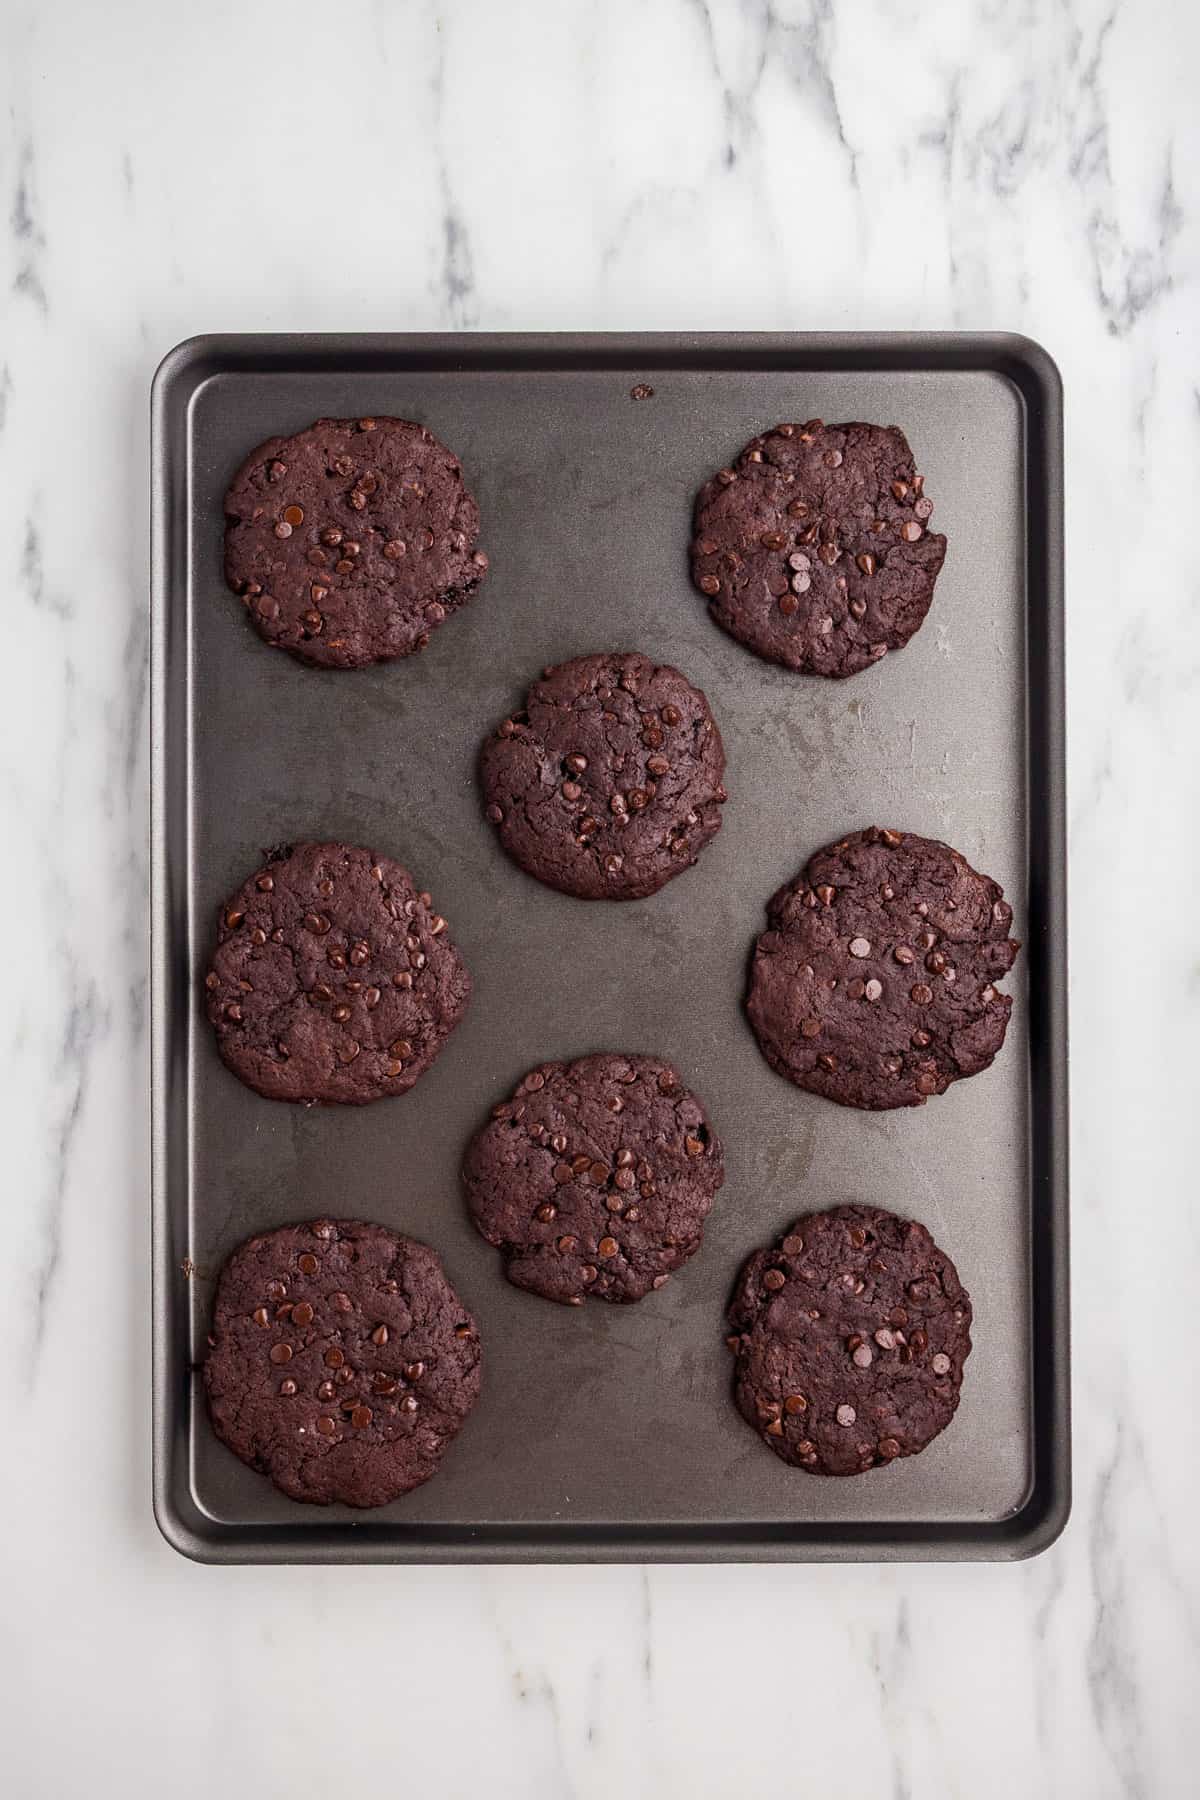
- Step 10: Bake until the edges feel set and the tops look matte rather than shiny.
Storage and freezing
Room temperature: Store in an airtight container for up to 4 days. If your kitchen is particularly humid, place a sheet of paper towel at the bottom of the container to help absorb excess moisture and preserve texture. Because these cookies are banana-based, they have a naturally high moisture content — they will soften slightly the longer they sit, which many people consider a pro, not a con.
Fridge: These cookies store well in the fridge. Let them sit at room temperature for about 10 minutes before eating for the best texture.
Freezer (baked): Let cookies cool completely. Layer in a freezer-safe airtight container with small squares of parchment paper between layers. Freeze up to 3 months.
Freezer (dough): Follow the recipe through Step 4 — no chilling needed. Portion into 14 balls, flatten, and freeze in an airtight container with parchment between layers, or flash freeze on a baking sheet for 2 hours first. Freeze up to 3 months. Bake from frozen at 350°F, adding 2–3 minutes to the bake time.
Pro tips and tricks
- Choose your banana intentionally. A very ripe, heavily spotted banana gives you sweeter cookies with a stronger banana flavor. A less-ripe banana (3–4 days old, with small brown spots) gives you a more balanced flavor where the chocolate and peanut butter take center stage. Both work — it just depends on what you’re going for.
- Stir your peanut butter thoroughly. Natural peanut butter separates in the jar — if you scoop from the top, you get mostly oil; from the bottom, mostly paste. Stir the whole jar until fully combined before measuring.
- Don’t skip flattening. These cookies won’t spread on their own in the oven, so whatever shape you press them into before baking is what you’ll get. Use your palm or the bottom of a glass to flatten them evenly.
- The matte top test. The dark cocoa powder makes it tricky to gauge doneness visually — instead of looking for browning, look for the tops to lose their shiny, wet appearance and look matte. That’s your signal that they’re done.
- For crispier cookies. After the initial 10–12 minutes, lower the oven temperature to 325°F and bake for an additional 3–4 minutes. Keep a close eye — the dark color of the cocoa makes overbaking easy to miss.
- Want extra fudgy cookies? Freeze the dough balls and bake from frozen, adding 2–3 minutes to the bake time. The result is an exceptionally fudgy, dense cookie that’s even more brownie-like than the standard version.
FAQs
Technically yes, but I don’t recommend it. The dough is quite sticky without the chill and can be tricky to shape. If you need to skip it, wet your hands slightly before rolling to help. The end result is still good — it’s mainly a handling issue rather than a flavor one.
You can swap dark brown sugar for light brown sugar, coconut sugar or regular granulated sugar in a 1:1 ratio. I don’t recommend removing the sugar entirely — it plays an important role in managing moisture and texture. These cookies would turn out more brownie-like without it.
Look for the tops to turn from shiny to matte — that’s your best visual cue with dark cocoa cookies. The edges should feel set when you gently touch them. The centers will still feel very soft, but don’t worry — they firm up significantly as they cool on the baking sheet.

I hope you love this recipe as much as we do! If you tried it, please use the star rating system in the recipe card and leave a comment with your feedback. ⭐️⭐️⭐️⭐️⭐️
For even more easy family recipes, be sure to check out my cookbook, The Meatless Monday Family Cookbook!
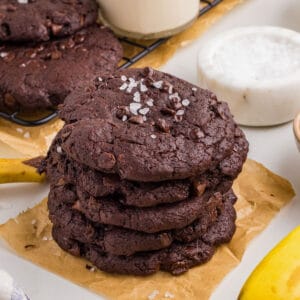
Fudgy Banana Cocoa Cookies with Peanut Butter & Chocolate
Recommended Equipment
Ingredients
- 1 large ripe banana mashed
- ⅓ cup unsalted natural peanut butter
- ¾ cup dark brown or Muscovado sugar
- ¼ cup melted coconut oil
- 1 ½ teaspoons pure vanilla extract
- ½ teaspoon salt
- ½ cup unsweetened cocoa powder
- ¾ cup all-purpose flour
- 1 teaspoon baking soda
- ¾ cup vegan chocolate chips
Instructions
- Start by preheating the oven to 350°F and lightly covering a baking sheet with non-stick spray or parchment paper.
- In a large mixing bowl, whisk together the mashed banana, natural peanut butter, vanilla extract, coconut oil, and brown sugar until well combined. It’s okay if the banana still has some clumps. Set that aside.
- In a separate mixing bowl, whisk together your dry ingredients. Combine the salt, cocoa powder, all-purpose flour, and baking soda.
- Add the dry ingredients to the wet ingredients, mixing with a spatula until your dough is uniform, and no visible white flour remains. It will take a minute for the flour and cocoa to start absorbing liquids, but you should end up with a shiny, soft dough. Then, add in the chocolate chips and mix until they’re uniformly incorporated. (I like to leave a few chocolate chips aside to add them to the very top of the cookies, but this is optional.)
- Cover the dough with plastic wrap and let it rest in the refrigerator for 10 minutes. This will help make it less sticky and give the cocoa and flour time to absorb more of the liquids.
- Once the dough has cooled in the fridge, use a spoon to separate it into 14 equal-sized balls (about 1 ½ tablespoons each). Place them on the baking sheet, press down with your clean hands until the desired width, and bake in the oven for 10-12 minutes. You’ll know the cookies are ready when the edges feel set, and the tops look matte. Note that the cookies will still feel very soft, but they will firm up as they cool on the baking sheet.
- Remove the cookies from the oven and let them rest on the baking tray for 2 to 3 minutes. Then, transfer them to a cooling rack to cool completely.
Notes
Nutrition
Nutrition values are calculated using online calculators and are estimates only. Please verify using your own data.
Comments
No Comments