This page may contain affiliate links. As an Amazon Associate I earn from qualifying purchases. Please see my Privacy Policy for more details. Advertisements displayed do not reflect endorsements or recommendations made by Veggie Inspired.
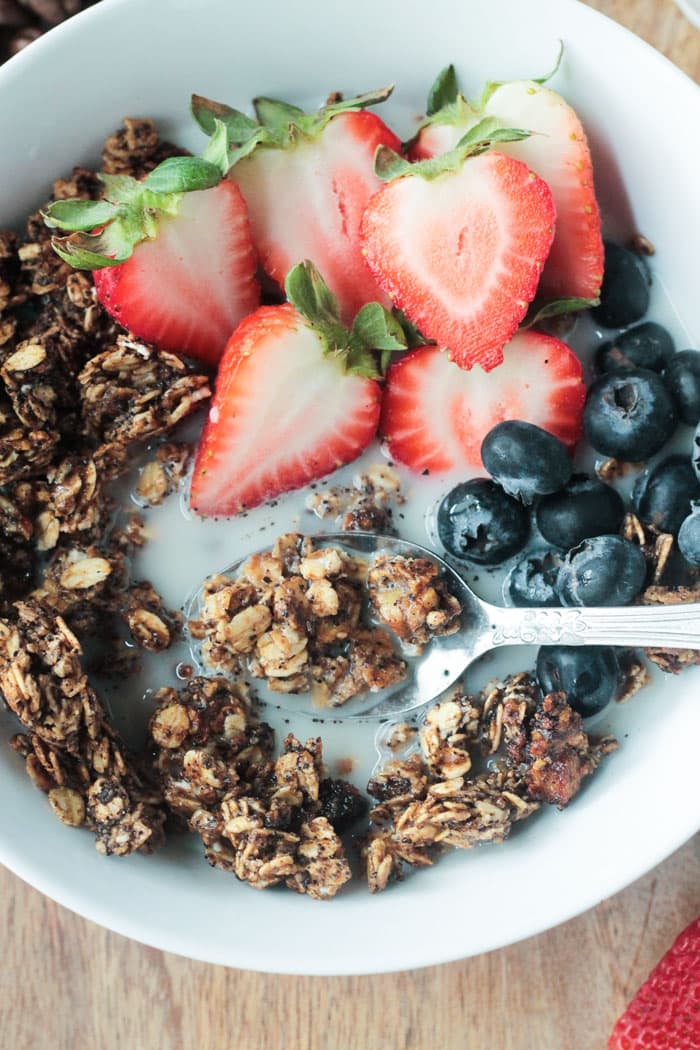
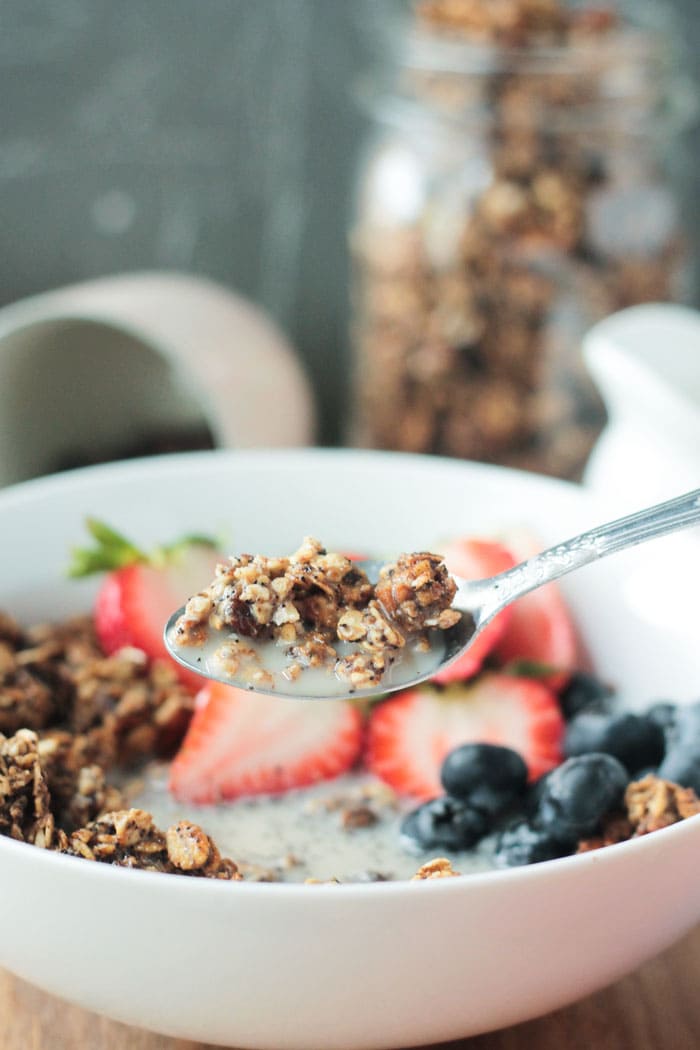
Delicious gluten free granola flavored with real ground coffee. This Coffee Granola is the perfect pick me up for breakfast or snack!
Save this Post!
Crunchy homemade granola flavored with real coffee. Now you can have your coffee and eat it too!
It’s so tasty, you might just be eating this stuff all day long. And that’s ok, because this Coffee Granola makes the perfect snack for anytime you need an energy boost. It makes a pretty darn good breakfast too!
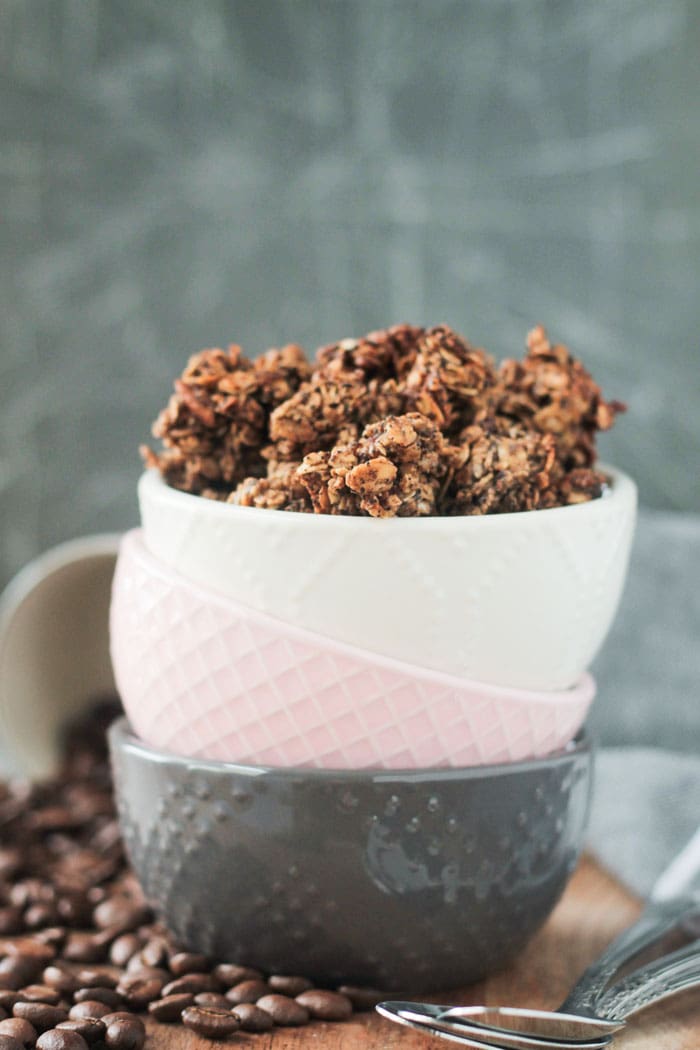
The granola was inspired by the Caramel Flavored Coffee Granola that Trader Joe’s used to carry. After buying multiple bags over that delicious stuff, I decided there had to be a better way to get my crunchy coffee snack fix! And, voila, my homemade oil-free Coffee Granola was born!
My version has less calories, less sodium, less sugar, and no oil! And it’s so easy!
Ingredient notes
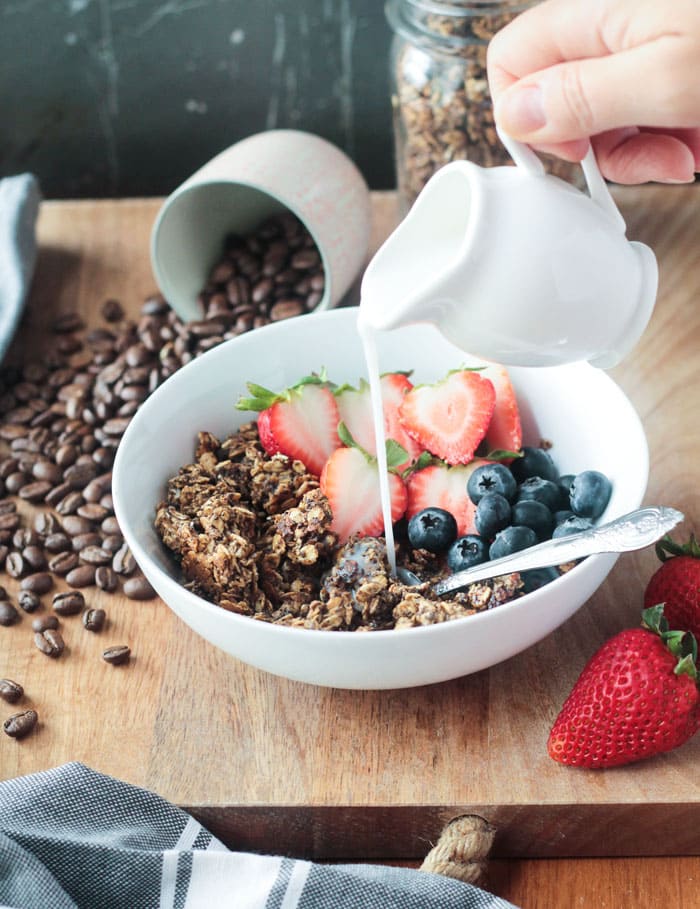
I think it goes without saying that you need to use ground coffee that you would really enjoy drinking if you were making coffee.
Coffee bean crops are some of the most highly sprayed and chemically treated crops in the world. For this reason, I like to choose organic coffee varieties.
You could even use your favorite decaf coffee if you are sensitive to caffeine.
Prefer to drink your coffee? You’ll love my Homemade Iced Caramel Macchiato, Pumpkin Spiced Iced Latte and cozy Harvest Oat Pumpkin Latte.
How to serve
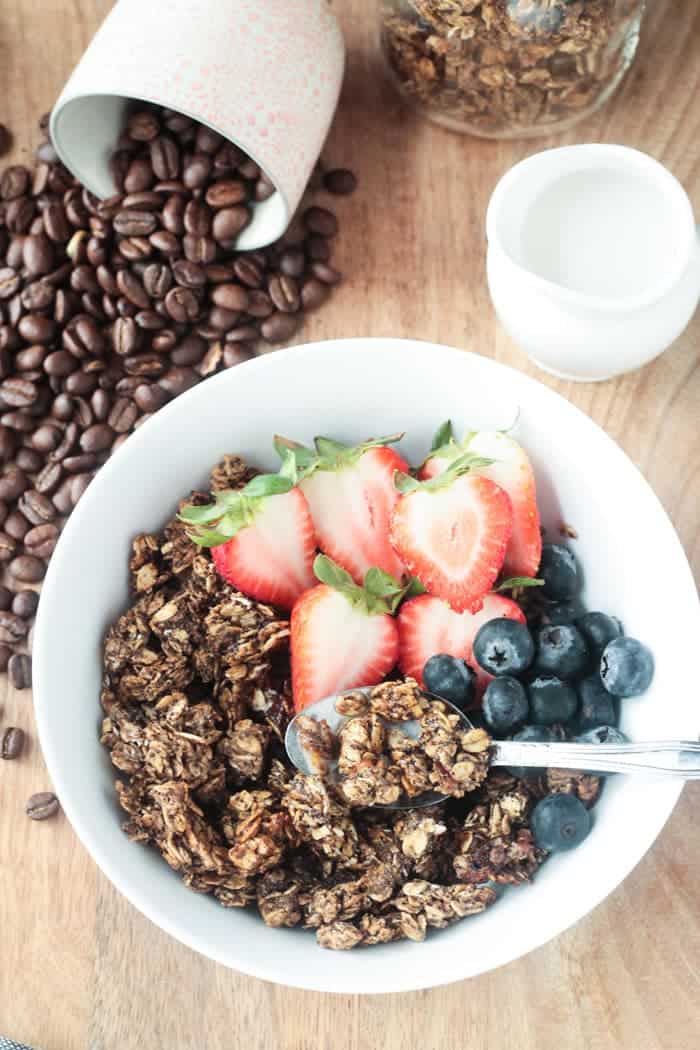
Granola is really so versatile. Here are some ways we like to enjoy it.
- On its own for breakfast.
- With a splash of plant milk.
- Layered with yogurt.
- Sprinkled on fruit.
- Baked into cookies or pancakes.
- Grab-n-go, portable for a snack anytime of day.
Storage and freezing
Store leftover granola in an air-tight container on the counter for 7 to 10 days. Make sure the granola has cooled completely before transferring to a storage container.
Do not store granola in the fridge.
You can also freeze this homemade coffee granola. Cool it completely and then transfer to freezer-safe plastic storage bags, making sure to squeeze all the air out of the bag before closing tightly. It should keep well for up to 3 months.
Pro tip: Freeze the granola in ¼ – ½ cup portions for easy grab-n-go snacks.
Pro tips and tricks
~ Use old-fashioned rolled oats, not quick oats or steel-cut oats.
~ Use ground coffee that you would enjoy drinking. Choose organic if possible.
~ Make sure to remove the pits from the dates! Check them even if you buy them already pitted as sometimes pit remnants get left behind.
~ Spread the granola mixture onto the baking sheet in one even layer, but with very few spaces in between the pieces. This will create the crunchy clusters that everyone loves.
~ Do not over-bake. The coffee granola will continue to crisp up as it cools.
~ Be sure to let the granola cool completely before transferring it to storage containers.
More vegan granola recipes
- Coconut Chia Granola
- Blueberry Almond Granola
- Mint Chocolate Chip Granola
- Chocolate Chai Spice Granola
- Gingerbread Granola
- Pumpkin Spice Granola
I hope you love this recipe as much as we do! If you tried it, please use the star rating system in the recipe card and leave a comment with your feedback. ⭐️⭐️⭐️⭐️⭐️
For even more easy family recipes, be sure to check out my cookbook, The Meatless Monday Family Cookbook!
Coffee Granola
Recommended Equipment
Ingredients
- 3.5 cups old fashioned rolled oats gluten free, if desired
- ¼ cup chopped raw pecans
- ¼ cup flaxmeal
- ¼ cup ground coffee be sure to use a coffee you really like
- ¼ cup chopped Medjool dates pitted
- ½ cup runny almond butter I like Trader Joe's Raw Creamy Almond Butter
- ½ cup brown rice syrup
- 1 tablespoon pure vanilla extract
- ½ teaspoon sea salt
- 2 tablespoon water to thin
Instructions
- Preheat oven to 325°F.
- Combine oats, pecans, flaxmeal, dates, and ground coffee in a large mixing bowl
- In a small pot on the stove over medium-low heat, combine the almond butter, brown rice syrup, vanilla extract, salt, and water. Whisk until smooth. If the mixture seems too thick still, add additional water 1 tablespoon at a time until pourable.
- Pour the almond butter mixture over the oats mixture. Stir really well to ensure all the dry ingredients are moistened.
- Spread the mixture in fairly even layer onto a rimmed baking sheet, but with very little, if any, space between the ingredients. This is how you’ll get the nice big clumps of granola!
- Bake for 25 to 28 minutes, shaking the pan and flipping the mixture over as best you can about halfway through.
- The granola will continue to crisp up as it sits, so don’t over-bake or it will burn.
- Let cool before eating. Store any leftovers in an airtight container on the counter for for 7 to 10 days.
Notes
Storage/Freezing Make sure the granola has cooled completely before transferring to a storage container. Store leftover granola in an air-tight container on the counter for 7 to 10 days. You can also freeze it for up to 3 months.
Nutrition
Nutrition values are calculated using online calculators and are estimates only. Please verify using your own data.



Carolin
This sounds sooooo delicious! Can I use maple syrup instead of brown rice syrup? Thank you!!
Jenn Sebestyen
Yes, that will work! Enjoy!
NutMag
I have a batch in the oven now and the raw stuff was amazing. But I notice you have it portioned as 18 servings. eyeballing it it’s looking like a bout 2-3 T/servings. That can’t be! Please say it ain’t so!
Jenn S.
HaHa, I know, right? I could eat the whole thing by myself. That’s about 1/4 cup per serving. I would like to say between 12-18 servings, but the program I use makes me pick one. 1/4 cup – 1/2 cup serving size is pretty standard for granola. But I certainly won’t judge you if you eat more!! Glad you are enjoying it so far!
Alicia
hey i hope this is not a stupid qn, but do i wait for the wet ingredients to cool before stirring in?
Jenn S.
Never a stupid question. You want to pour it in hot. The liquid ingredients will start to set up when they cool, so in order to stir it in easily, it’s much easier when warm. Hope you enjoy the recipe!