This page may contain affiliate links. As an Amazon Associate I earn from qualifying purchases. Please see my Privacy Policy for more details. Advertisements displayed do not reflect endorsements or recommendations made by Veggie Inspired.
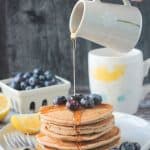
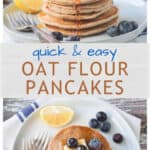
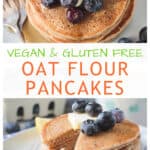
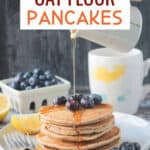
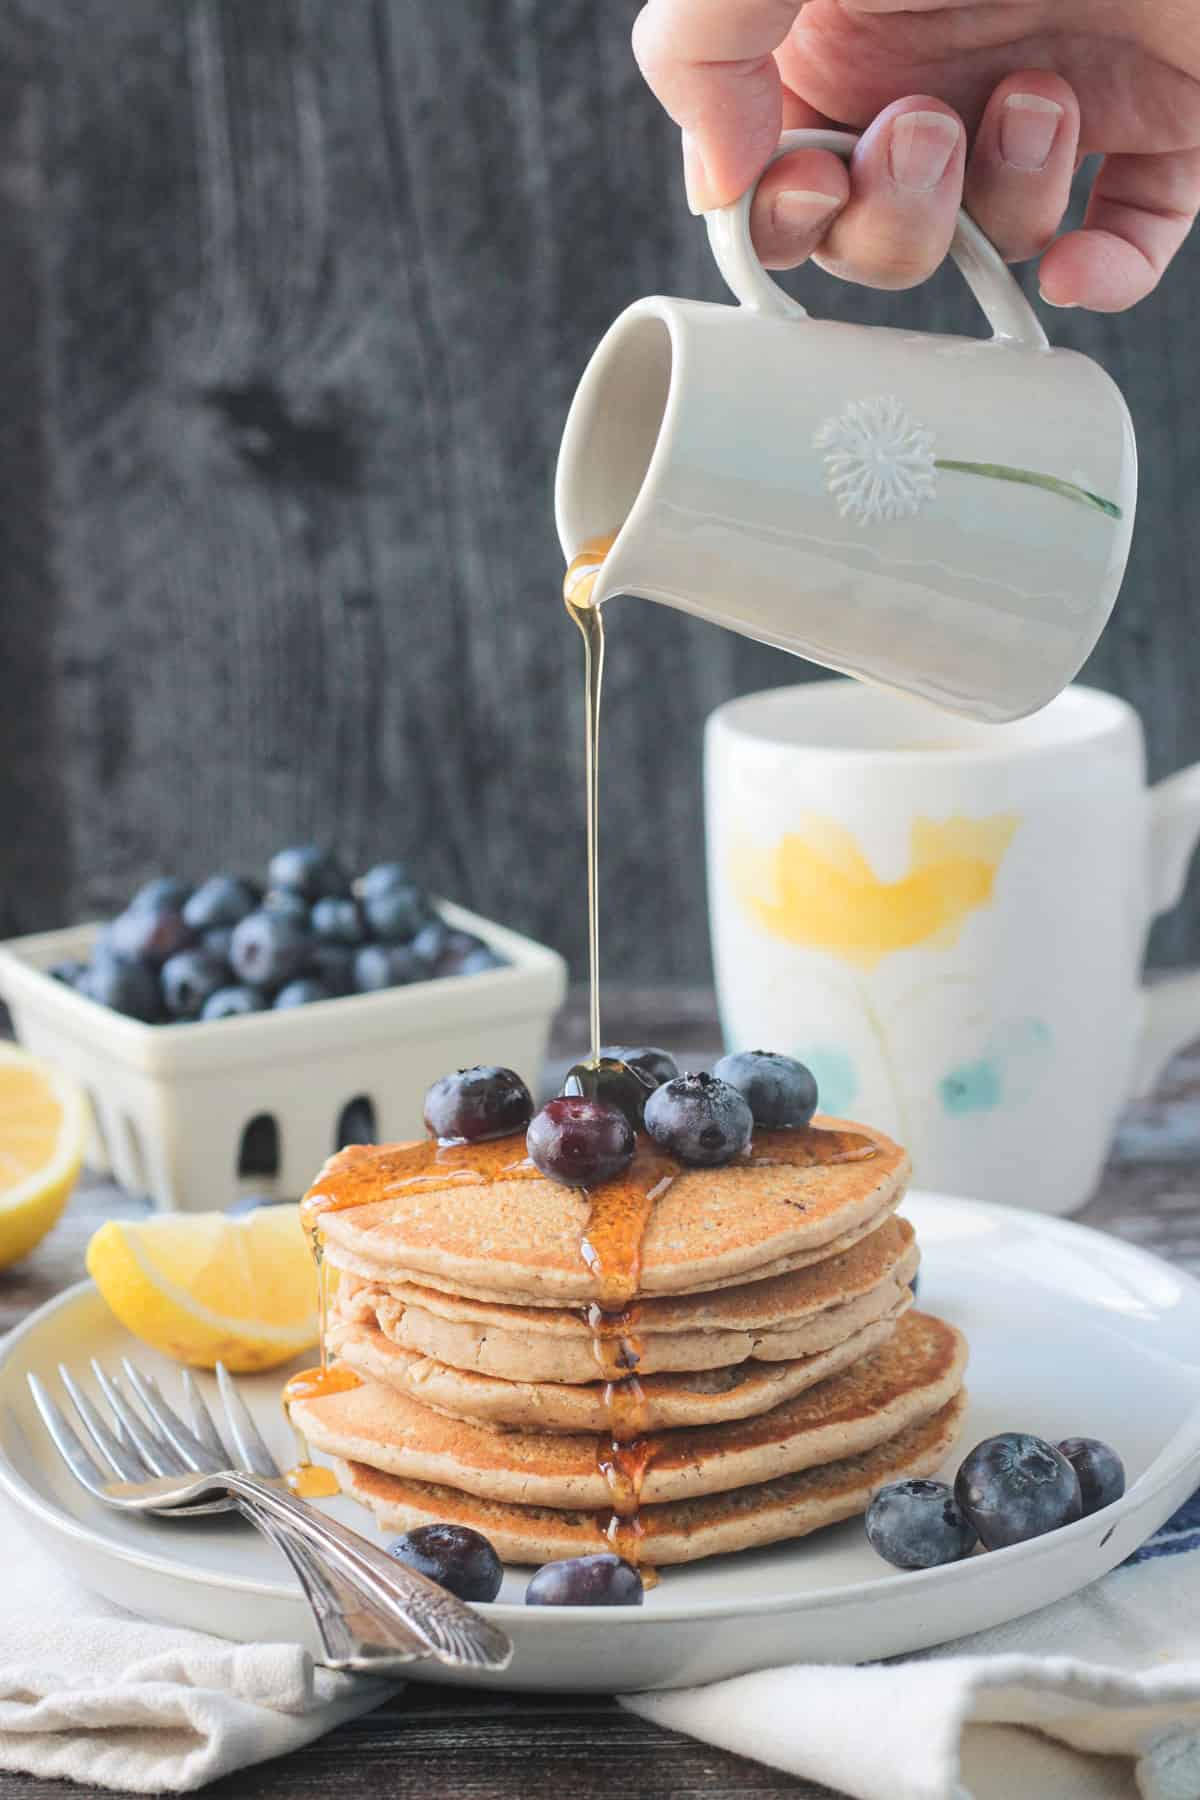
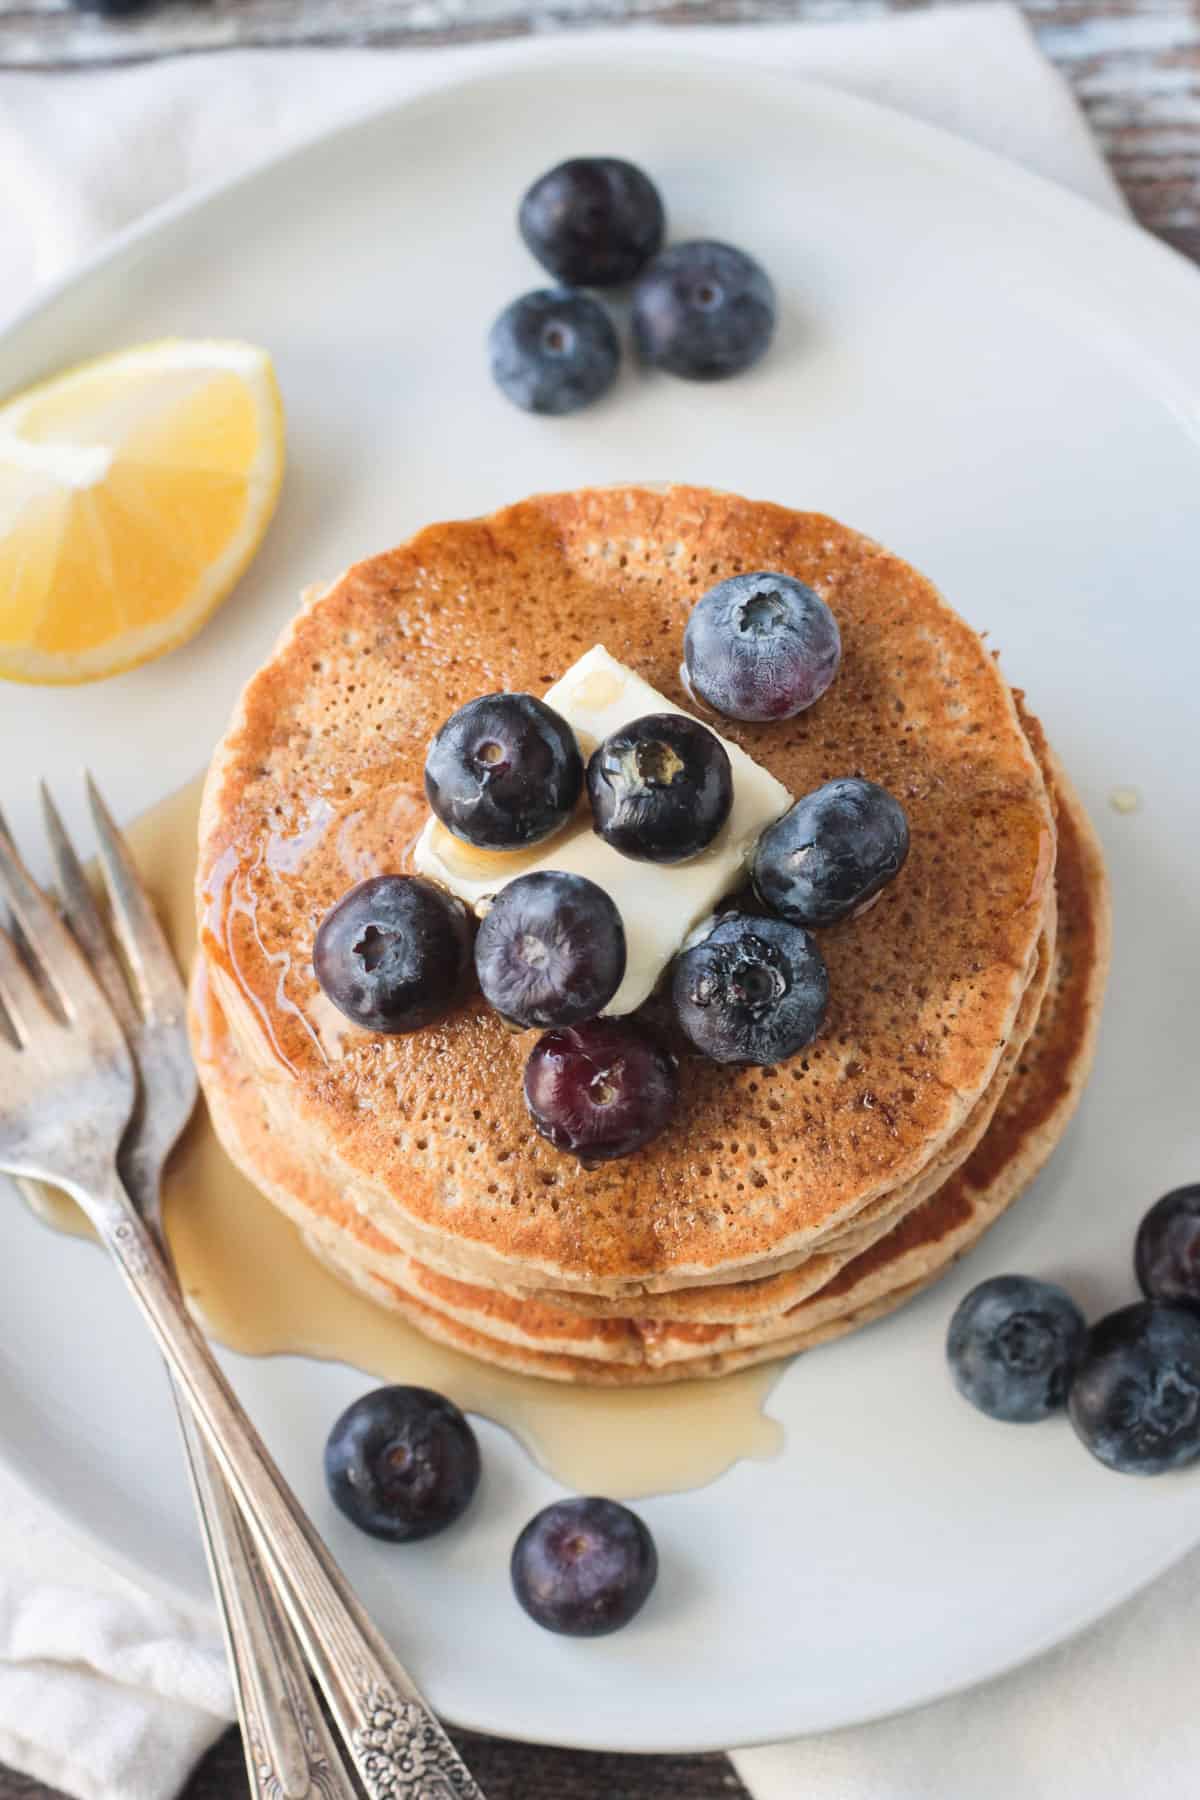
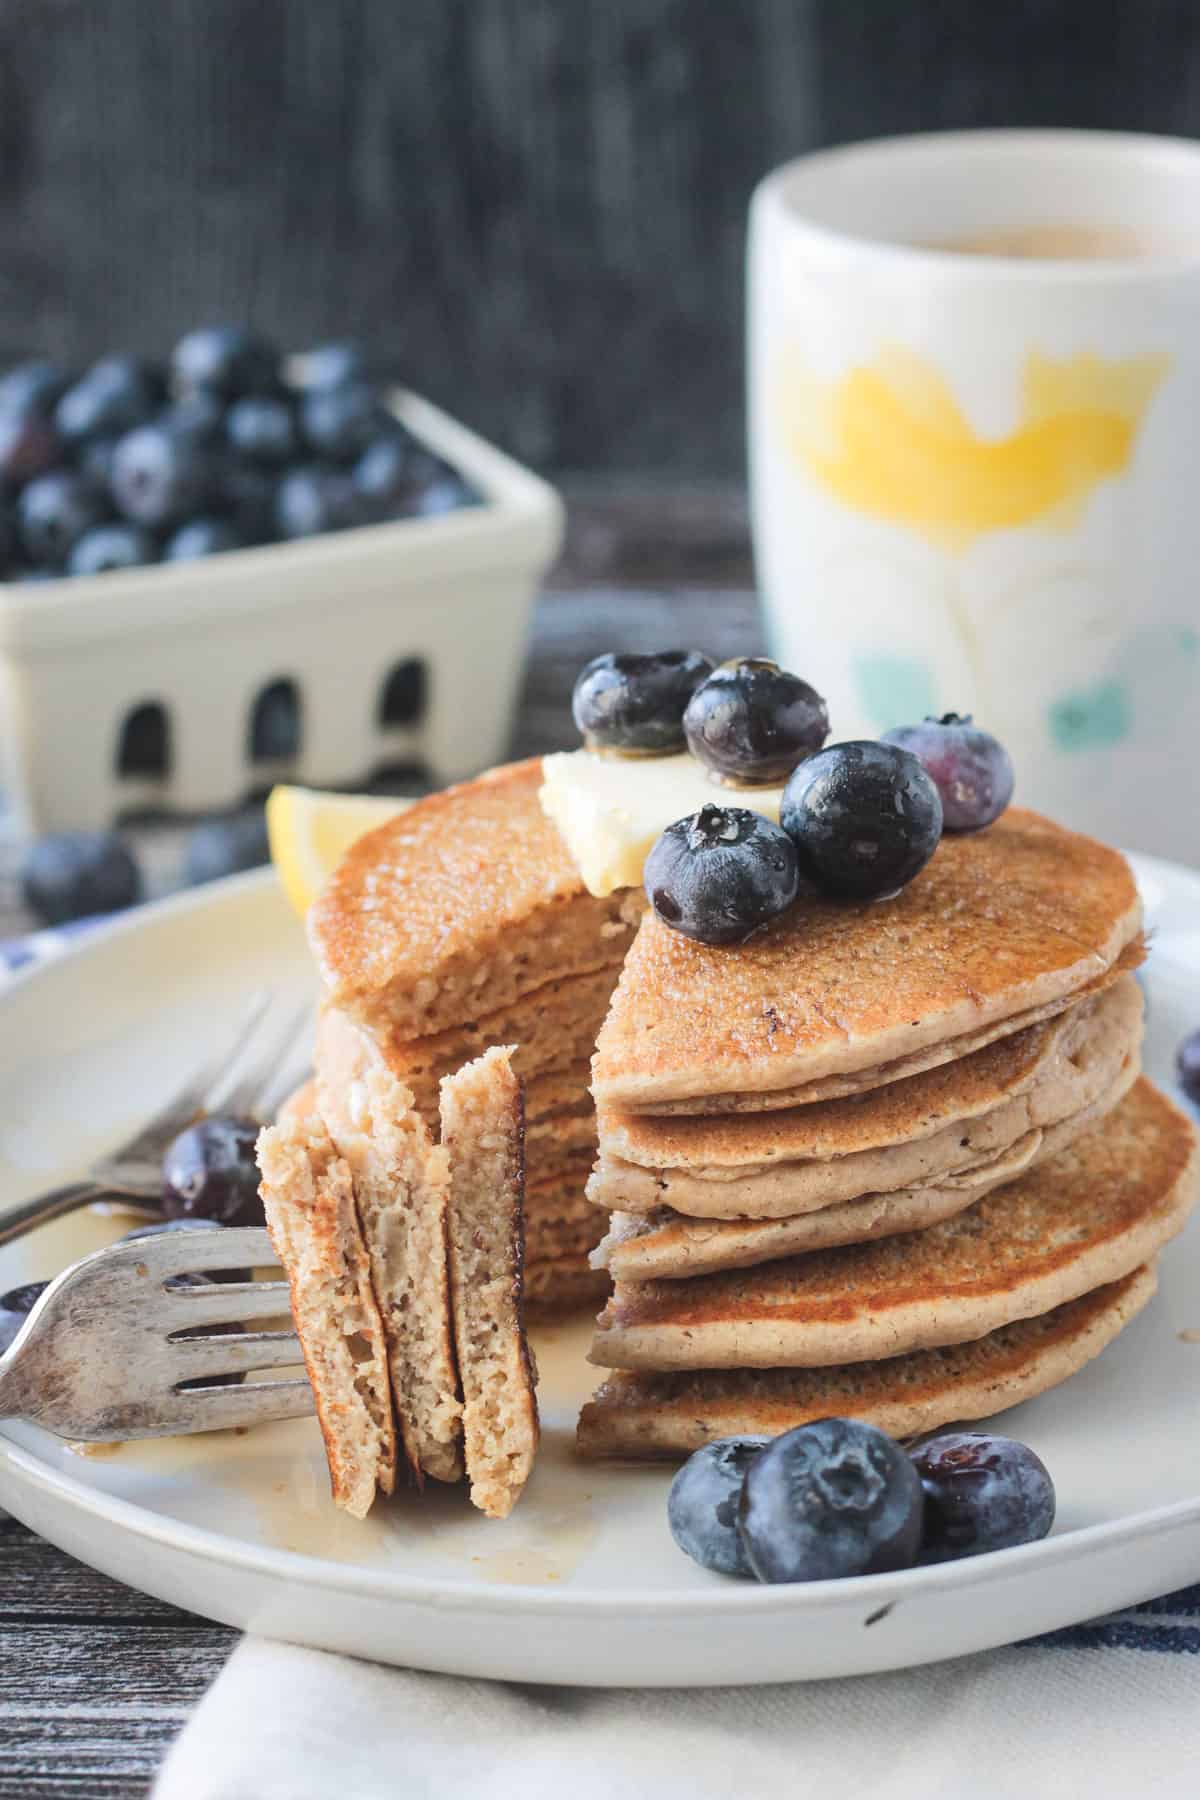
The most delicious gluten-free vegan pancakes!! These easy Oat Flour Pancakes are made in less than 30 minutes! Top them with your favorite pancake toppings, like fresh fruit or chocolate chips and a drizzle of pure maple syrup. Breakfast is served!
Save this Post!
We’ve been experimenting with a lot of gluten-free recipes lately after finding out one of our daughters is highly sensitive to gluten. I have worked with oat flour in the past (making these donuts and these breakfast bars) and it’s worked out so well that I knew I had to try it for pancakes, too.
My kids and I have decided that this may be the only recipe we use for pancakes from now on. They are so good!!
They have a slightly nutty flavor and just enough sweetness to be perfectly delicious on their own, but are elevated to next level with a drizzle of pure maple syrup and whatever toppings you love best.
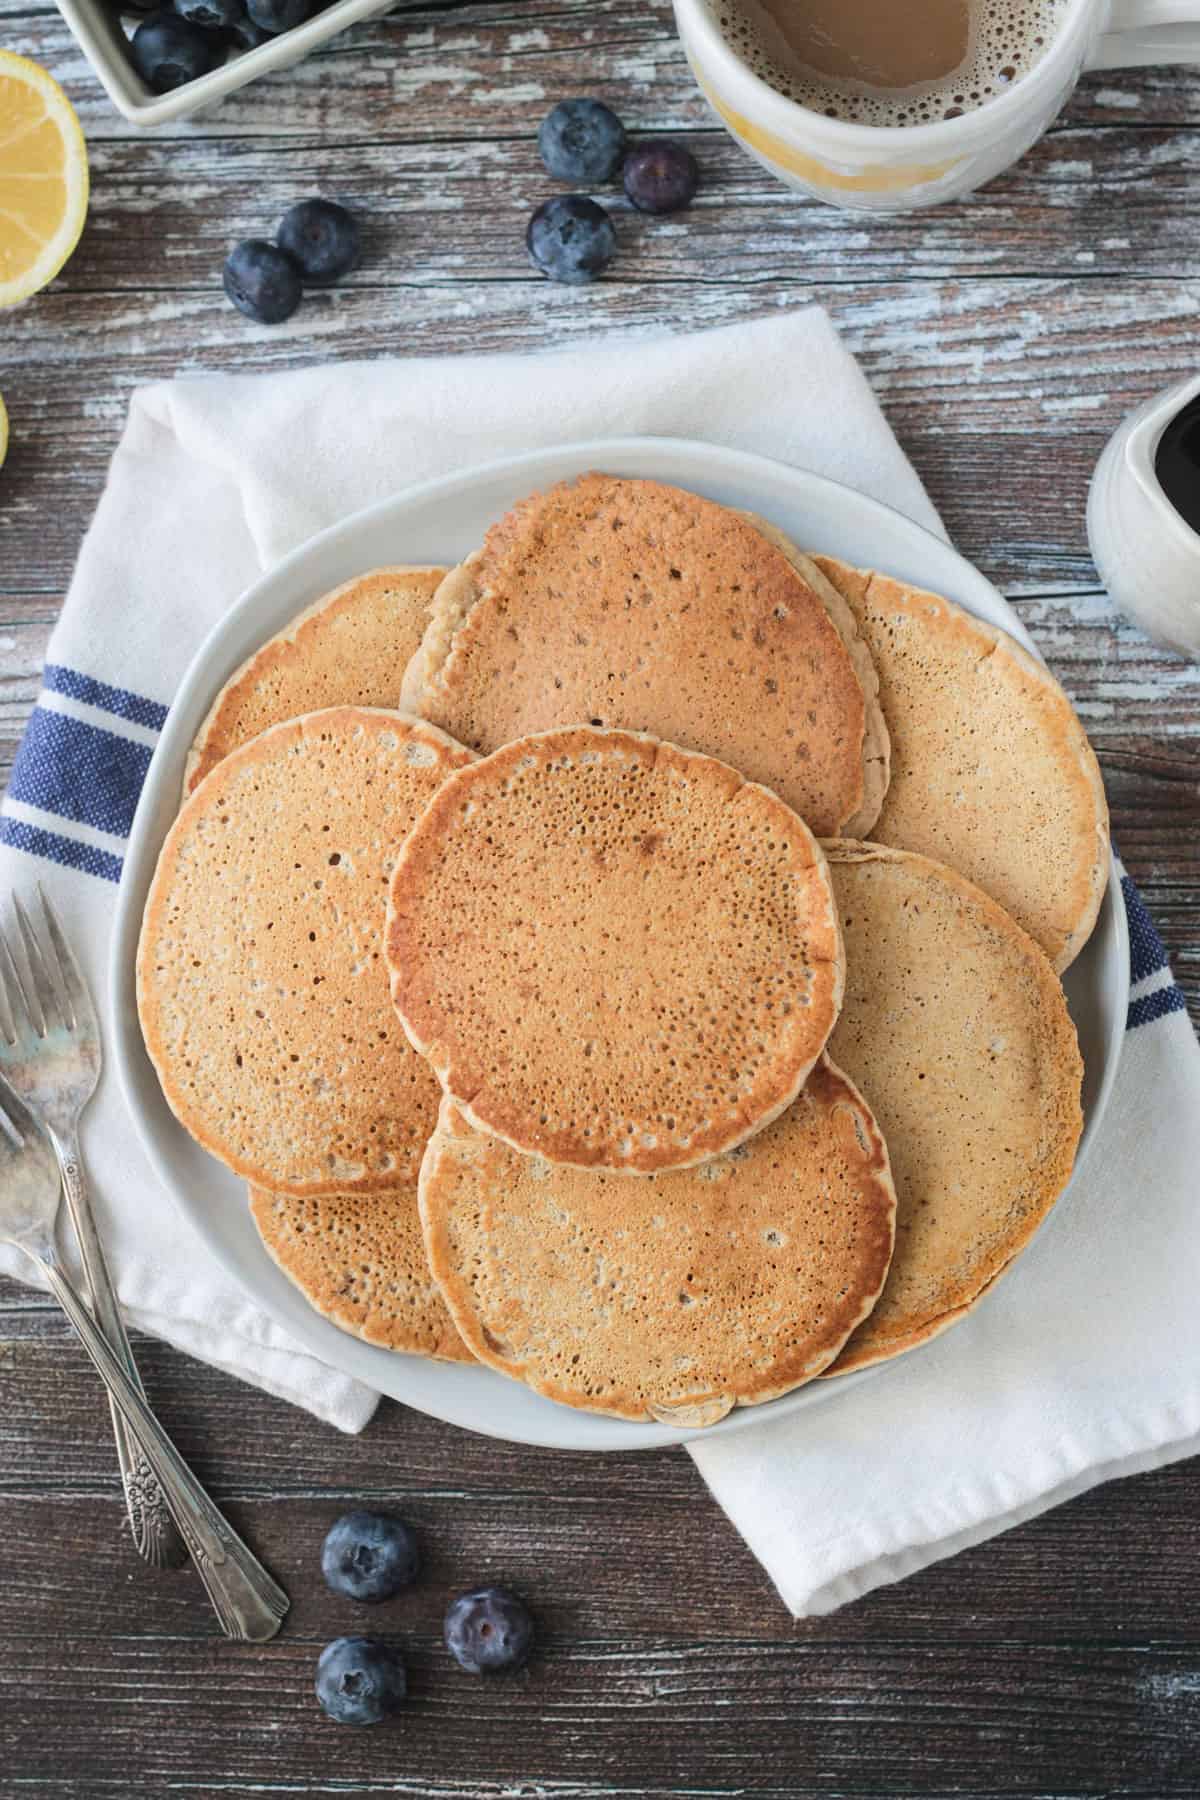
They cook up soft and fluffy every time and cook through perfectly! You must try these Oat Flour Pancakes!
Ingredients you need
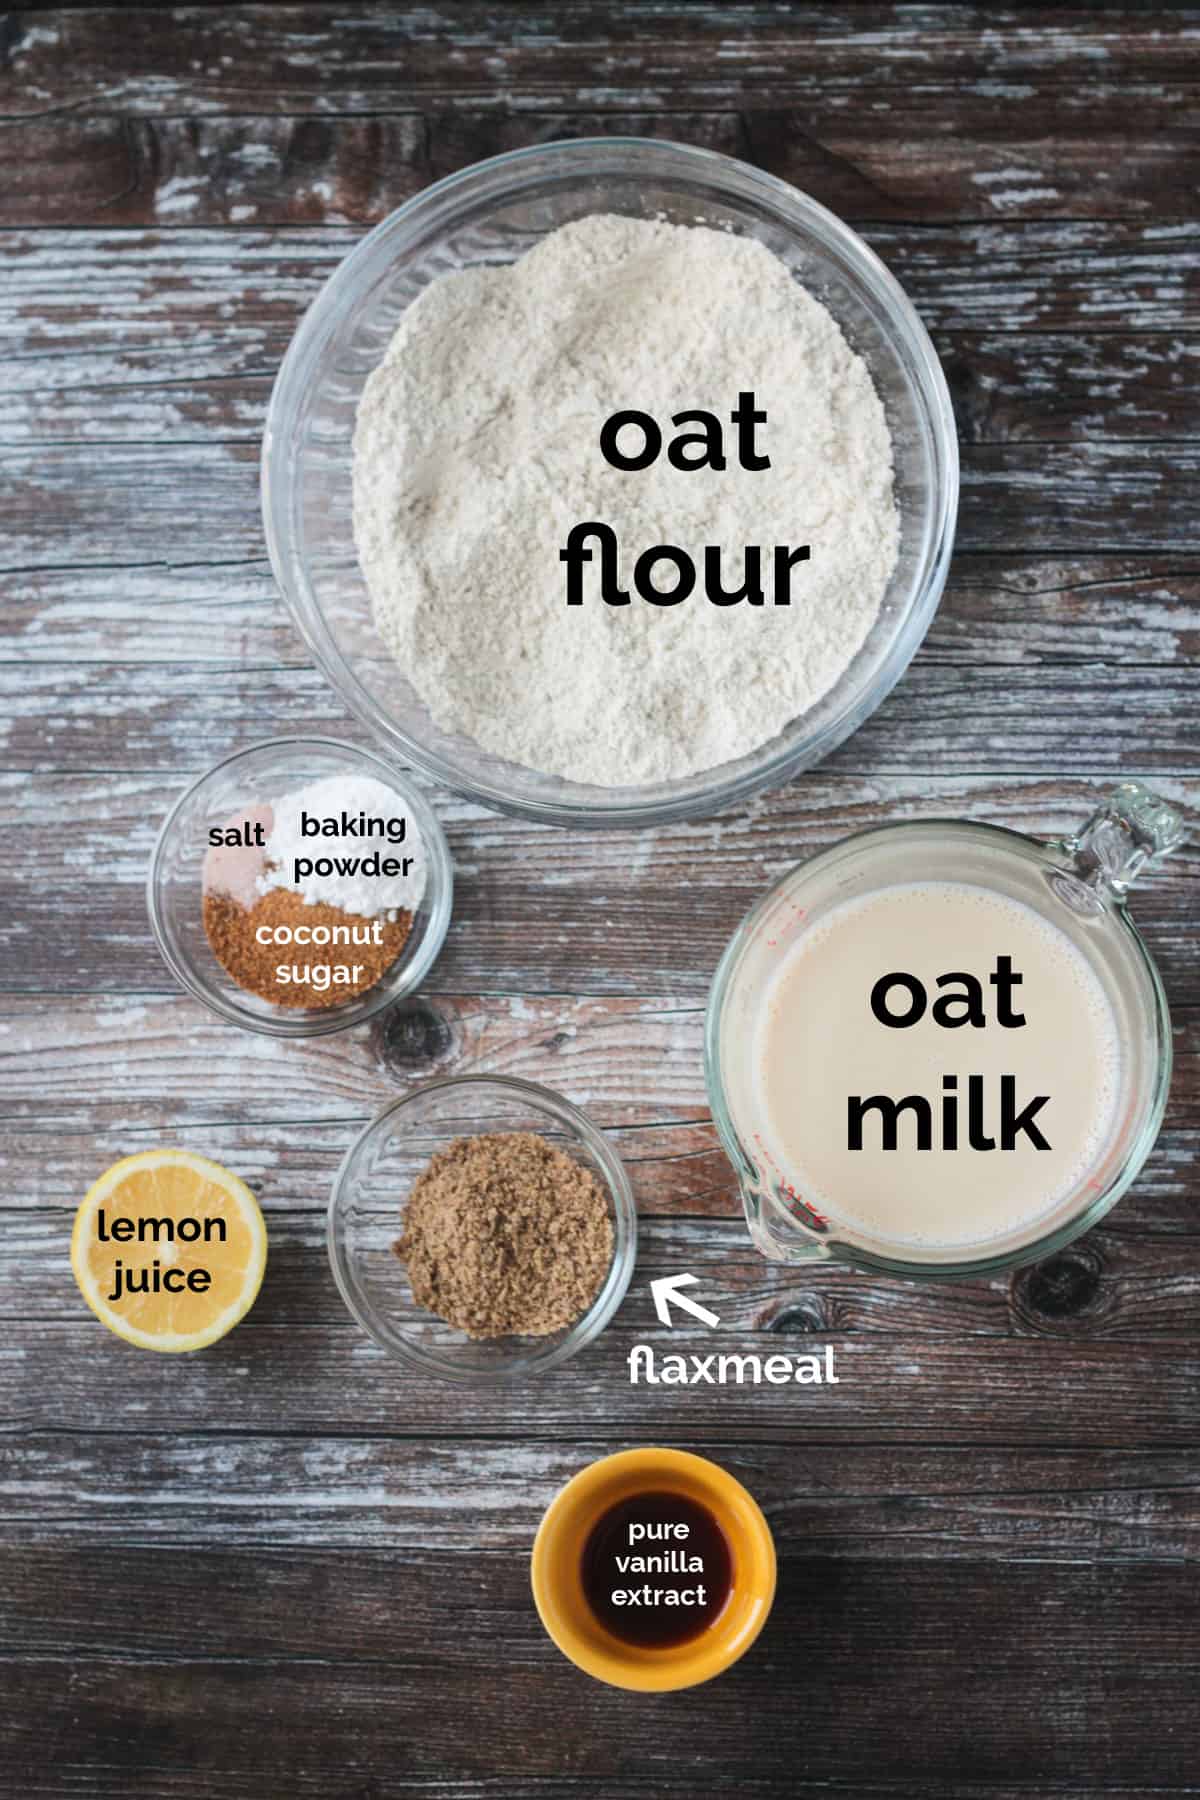
Ingredient notes and substitutions
Oat flour ~ Oat flour is made from finely ground oats. It doesn’t contain any gluten, however oats are often processed on equipment that also processes wheat, so choose certified gluten-free oat flour to ensure it is gluten-free.
I generally use store-bought oat flour for convenience, but it’s actually easy to make your own at home.
Use the spoon and level method of measuring flour (see recipe card notes for specifics). Scooping straight from the container with the measuring cup may result in too much flour.
What to do with extra oat flour? Make these vegan oat flour chocolate chip cookies with pretzels!
Flaxmeal ~ Flax expands when mixed with liquid and helps to bind these pancakes together making a great substitute for eggs. You will sometimes see this referred to as a “flax egg” in recipes.
You don’t need to mix the flax with liquid separately before adding it to the batter. The batter needs to sits for at least 5 minutes before making the pancakes and it will thicken up considerably during this time.
If you don’t have flaxmeal, you can make your own by grinding flax seeds in a small coffee grinder.
Baking powder ~ This is going to give lift to the pancakes and make them fluffy.
To ensure fluffy pancakes, make sure your baking powder is fresh. If it’s been sitting in your pantry for more than 6 months, it’s probably time to buy a new container. Old baking powder won’t give as much lift as fresh.
Coconut sugar ~ Coconut sugar has a lovely caramel-like flavor, similar to brown sugar. I use just 2 tablespoons, but if you like a sweeter pancake, you can use 3 or 4 tablespoons.
Cane sugar, brown sugar, or even pure maple syrup can be used instead.
Oat milk ~ Your favorite non-dairy milk can be subbed for the oat milk, like almond milk or soy milk. Choose an unsweetened, plain variety so it doesn’t affect the flavor of the pancakes. Just like oat flour, make sure to look for certified gluten-free if you need.
How to make the recipe
Please scroll down to the recipe card for exact ingredient measurements and instructions.

- Step 1: Add the dry ingredients to a mixing bowl.

- Step 2: Whisk well to combine.

- Step 3: Add the wet ingredients and whisk until just combined.

- Step 4: Let the batter sit for 5 minutes to thicken. It should be thick, yet still pourable.

- Step 5: Scoop the batter from the bowl and pour onto the hot griddle.

- Step 6: Bubbles will start to appear on the top of the pancakes. Once those bubbles burst and the edges of the pancakes start to firm up and pull away from the griddle, it’s time to flip.

- Step 7: A thin wide spatula should slip easily under the pancakes. If the dough starts to stick to the spatula as you slide it under the pancake, it’s not ready yet. Let the batter cook a bit longer before attempting to flip again.

- Step 8: Flip the pancake over and continue to cook on the 2nd side for another 2 to 3 minutes until browned.
Storage and freezing
Fridge: Store leftover pancakes in an air-tight container in the fridge for 4 to 5 days. Be sure to let them cool completely before transferring to a storage container.
Freezer: You can also freeze these oat flour pancakes. Cool them completely and transfer them to a large plate or cookie sheet in a single layer. Place in the freezer for 1 to 2 hours, or until frozen.
Once frozen, you can transfer them to a freezer-safe plastic bag or container with pieces of parchment paper in between each one. They should keep well for up to 3 months.
To reheat, you can warm them in the microwave for 15 to 20 seconds (or more, if needed) or you can pop them in the toaster.
You can also reheat a big batch in a single layer on a cookie sheet. Cover them with foil and then warm in a pre-heated 350°F oven for about 10 minutes.
Pro Tips and tricks
~ Use the spoon and level method of measuring flour. Scooping straight from the container with the measuring cup may be result in too much flour.
~ Be sure to look for certified gluten-free oat flour and oat milk if you have a gluten allergy or intolerance.
~ Let the pancake batter sit for about 5 minutes until it thickens up. Resist the urge to add more flour! I promise it will thicken as it rests.
~ Make sure the griddle (or non-stick skillet) is hot before adding batter.
~ Use a little cooking spray or vegan butter to ensure the pancakes don’t stick.
~ It can help to cook one test pancake before pouring more batter to ensure the temperature is correct.
~ Do not crowd the pan. Allow at least 1 to 2 inches between each pancake.
~ Spray additional cooking spray on the griddle before each new batch, if needed.
~ Adjust the temperature as needed with each batch.
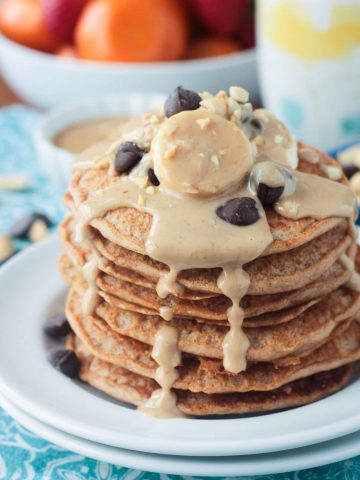
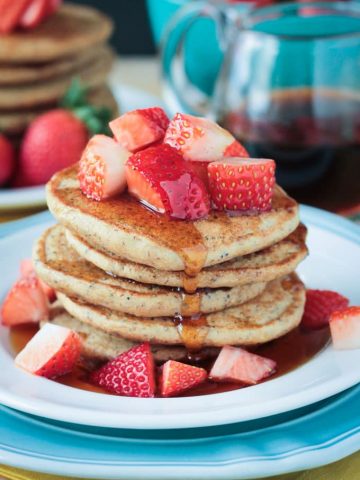
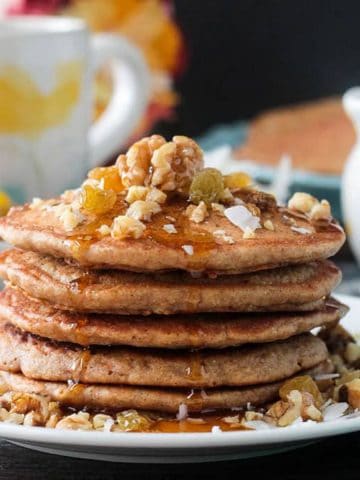
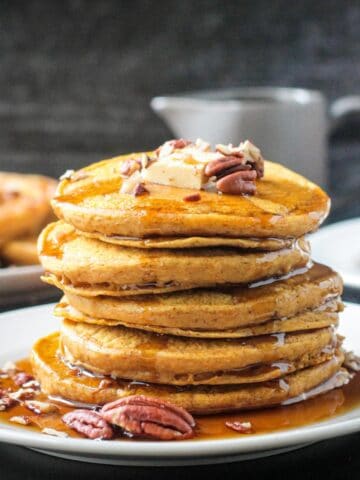
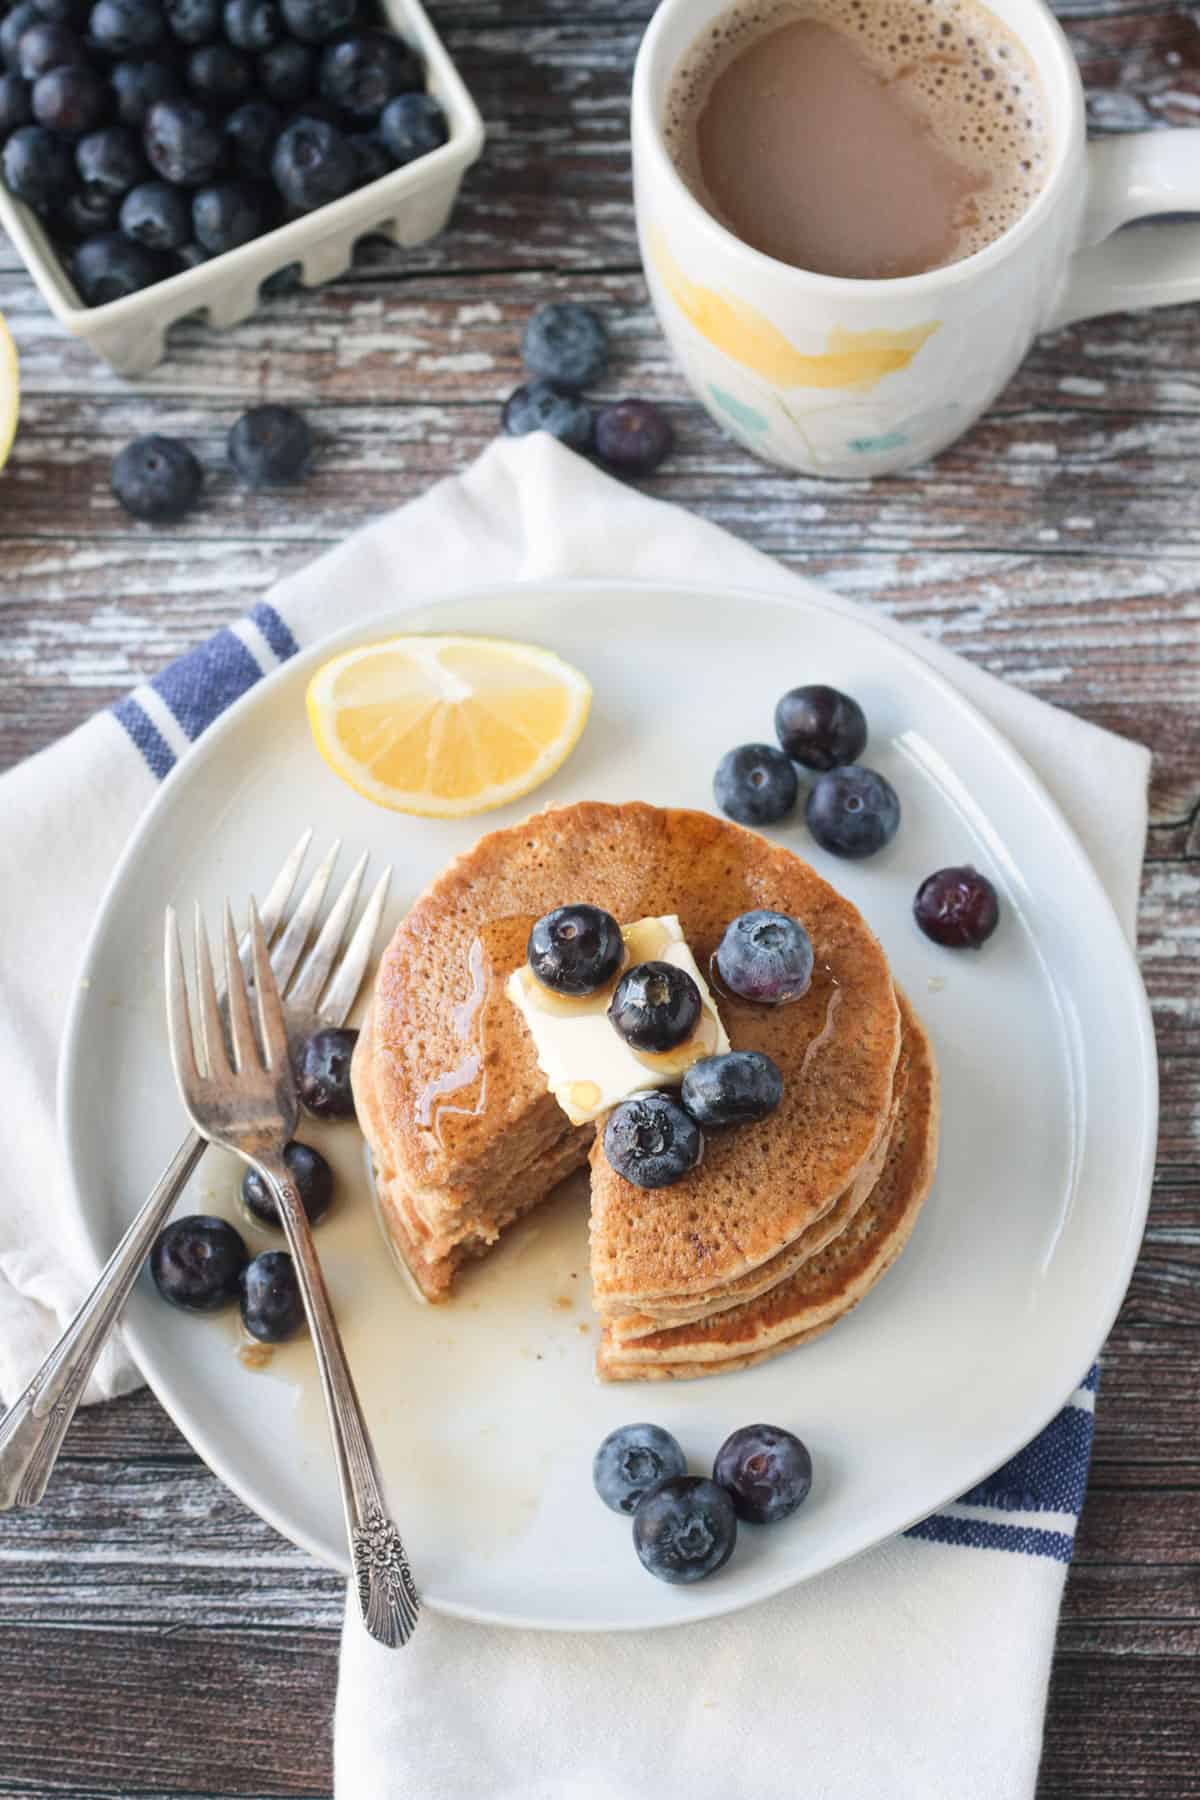
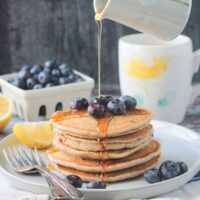
~ Top the finished pancakes with fresh fruit, cinnamon apples, or chocolate chips and a drizzle of pure maple syrup.
More vegan pancake recipes
I hope you love this recipe as much as we do! If you tried it, please use the star rating system in the recipe card and leave a comment with your feedback. ⭐️⭐️⭐️⭐️⭐️
For even more easy family recipes, be sure to check out my cookbook, The Meatless Monday Family Cookbook!
Vegan Oat Flour Pancakes
Recommended Equipment
Ingredients
- 2 cups oat flour certified gluten-free, if needed
- 2 tablespoons flaxmeal
- 2 tablespoons coconut sugar
- 2 teaspoons baking powder
- ¼ teaspoon salt
- 1 ½ cups unsweetened plain oat milk or your favorite non-dairy milk
- 1 tablespoon fresh lemon juice
- 1 teaspoon pure vanilla extract
Instructions
- Add the flour, flaxmeal, baking powder, coconut sugar, and salt to a large mixing bowl. Whisk until combined.
- To the flour mixture, add the oat milk, lemon juice, and vanilla. Whisk until combined. Let rest for about 5 minutes so the batter thickens up. It should be thick, yet pourable.
- Once the batter has rested, heat a griddle or non-stick skillet over medium heat on the stove. Lightly spray with cooking spray, if needed.
- Using a ¼ cup measuring cup, scoop the batter and pour onto the hot griddle. Repeat with additional batter allowing at least 1 to 2 inches between each pancake.
- Bubbles will start to appear on the top of the pancakes. Once those bubbles burst and the sides of the pancakes start to pull away from the griddle, it's time to flip. This should take just about 3 to 4 minutes. A thin spatula should slide underneath the pancakes easily. If it doesn't, or if the batter sticks to the pancakes, let them cook a bit longer before flipping.
- Cook another 2 to 3 minutes on the second side until golden brown. Transfer to a plate and repeat with any remaining batter.
- You may need to adjust the heat as you go. If the pancakes are browning too quickly, turn the heat down. If it’s taking more than 5 minutes to cook the 1st side, you can increase the heat just a bit.
- Serve as is or top with fresh fruit, chocolate chips, and/or a drizzle of pure maple syrup.
Notes
Nutrition facts are for each pancake, without toppings, and are calculated based on ¼ cup batter per pancake.
Nutrition
Nutrition values are calculated using online calculators and are estimates only. Please verify using your own data.

Wendy Carley
Best gluten free pancake recipe I have tried!! Easy to make and the batter really does thicken up. Yummy.
Jenn Sebestyen
Thank you so much, Wendy! I’m happy you love them!