This page may contain affiliate links. As an Amazon Associate I earn from qualifying purchases. Please see my Privacy Policy for more details. Advertisements displayed do not reflect endorsements or recommendations made by Veggie Inspired.
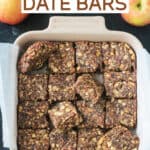


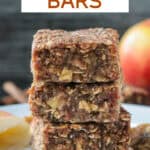
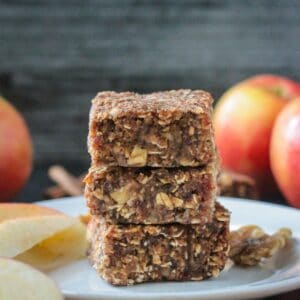
These Oat Date Bars are soft, chewy bars with the flavors of apple pie. With just 6 ingredients, they’re gluten-free, oil-free, and vegan with no added sugar. Perfect for breakfast, snacks, or dessert!

Save this Post!
These apple oat date bars are like a cross between baked oatmeal and Larabars.
I love Larabars, but I definitely prefer the texture of these date bars!
The addition of the oats (hello, fiber!) gives them more staying power making them a great breakfast choice in addition to being a healthy snack anytime of day.
Soft, moist, chewy, sweet, and full of delicious fall spices and flavors – these healthy sweet treats are sure to be one of your favorites!
Ingredients you need

Ingredient notes and substitutions
- Dates ~ I typically use Deglet Noor or Medjool dates. Any variety will work. I always buy pitted dates to save time. If the dates are very dry, soak them in hot water for 20 minutes, then drain before adding them to the recipe.
The dates will provide plenty of sweetness – no need to add sugar or maple syrup.
Love dates? You must try my Vegan Date Bread and Lemon Coconut Date Balls!
Even if you buy pitted dates, I always suggest you break open the dates and check to ensure there are no leftover pieces of pits inside. Dates are generally machined pitted and I often find remnants left behind. Date pits are incredibly hard and you don’t want to risk breaking your food processor blades or, even worse, your tooth!
- Oats ~ I have made these oat date bars with both quick-cook oats and old fashioned rolled oats. We prefer the chunkier texture of rolled oats, but both are delicious. Do not use steel cut oats! Choose certified gluten-free oats if needed.
- Walnuts ~ Walnuts offer a lovely crunch in an otherwise soft bar. Pecans or almonds would also work. For a nut-free version, try sunflower seeds.
- Apples ~ I’ve seen a lot of recipes for date bars that call for dried fruit, like dried apples, but I much prefer to use fresh apples. They provide a freshness that I think take these bars over the top. No need to peel the apples, but do make sure to chop them finely or even shred them.
If you’re a chocoholic like my daughter, you may prefer these with chocolate chips instead of apples.
- Spices ~ Cinnamon and ginger bring home that cozy autumn spice. A dash of salt balances the flavors.
How to make the recipe
Please scroll down to the recipe card for exact ingredient measurements and instructions.
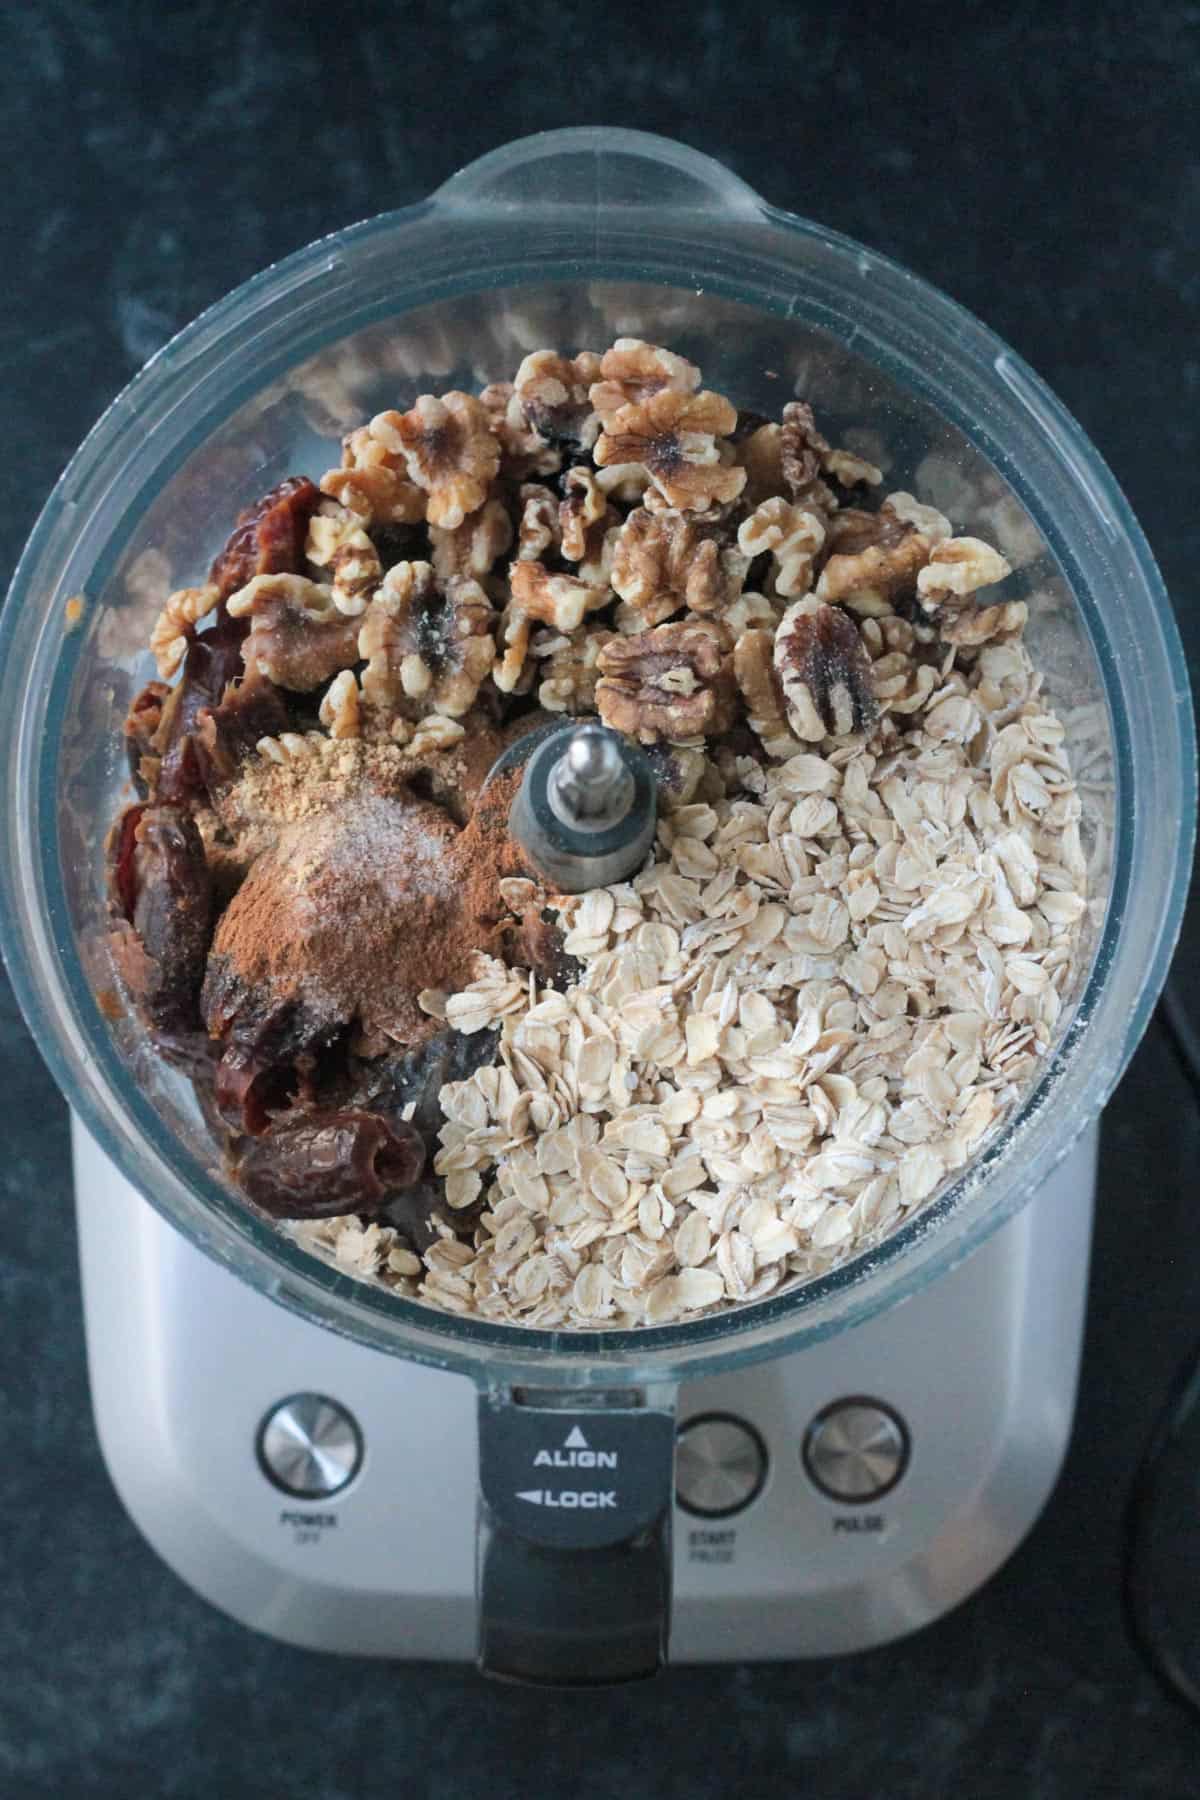
- Step 1: Add the dates, walnuts, spices, and half of the oats to a food processor.
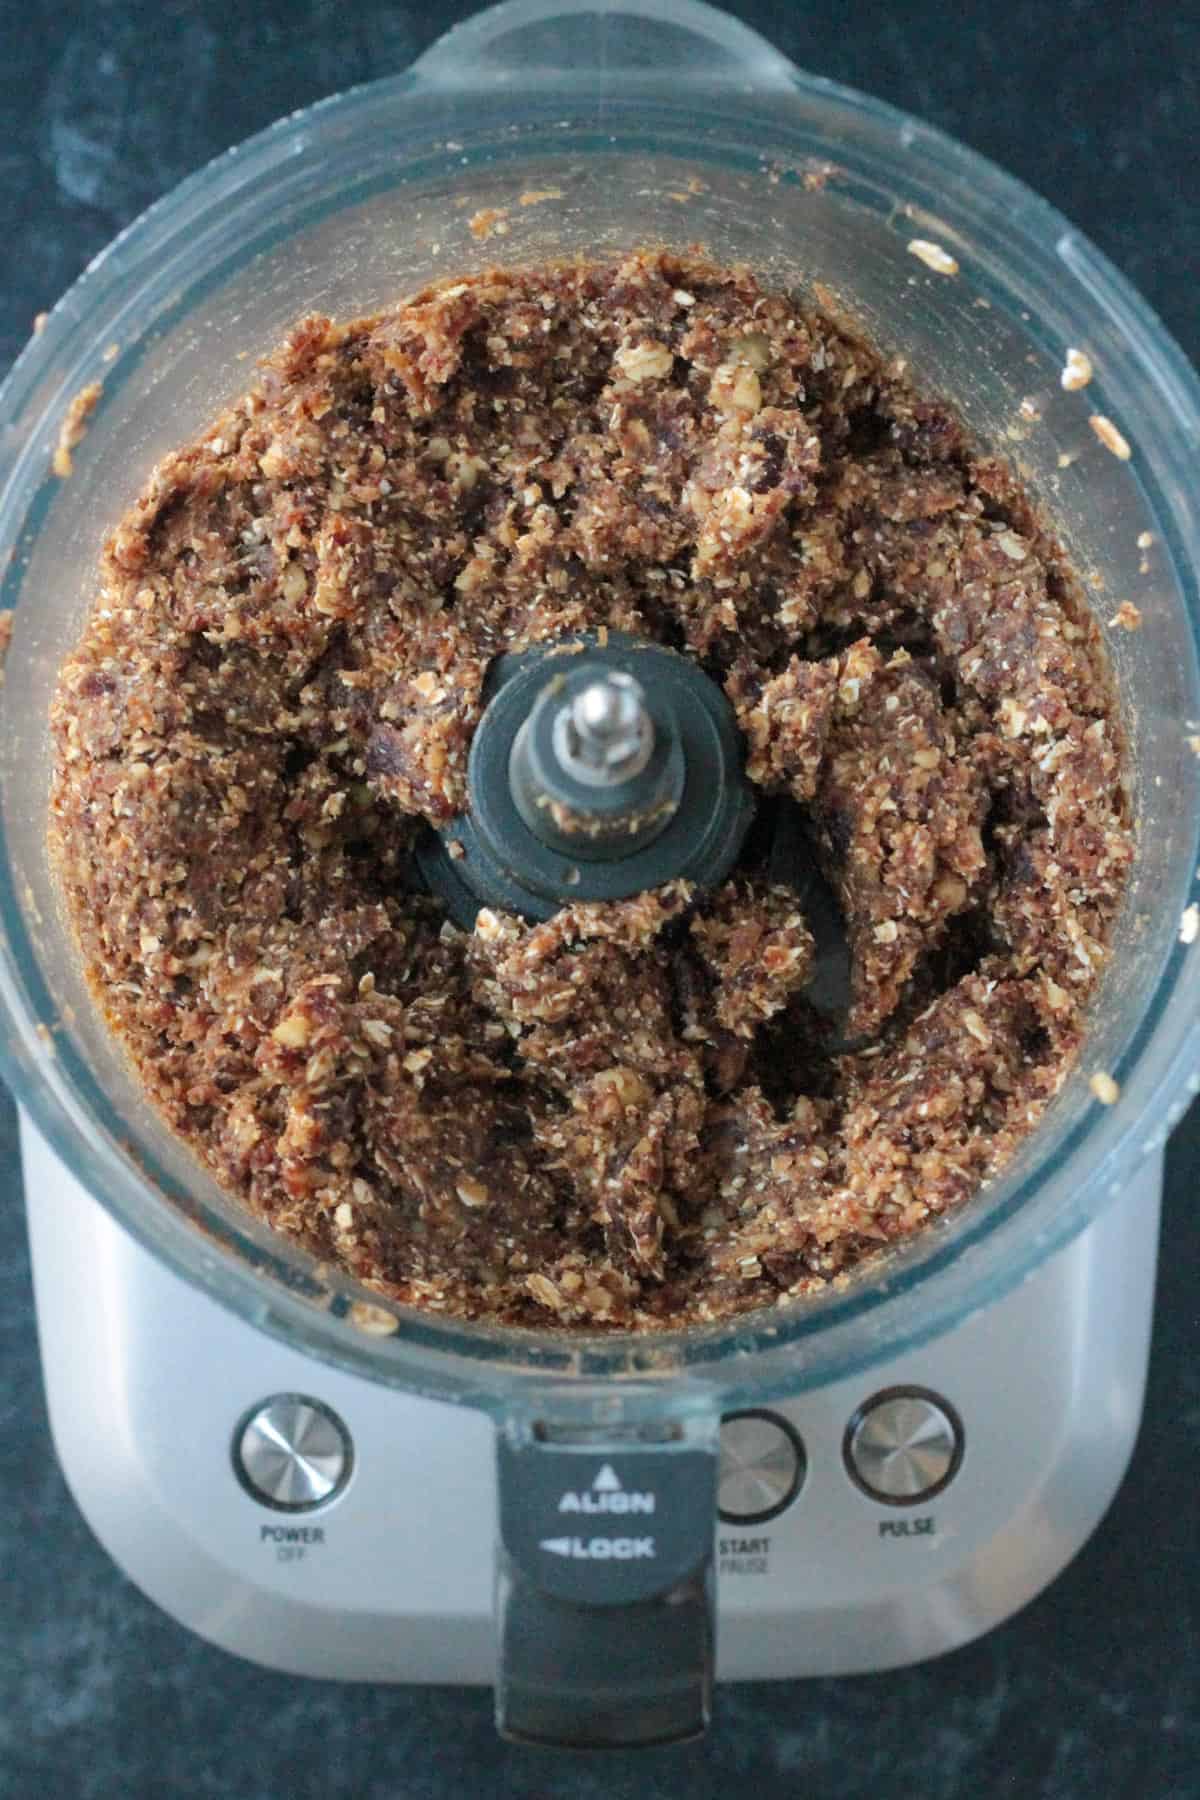
- Step 2: Pulse until a sticky dough is formed, but some texture remains.
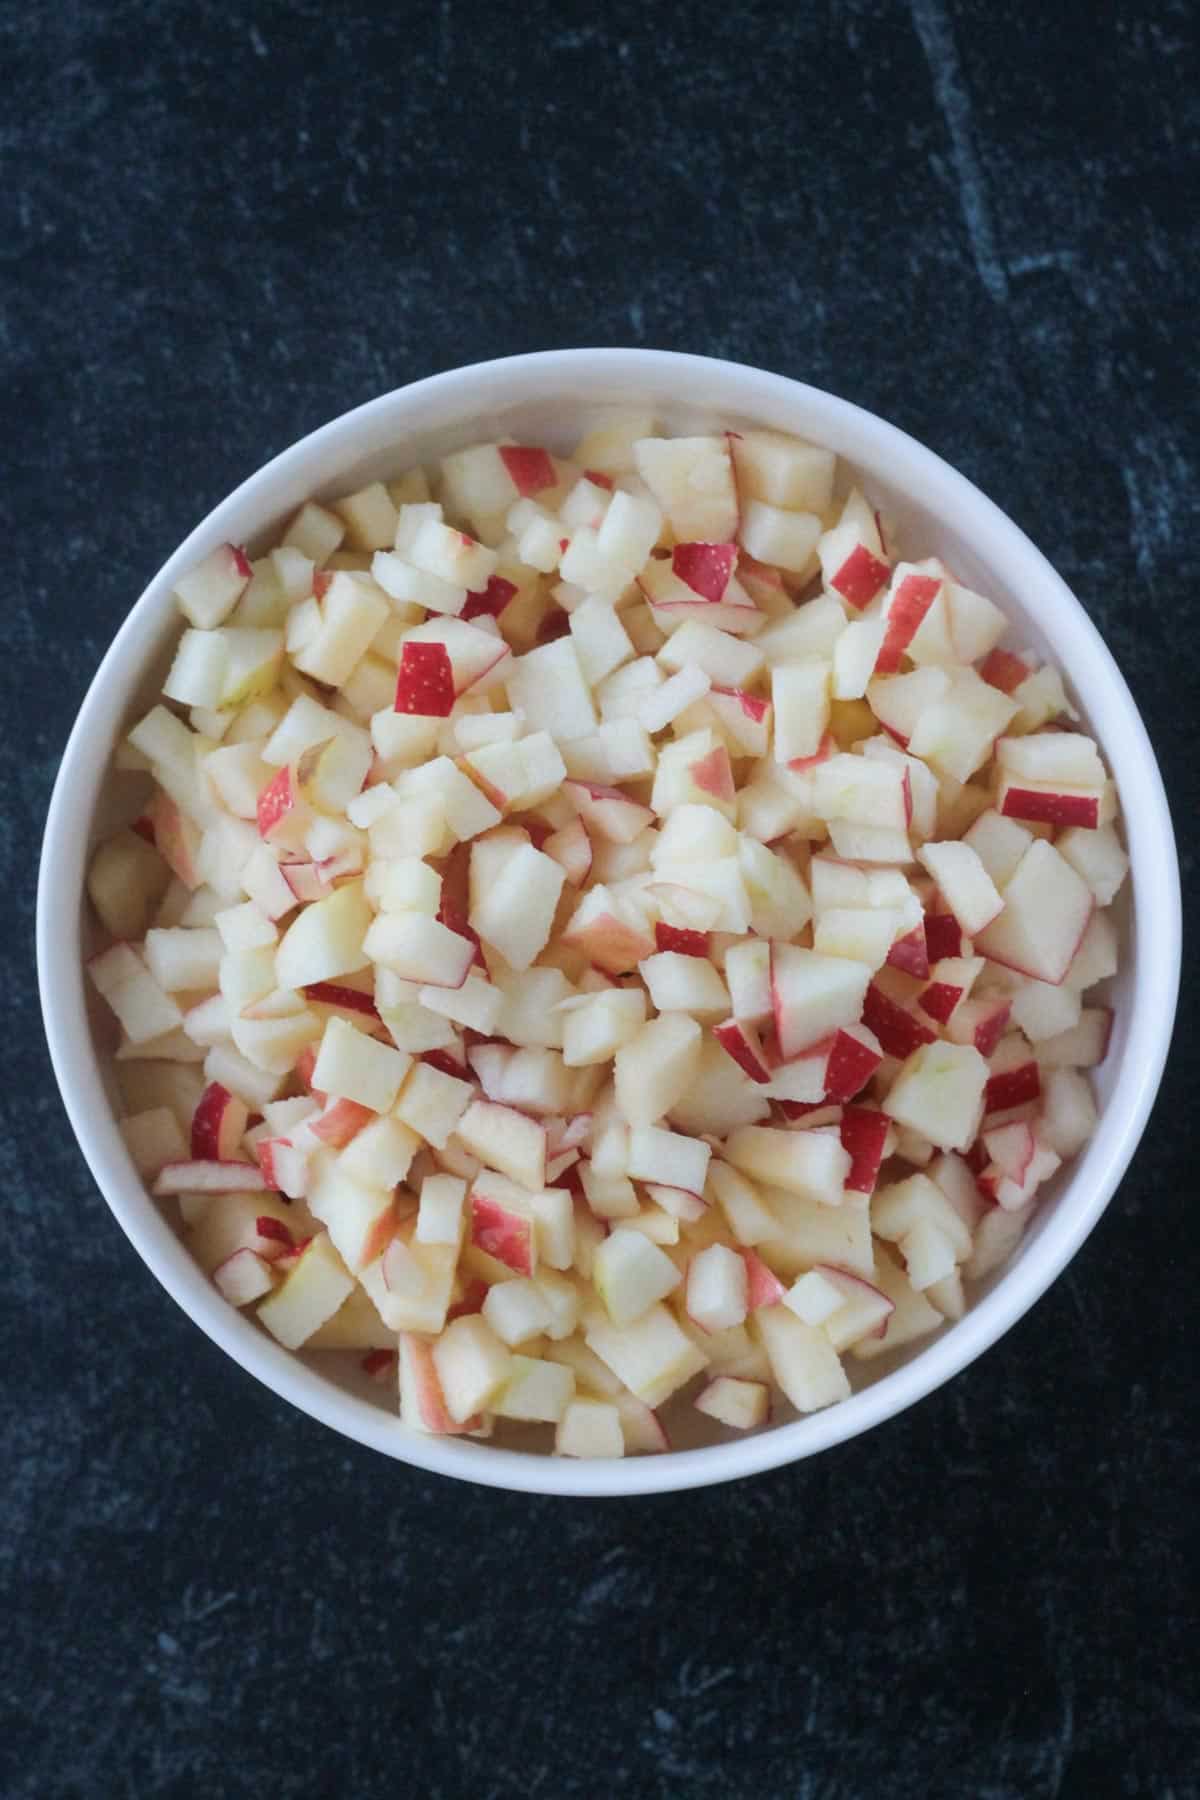
- Step 3: Finely dice the apples. Alternately, you can shred the apples if you prefer.
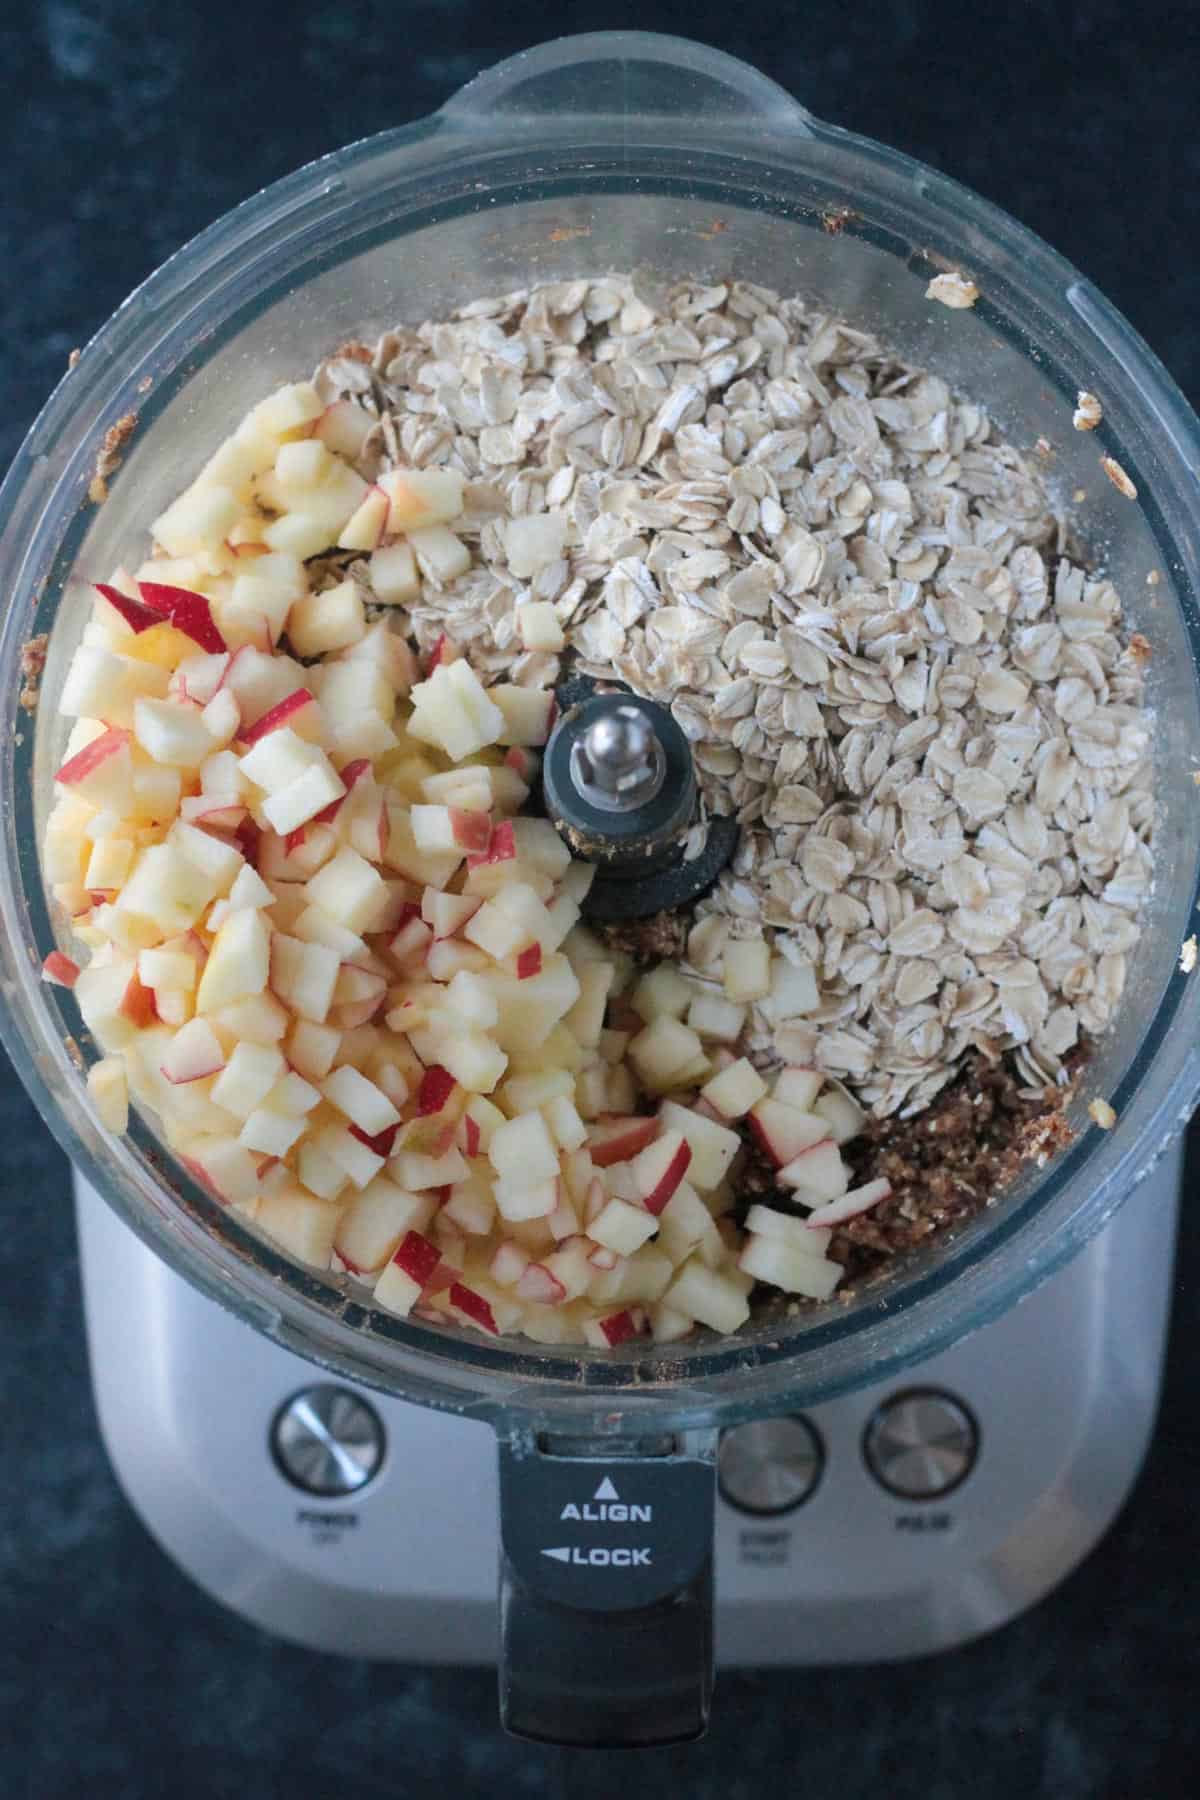
- Step 4: Add the diced apples and remaining oats to the food processor and pulse just a few times to combine.
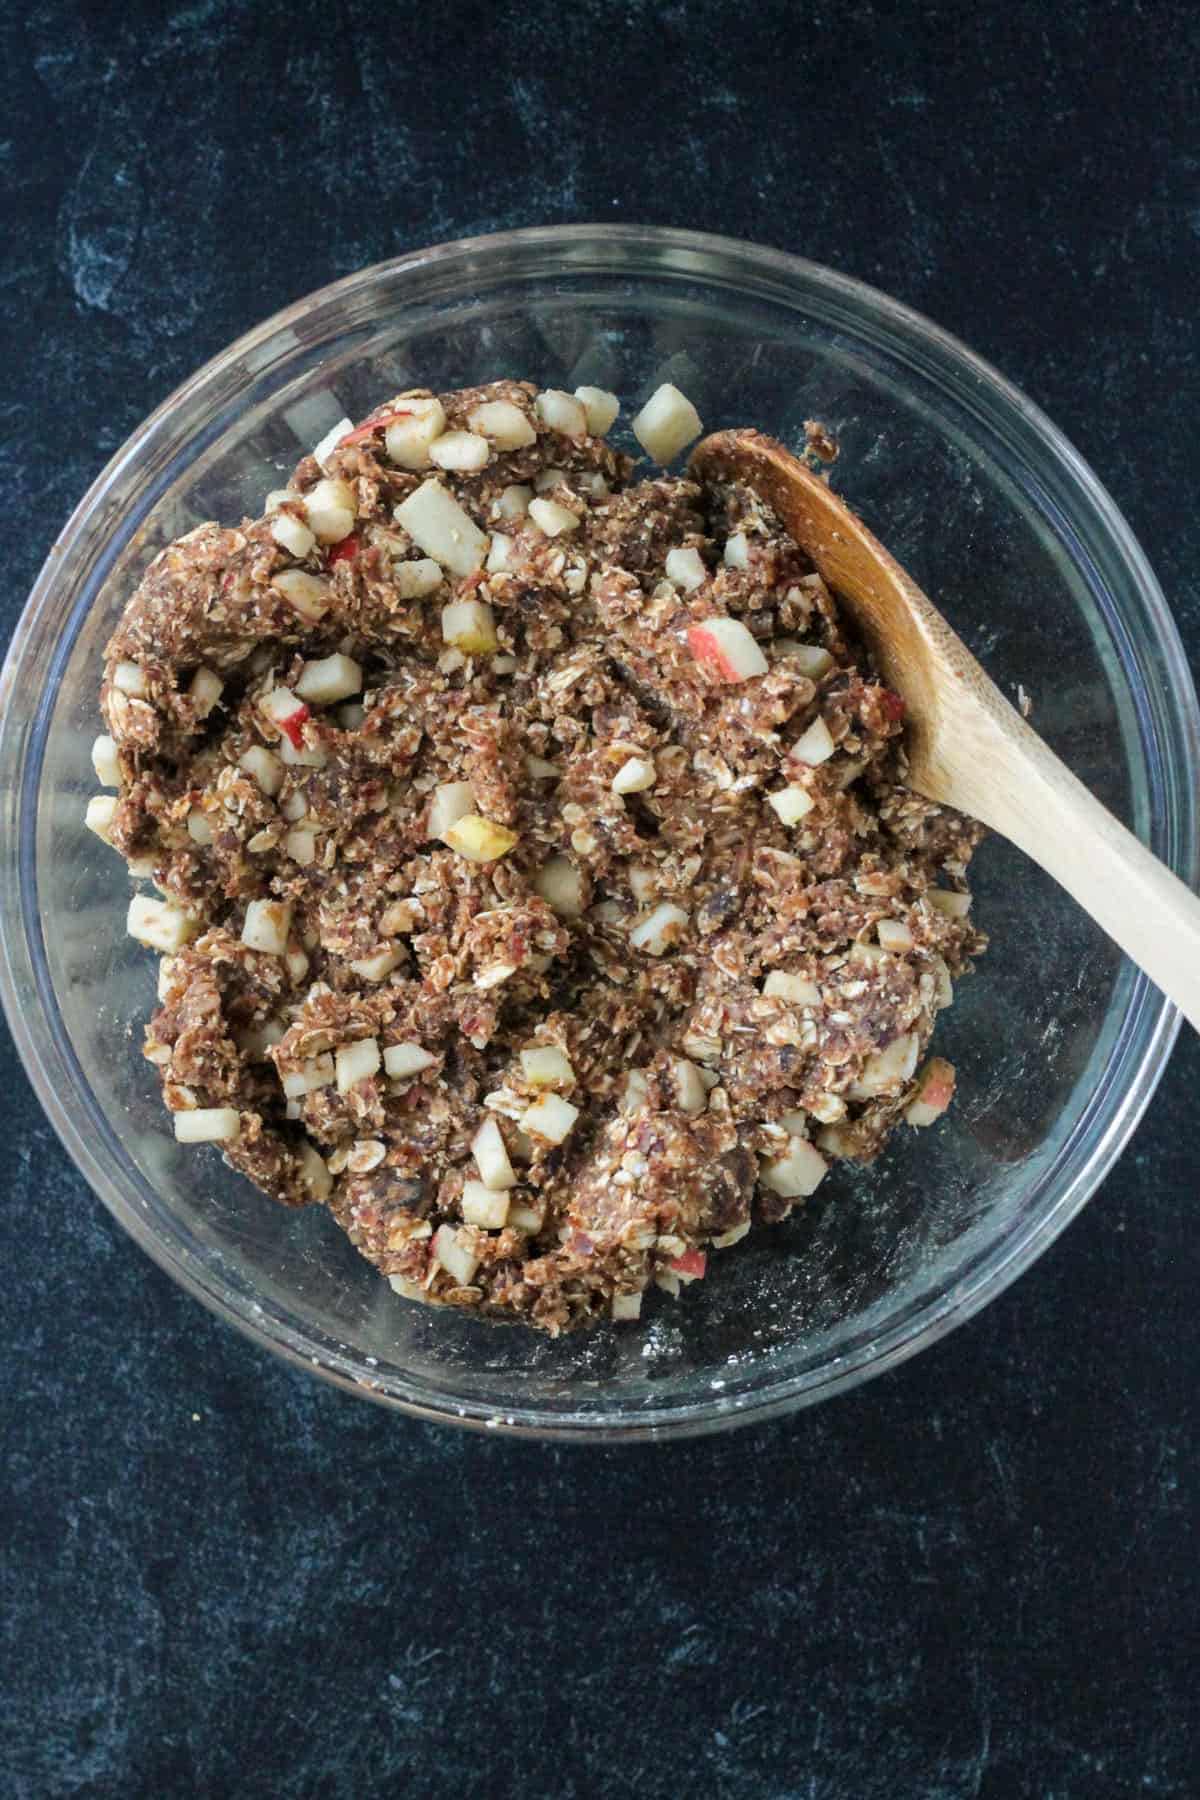
- Step 5: If the apple and extra oats don’t incorporate easily, turn out the mixture into a large bowl and stir with a wooden spoon (or clean hands).
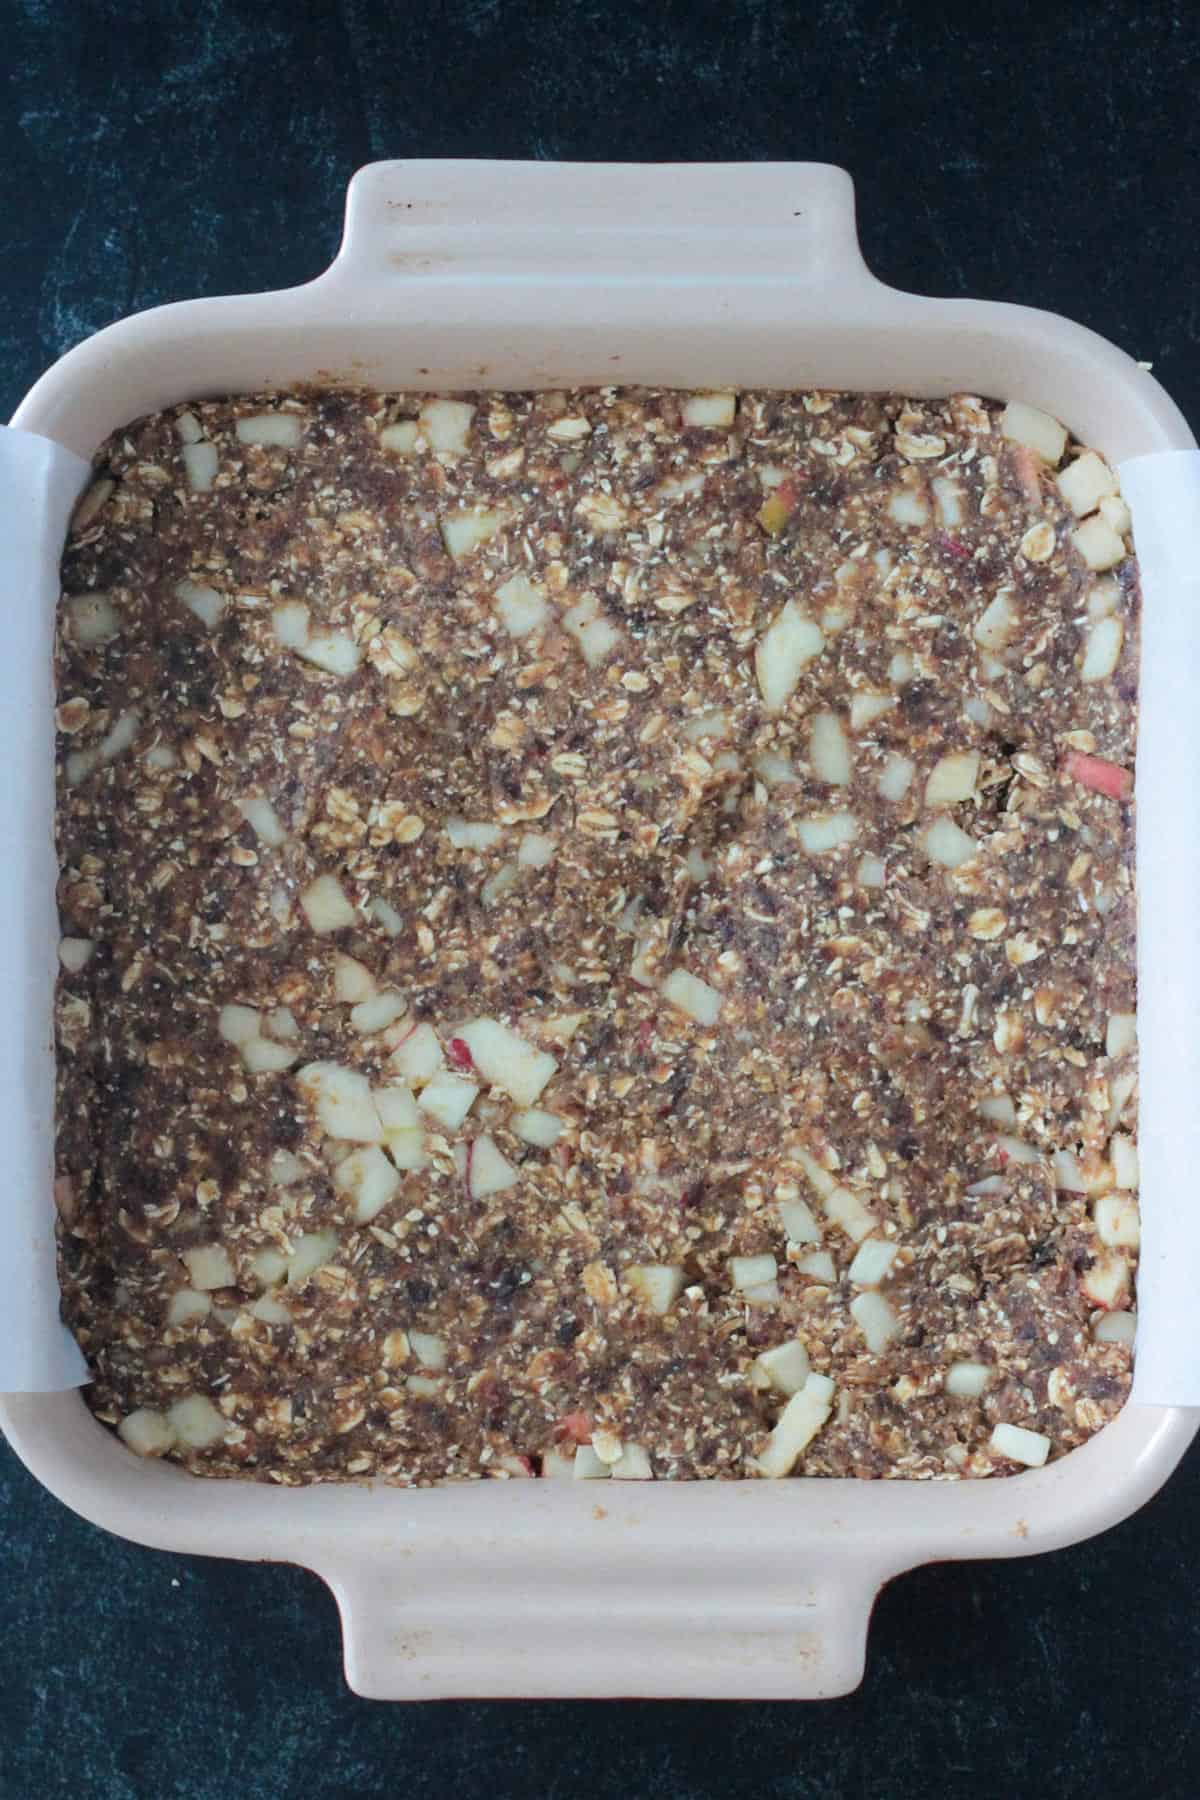
- Step 6: Press the oat mixture into an 8×8 prepared baking dish.
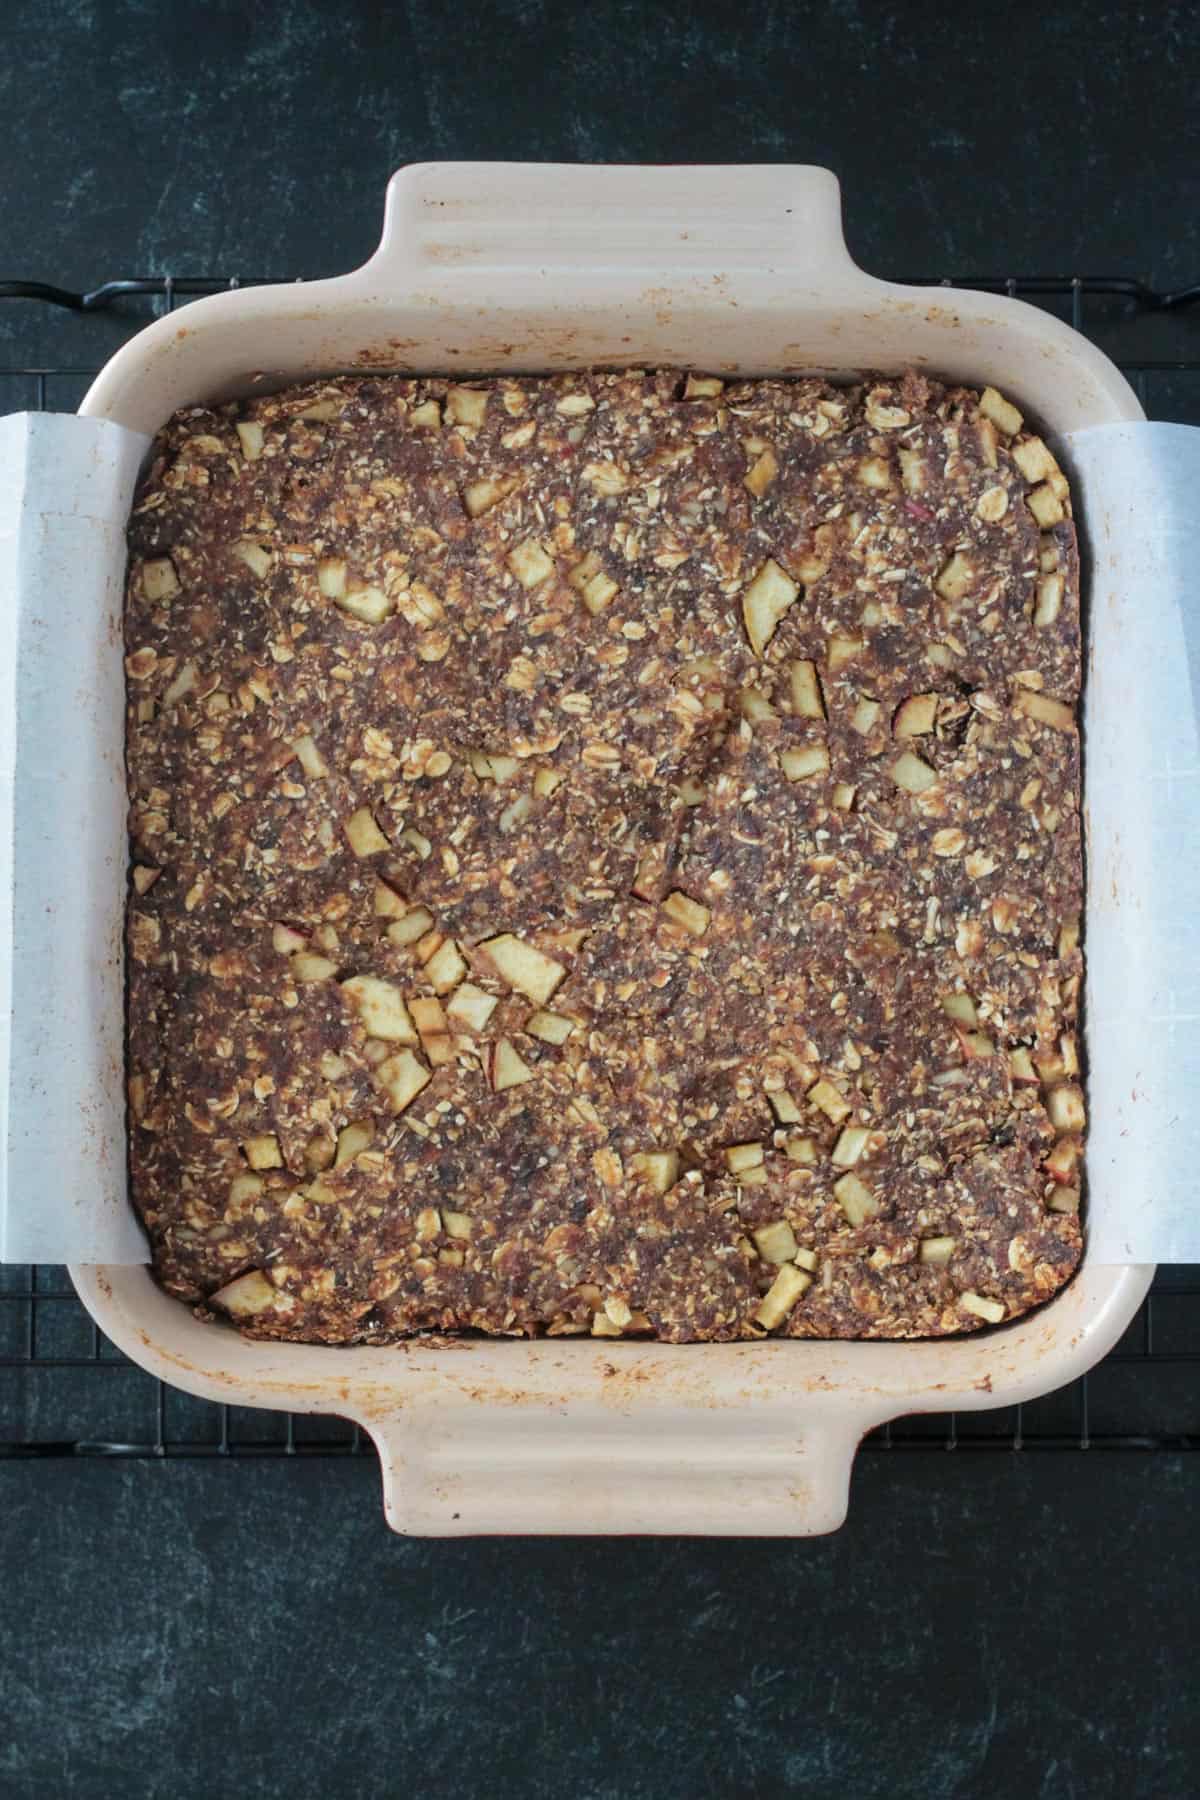
- Step 7: Bake for 20 minutes until a shade darker.
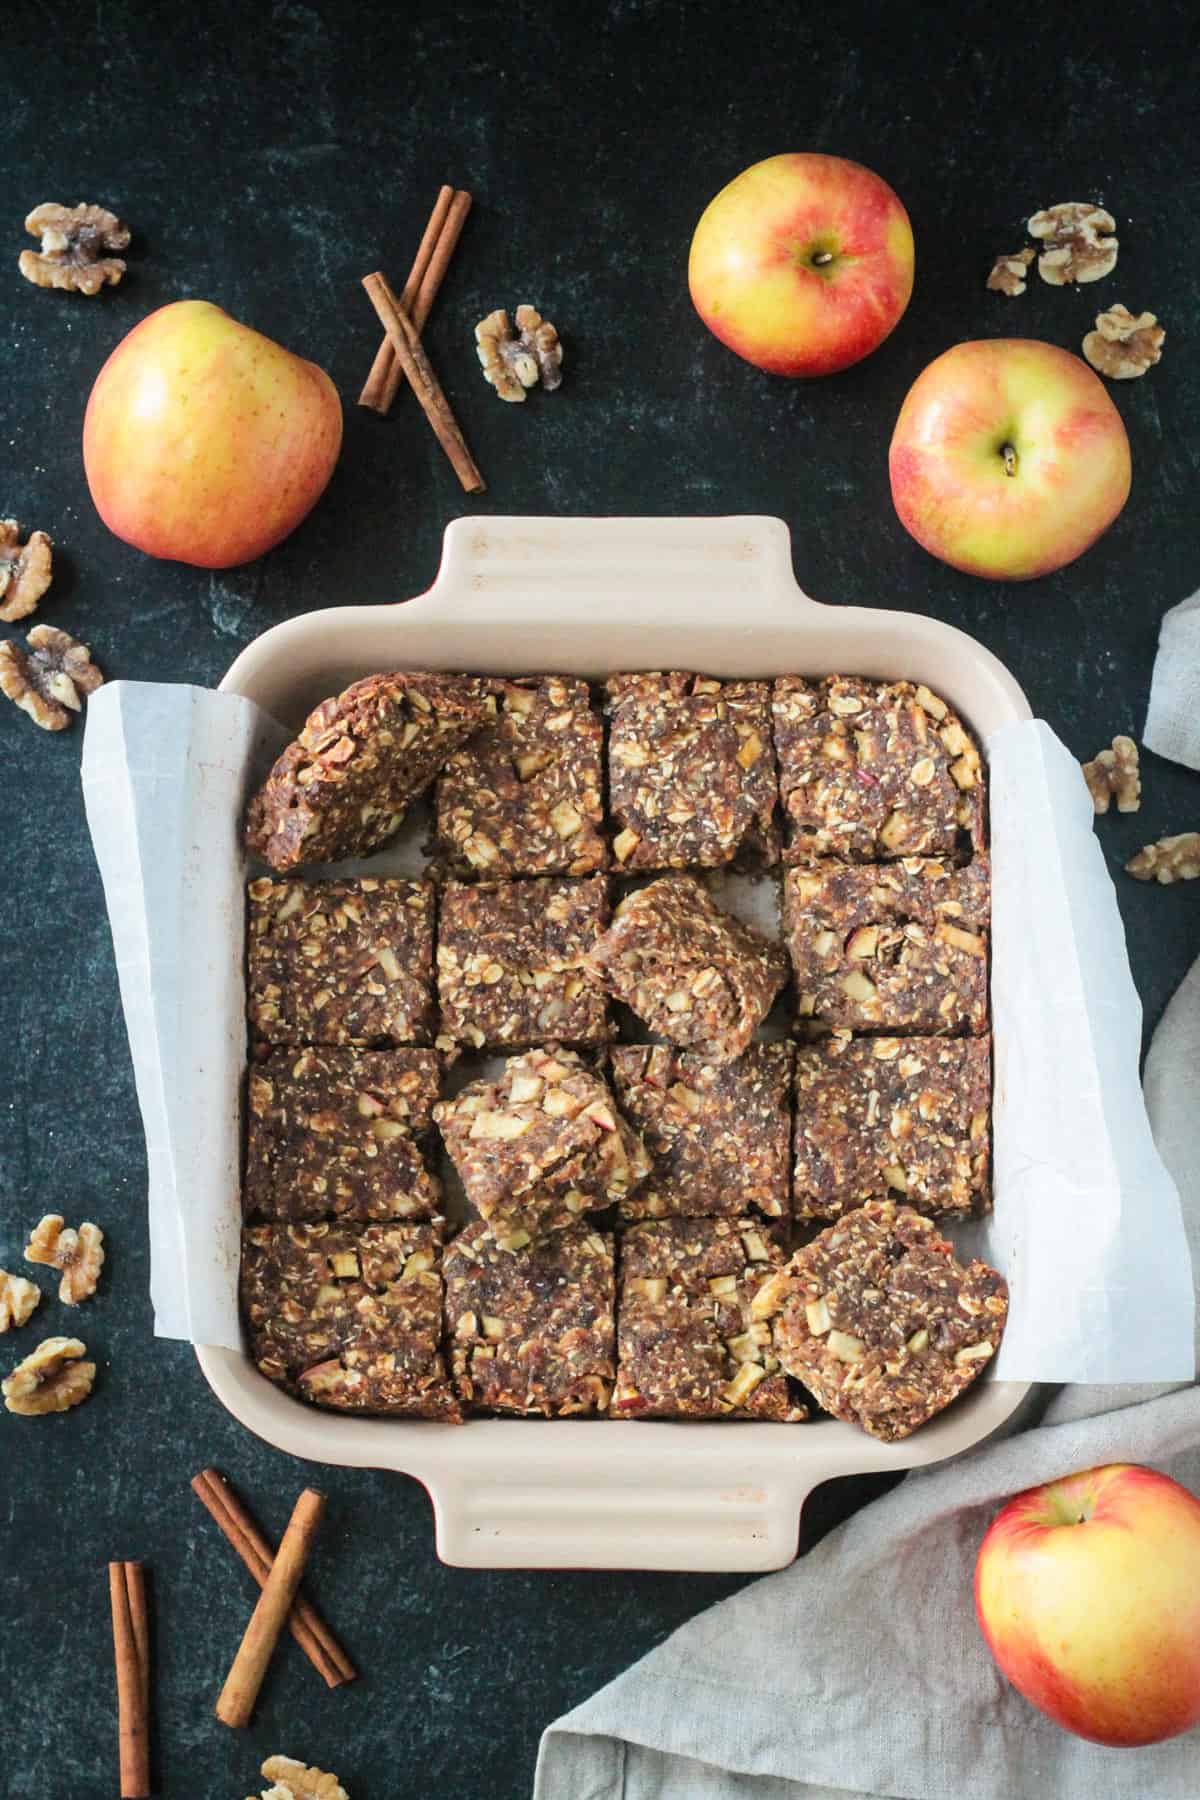
- Step 8: Allow to cool, then cut into equal size squares.
Storage and freezing
Fridge: Store these apple oat date bars in an airtight container in the fridge for up to 5 days.
Freezer: You can also freeze these bars. I suggest placing them on a large plate or baking sheet and placing in the freezer until frozen. Once frozen, wrap each bar individually in parchment paper then transfer them to a freezer-safe container or plastic zip-top bag. This makes them easy to grab-n-go and pop into lunchboxes. They should keep well for up to 2 months.
Thaw: From frozen, these date bars should thaw within a couple of hours at room temperature. Or allow them to thaw overnight in the fridge.

Pro tips and tricks
- Check the dates for any pit fragments, even if you buy pitted dates. They often don’t get them all out!
- Pulse the mixture until a sticky dough forms, but some texture still remains. It should easily stick together when pressed with your fingers.
- You may need to use your clean hands to mix in the diced apples and remaining oats, especially if your food processor is on the smaller side. It might seem like they won’t mix well, but if you keep “kneading”/pressing the mixture in your hands, it will all come together.
- Line the baking dish with parchment paper to easily remove the bars after baking. I like to spritz a light coating of cooking spray on the bottom of the pan before adding the parchment paper. This allows the parchment to “stick” to the pan so it doesn’t move around when you press the batter in.
- Press the mixture firmly into the prepared baking dish. The more compact you can press the mixture, the better the bars will hold together.
- While these date bars can be eaten raw, I prefer the texture after baking them for a bit.
- Allow the bars to cool completely before cutting into squares.

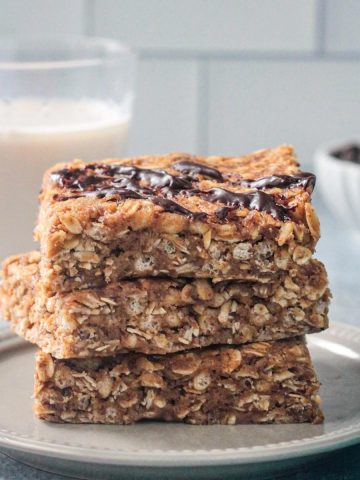
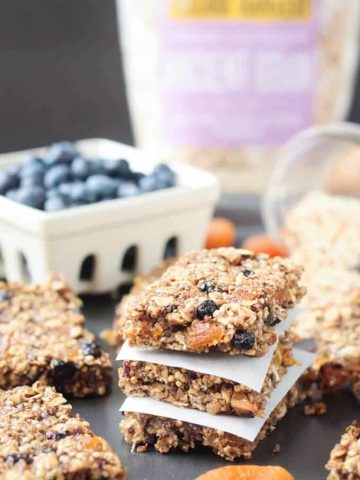
More vegan snack bars

I hope you love this recipe as much as we do! If you tried it, please use the star rating system in the recipe card and leave a comment with your feedback. ⭐️⭐️⭐️⭐️⭐️
For even more easy family recipes, be sure to check out my cookbook, The Meatless Monday Family Cookbook!
Apple Oat Date Bars
Recommended Equipment
Ingredients
- 3 cups pitted dates soaked in warm water for 20 minutes, if they are dry, and drained
- 2 cups old-fashioned rolled oats divided
- 1 cup raw, unsalted walnuts
- 1 teaspoon ground cinnamon
- ½ teaspoon ground ginger
- ¼ teaspoon salt
- 1 cup diced apples
Instructions
- Preheat oven to 350°F. Line an 8×8 baking dish with parchment paper – let the ends hang over the dish so you can use them as handles later to easily pull the bars out of the pan. Set aside.
- In a food processor, pulse the dates, 1 cup of oats, walnuts, cinnamon, and ginger just until a pasty dough is formed. The mixture should be sticky, but still have texture. Don't over process.
- Add in the remaining 1 cup of oats and the apples and pulse a few times just to mix. You do NOT want to overmix. If the oats and apples don't incorporate easily, turn the dough out into a mixing bowl and mix everything with a wooden spoon (or your clean hands) just until incorporated.
- Slightly dampen your hands so the batter doesn't stick and press the batter into the prepared baking dish.
- Bake for 20 minutes until the mixture has turned about a shade darker.
- Let cool in the pan on a cooling rack before removing the whole square of bars from the pan. Cut into 16 small squares.
Notes
-
- Check the dates for any pit fragments, even if you buy pitted dates. They often don’t get them all out!
-
- Pulse the mixture until a sticky dough forms, but some texture still remains. It should easily stick together when pressed with your fingers.
-
- You may need to use your clean hands to mix in the diced apples and remaining oats, especially if your food processor is on the smaller side. It might seem like they won’t mix well, but if you keep “kneading”/pressing the mixture in your hands, it will all come together.
-
- Line the baking dish with parchment paper to easily remove the bars after baking. I like to spritz a light coating of cooking spray on the bottom of the pan before adding the parchment paper. This allows the parchment to “stick” to the pan so it doesn’t move around when you press the batter in.
-
- Press the mixture firmly into the prepared baking dish. The more compact you can press the mixture, the better the bars will hold together.
-
- Allow the bars to cool completely before cutting into squares.
Nutrition
Nutrition values are calculated using online calculators and are estimates only. Please verify using your own data.


Kina
Hi, thank you for sharing this recipe. I halved it and used almonds instead of walnuts. Baked the doigh for about 20 minutes on 180° celsius. After I cutting the baked dough, I put the bars back in the oven for another 20 minutes, because I wanted them to be more crunchy than chewy. I see myself making it again. One little things: I wish the recipe was available in metrics too.
Jenn Sebestyen
Glad you enjoyed them. Thank you for your comment and feedback!
Michele
I just made these, and yummm. Thank you for the recipe. I made them for my granddaughter and I had to substitute pumpkin seeds for the walnuts due to a family members allergies, but if she doesn’t like them, then I won’t have any trouble at all eating them:)
Jenn Sebestyen
I’m so glad you love them. Pumpkin seeds sound like a great substitution! I hope your family loved them, too!
Debbie W.
I don’t own a food processor. Could I use a blender instead?
Jenn Sebestyen
I don’t think it would work in a blender. The mixture is much too thick.
MJ
These are perfect! I was just told my cholesterol is high and I need to watch what I eat. These satisfy the sweet craving while making me feel good about eating something healthy as a treat!
Jenn Sebestyen
I’m so glad you love them! Thank you so much for your comment and feedback.
Karen
I made these yesterday for my mother in laws lunch for a lady who cannot have lactose or any added sugar, and they went down a storm. I made individual ones in a muffin tin and served with fresh strawberries. They are perfect for a morning or pre workout snack too! I’m off to make some more. 😆
Jenn Sebestyen
This is wonderful to hear. Thank you for your comment and feedback, Karen!
Carly
I made exactly as descriped (half a batch) and they turned out well and were tasty. Thanks!
Jenn Sebestyen
I’m so glad you enjoyed them. Thank you, Carly!
TB
This recipe is very good. While there is no sugar added to the recipe, it is not sugar free. The dates and apples contribute a significant amount of sugar. Those with sugar restrictions should be made aware of that and “sugar free” should probably be removed from the title of the recipe.
Jenn Sebestyen
I’m so glad you like them. There is a huge difference between eating whole foods with natural sugars and adding granulated sugar to a recipe. Pretty much everything has natural sugar in some amount. But, I understand your point. Thanks for your comment.
Carrie
I have a severe nut allergy, so walnuts are a no-go. I don’t have a ton of experience with them, obviously, so am wondering – do you think a cup of raw pumpkin seeds would have a similar impact/work with the recipe?
Jenn Sebestyen
Yes, pumpkin seeds or sunflower seeds should work just fine. Let me know how they turn out. Enjoy!
Barb
You say not to over bend but I’m looking for a recipe naturally sweetened for a friend who has esophageal problems. What happens if I blend til smooth? Thanks. Looks delicious. I’m making it for mysel as written.
Jenn Sebestyen
The texture is best if it’s a bit chunky, but it will still work if you blend until smooth. You could even add a little bit of water in the batch you make for your friend if you need to smooth it out even more. They may not hold together quite as well, but will still be delicious. Let me know how they turn out!