This page may contain affiliate links. As an Amazon Associate I earn from qualifying purchases. Please see my Privacy Policy for more details. Advertisements displayed do not reflect endorsements or recommendations made by Veggie Inspired.


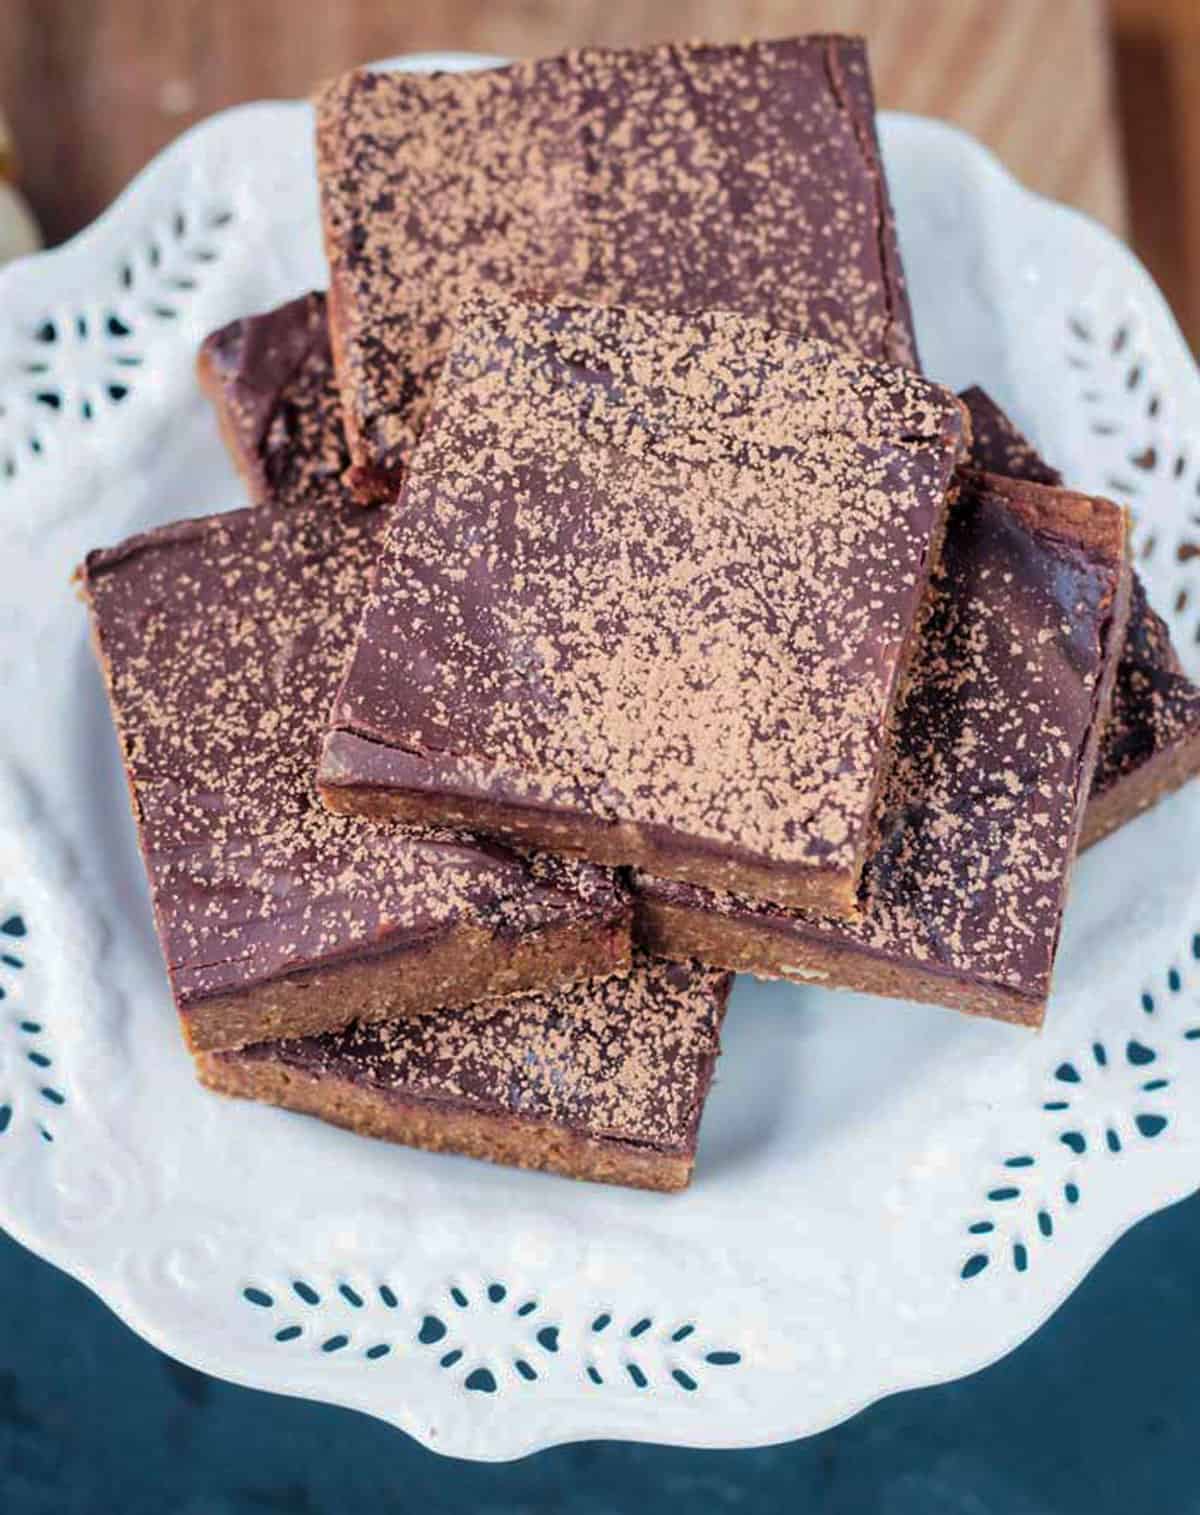
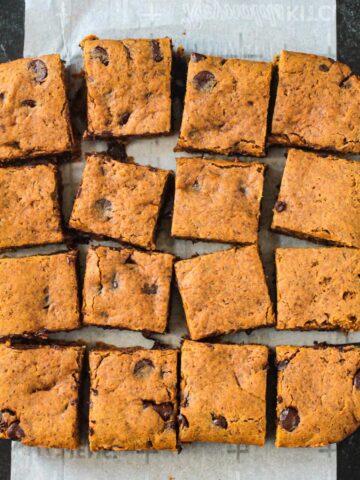
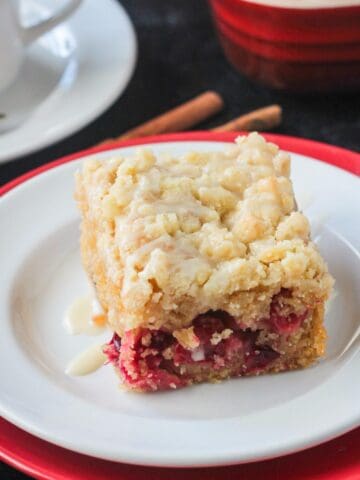
These Vegan Pumpkin Bars are super moist and fudgy with the perfect balance of chocolate and pumpkin. They’re a delicious cross between brownies and fudge. These also happen to be nut-free and gluten-free!

Save this Post!
I’ve tried several pumpkin brownie recipes in the past. Some of them are so chocolatey that the pumpkin gets lost. And some of them are so heavy on pumpkin pie spice that the chocolate flavor is missed. I think this particular recipe has the perfect balance of both.
There is a small amount of cocoa powder in the batter, but the pumpkin flavors are prominent. I then added a thin chocolate layer to the top.
When you take a bite, you taste the chocolate first, but then the pumpkin really comes through. I really like how you taste them separately, but then together.
My kids can gobble down a whole batch of these delicious pumpkin fudge bars and I think you’ll love them, too!
Ingredients you need

Ingredient notes and substitutions
Chickpeas ~ After the roaring success of my Cinnamon Chickpea Blondies, I went back to this magical bean to create these fudgy pumpkin bars.
You can use black beans, like in my Black Bean Mocha Brownies, but I think the chickpeas hold up just a tad better here.
Make sure when you drain your chickpeas, that you save the liquid from the can! You can use the chickpea brine (a.k.a. aquafaba) to make donuts, quick bread, marshmallow fluff, and cupcakes!
Flour ~ While the chickpeas replace most of the flour found in traditional brownies, a little bit of oat flour helps to firm them up.
All-purpose flour, white whole wheat, spelt, or an all-purpose gluten-free flour blend can all be used instead, if you prefer.
Cocoa powder ~ Use unsweetened cocoa powder.
Pumpkin ~ Use 100% pure pumpkin purée, not pumpkin pie filling.
Sweet potato purée would also work.
Sweetener ~ Pure maple syrup makes these healthy pumpkin bars refined sugar-free.
Chocolate chips ~ Choose dairy-free semi-sweet chocolate chips.
How to make the recipe

The batter for these dessert bars is easily made in a food processor.
Place all the ingredients, except the chocolate chips, in the bowl of a food processor fitted with an S-blade (1). Purée to combine, stopping to scrape down the sides as necessary (2) until completely smooth (3).
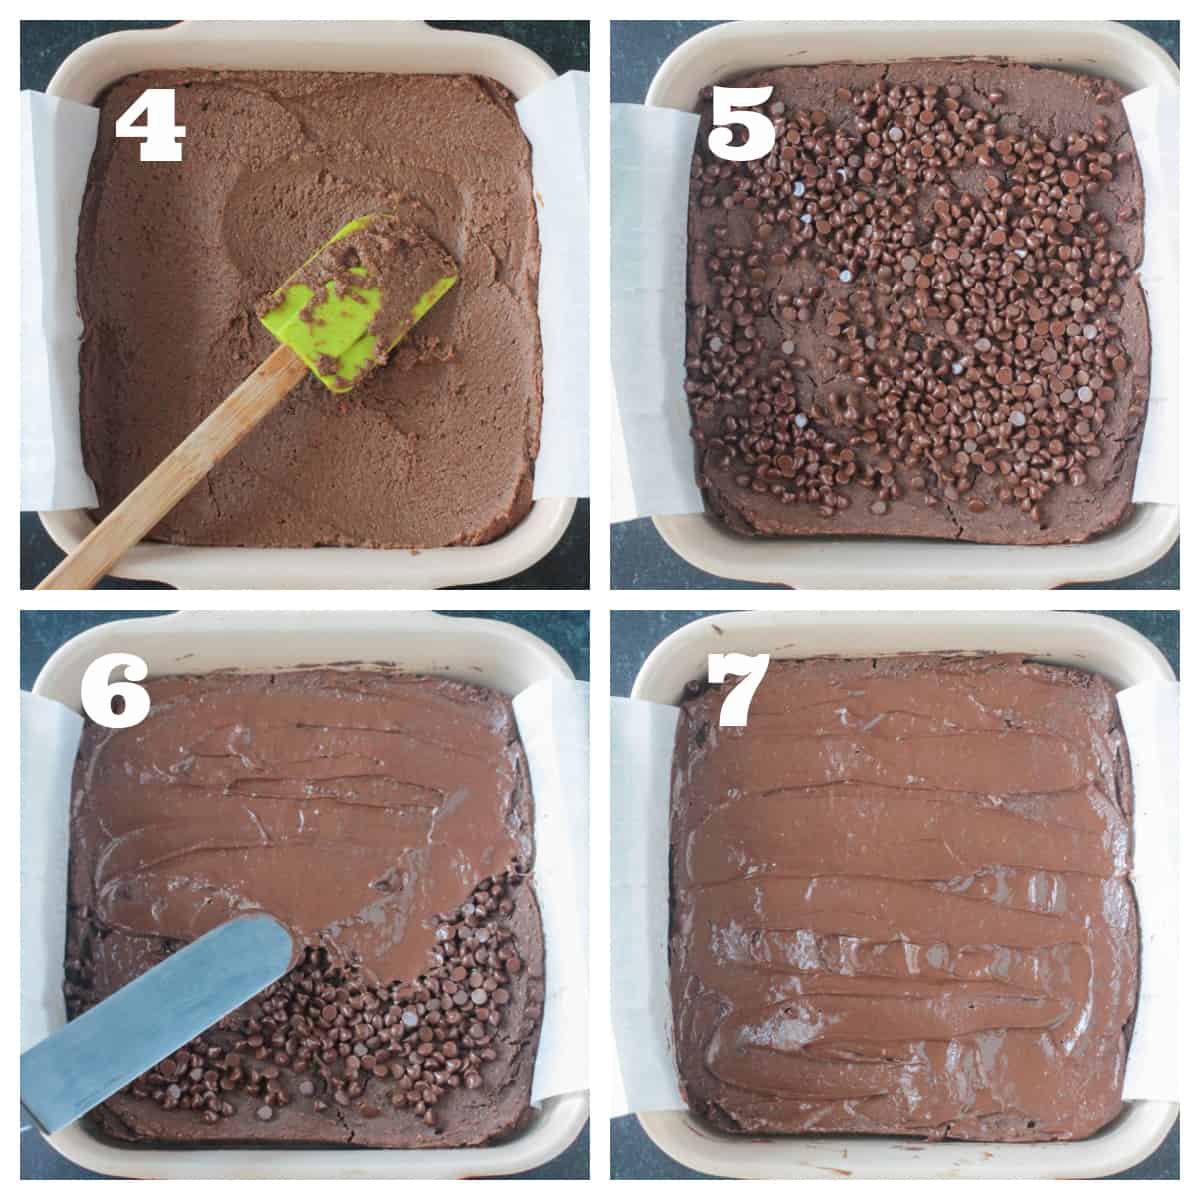
Spread the batter evenly into a parchment lined 8×8 baking dish (5).
Once cooked through, sprinkle the chocolate chips on top and put back into the oven for another 2 to 3 minutes until the chips are melty (6).
Using an offset spatula (7) spread the chocolate chips out into one thin even layer over the brownies (8).
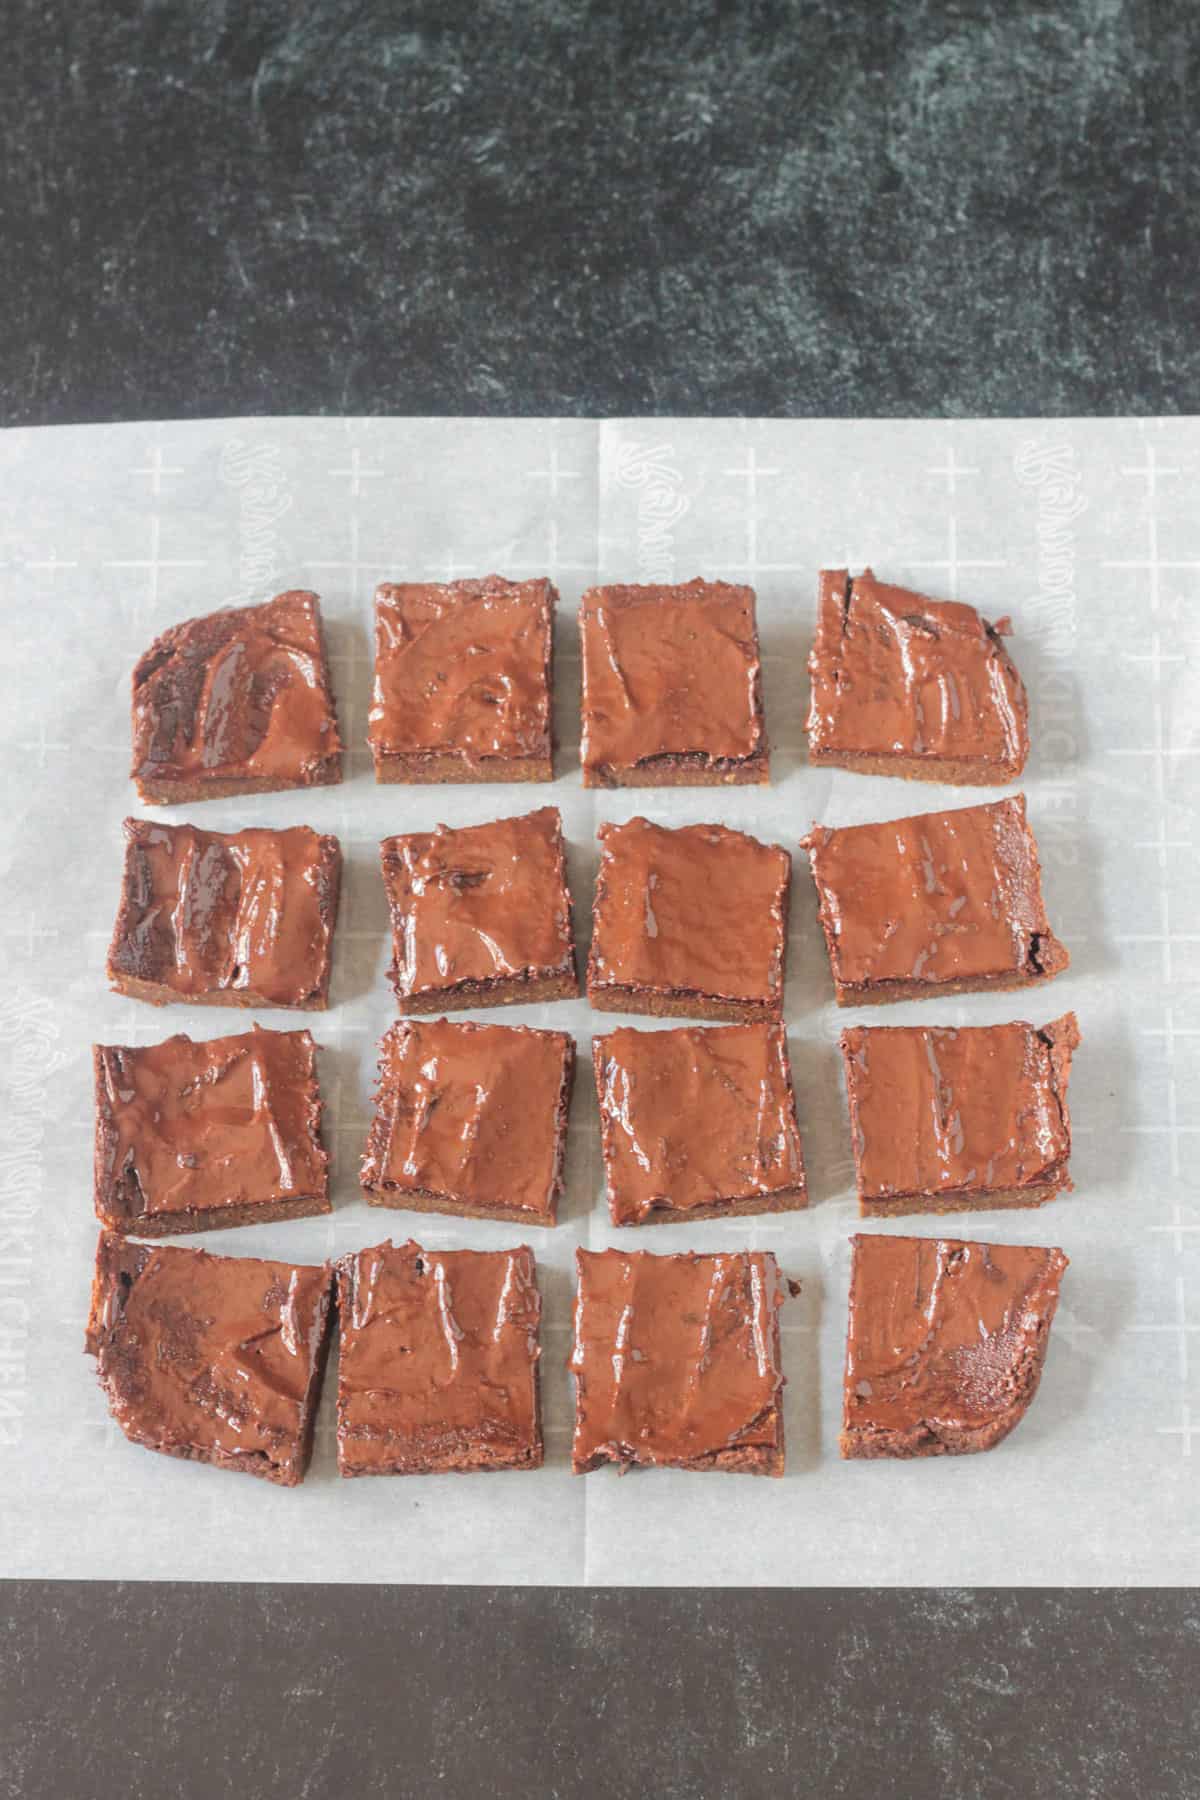
Place the pan on a cooling rack and allow the brownies to cool completely before removing them. Once cool, cut into squares.
Storage and freezing
Fridge: Store leftovers of these vegan pumpkin fudge bars in an air-tight container in the fridge for 4 to 5 days.
Freezer: You can also freeze them! Place cut bars on a large plate or baking sheet in one even layer and lay them flat in the freezer. Once frozen, you can wrap them individually in parchment and place in a freezer safe plastic bag. They should keep well for up to 3 months.

Pro tips for success
~ Drain and rinse the canned chickpeas, then dry them as much as possible.
~ Use 100% pure pumpkin purée, not pumpkin pie filling.
~ All-purpose flour or white whole wheat flour may be used in place of the oat flour, if you prefer. The bars would not be gluten-free if you make this swap. You could also use an all-purpose gluten free flour blend.
~ Use a food processor to ensure the chickpeas are blended until smooth. Mashing them with a fork or potato masher will not be enough.
~ Line the baking pan with parchment paper and let the ends of the parchment hang over the edges of the pan (see photos above in the How to make the recipe section) to make removing the bars from the pan easy.
~ Spread the melted chocolate chips evenly over the top of the bars while they are still hot.
~ Let the bars cool!! I can not stress this enough. These pumpkin fudge bars need time to set up before removing them from the pan and cutting. Transfer the pan of bars to a cooling rack and let them cool for at least 30 minutes to an hour. Do not be tempted to rush this!
FAQs
In traditional brownies, a higher fat content is what makes them extra fudgy. These pumpkin bars, however, are low fat! It’s the chickpeas that make them moist and fudgy and less like cake.
Yes, these vegan pumpkin fudge bars should be refrigerated for proper storage. They should keep for 4 to 5 days in an air-tight container in the fridge.

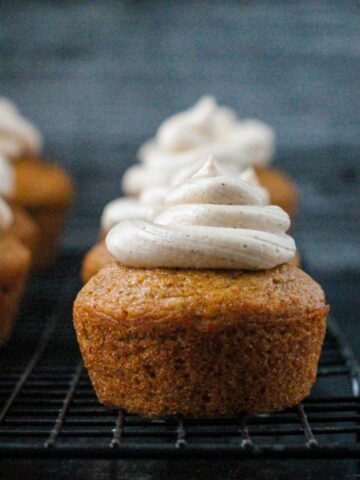
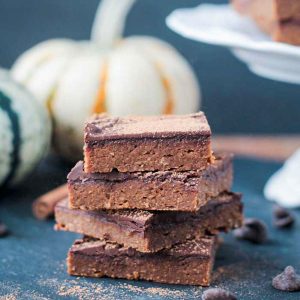
More vegan pumpkin desserts
I hope you love this recipe as much as we do! If you tried it, please use the star rating system in the recipe card and leave a comment with your feedback. ⭐️⭐️⭐️⭐️⭐️
For even more easy family recipes, be sure to check out my cookbook, The Meatless Monday Family Cookbook!
Vegan Pumpkin Fudge Bars
Recommended Equipment
Ingredients
- 1 can (15 oz) chickpeas drained and rinsed (or 1 ½ cups cooked chickpeas)
- ½ cup pure pumpkin purée
- ¼ cup unsweetened cocoa powder
- ½ cup gluten free oat flour
- ½ teaspoon baking powder
- ½ teaspoon pure vanilla extract
- ½ cup pure maple syrup
- 1 teaspoon pumpkin pie spice
- ¼ teaspoon salt
- ½ – ¾ cup dairy-free chocolate chips
Instructions
- Preheat over to 350°F. Line an 8×8 baking dish with parchment paper, letting the edges of paper overhang the sides. Set the baking dish aside.
- In the bowl of a food processor, add all of the ingredients except for the chocolate chips. Process until smooth, scraping down the sides as necessary.
- Transfer the batter to the prepared baking dish and smooth out the surface.
- Bake for 22 to 25 minutes until the top is set.
- Sprinkle the chocolate chips over the top of the bars and bake another 2 to 3 minutes until the chocolate chips are soft.
- Using an offset spatula, spread the chocolate chips into a smooth even layer.
- Let the bars sit in the pan until completely cool. The longer, the better. At least 30 minutes to an hour. Carefully pull the brownies out of the pan by the parchment paper "handles". Cut into squares.
Notes
Nutrition
Nutrition values are calculated using online calculators and are estimates only. Please verify using your own data.
Chris
Hey Jenn! Made these last week for a potluck and they were a real hit – even among my non vegan friends! Made them on Friday night and shared them on Saturday. I feel they were better the following day.
A healthy treat to feel good about.
Thanks for another excellent recipe as usual!
Chris-
Jenn Sebestyen
I’m so happy to hear that, Chris! I agree, the texture gets even better as they sit! So yummy!
Tara Brewer
I’m disappointed how these turned out as well. I followed the recipe exactly but the taste of the chickpeas is really strong and they aren’t very sweet. Not any relation to a brownie, even a healthy version.
Jenn Sebestyen
Thank you for your feedback, Tara.
Chris
Hey Jen – can I use a different flour? Or is blending oats into a flour ok?
Would love to try these 🙂
Jenn Sebestyen
You can definitely blend your own oats into flour. Or all-purpose, spelt, or a gluten free all purpose blend would all work, too. Enjoy!
Judy Stone
Easy peasy and incredibly awesome. Definitely goes on my short list for healthy sweet treats.
Jenn Sebestyen
Love hearing this, Judy! Thank you! I’m so glad you love them!
Molly
I was honestly disappointed in the outcome. I am not sure why this was made in a food processor rather than in a large bowl with electric mixer. I think maybe I did not spend enough time making sure it was really thoroughly integrated. The texture was cardboard-y and it was not sweet enough.
Jenn Sebestyen
Hi, Molly. I’m sorry they didn’t work out for you. They should be very moist and soft, definitely not like cardboard. Sounds like ingredient proportions were off. Did you change or substitute any of the ingredients? As far as sweetness, they aren’t supposed to be super sweet. If you like things on the sweeter side, you can add a few tablespoons of coconut sugar or regular sugar to the mixture.
Michelle
Loved these and so did my husband! They totally satisfied my sweet craving and made it feel like I was indulging without undoing my healthy diet.
Should these be refrigerated? Last time I made them I refrigerated them to set the chocolate but then it got too hard and separated from the bar. I worry about leaving them on the counter for too long though. Anyone have advice?
Jenn Sebestyen
Thank you, Michelle! I’m so glad you both love them! I keep them in the fridge. If the chocolate is separating from the rest of the bar, just take them out and leave them on the counter for 10 to 15 minutes before eating. Thanks for your feedback!