This page may contain affiliate links. As an Amazon Associate I earn from qualifying purchases. Please see my Privacy Policy for more details. Advertisements displayed do not reflect endorsements or recommendations made by Veggie Inspired.


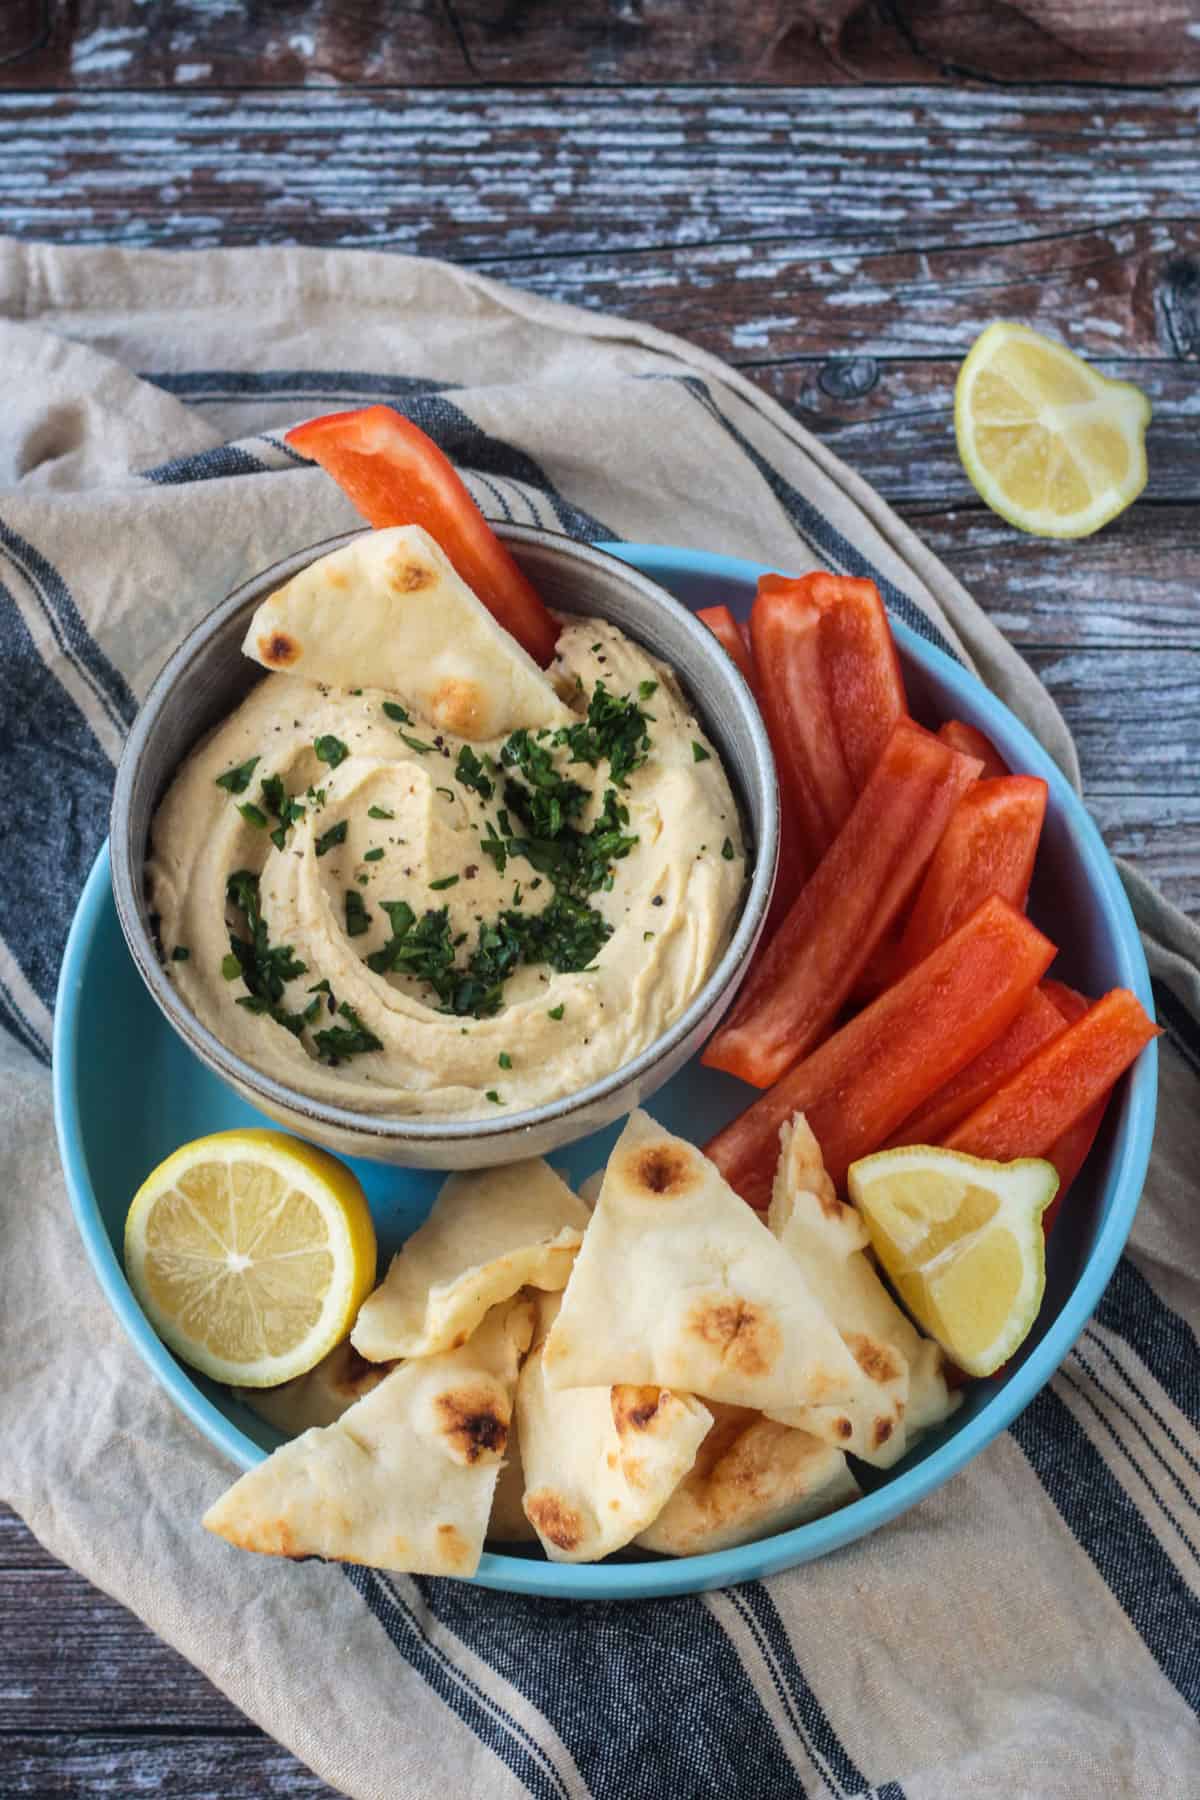
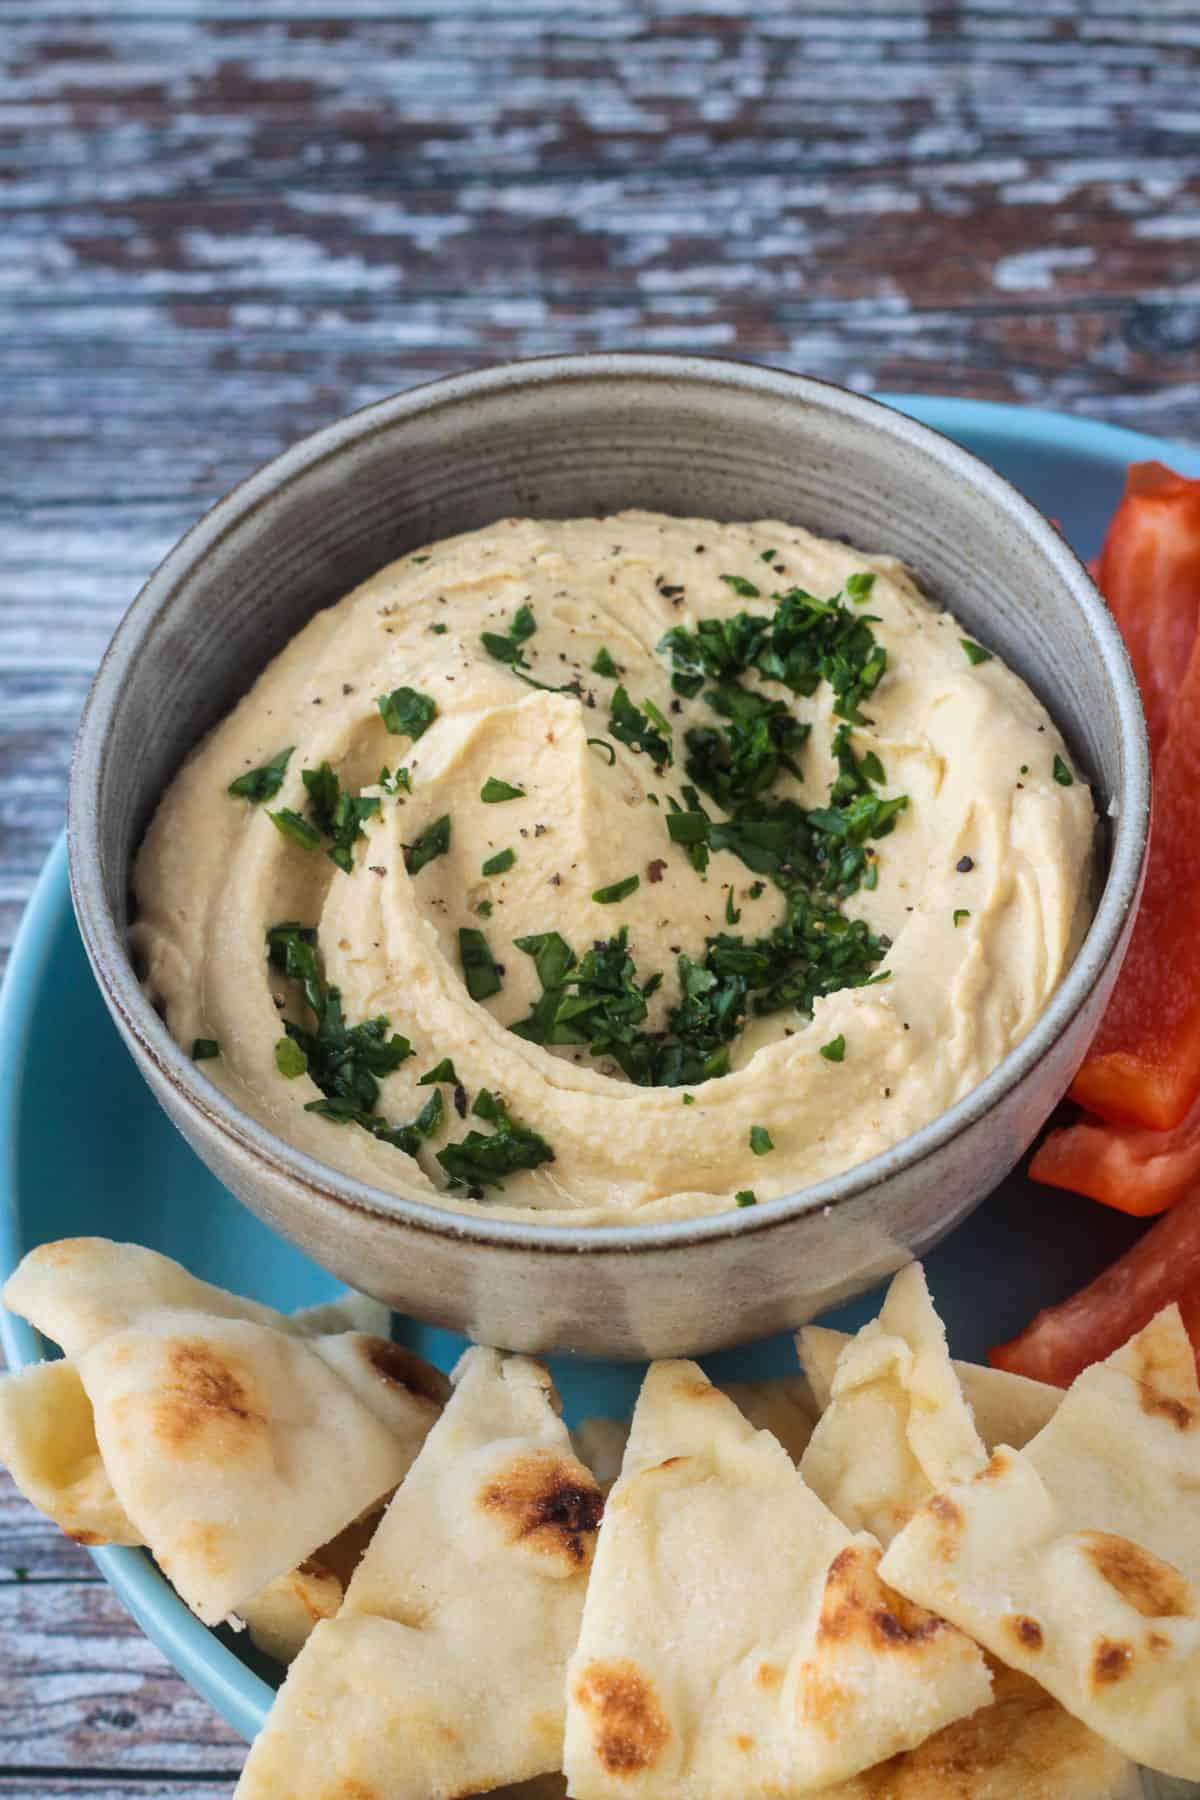
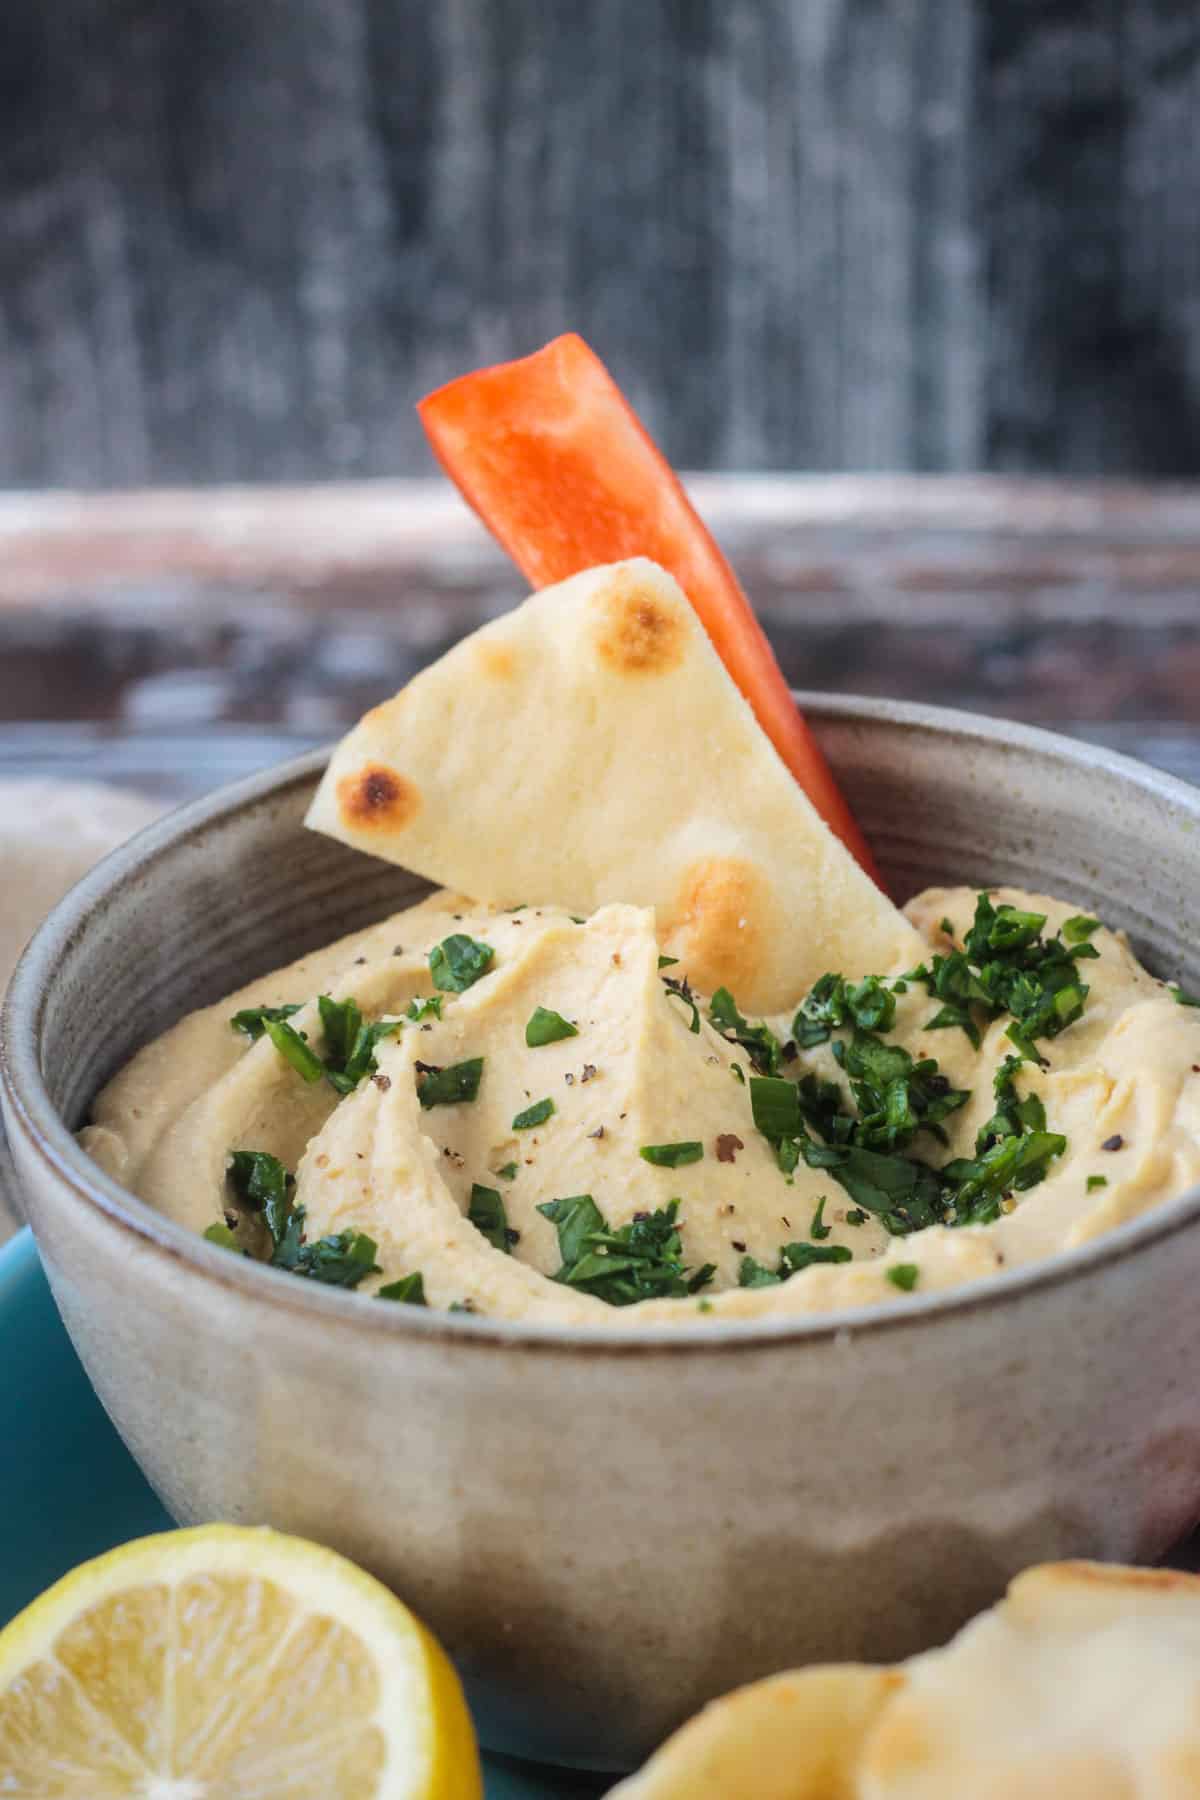
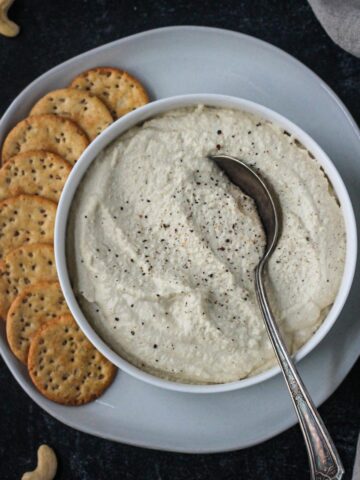
Super soft and creamy hummus without the guilt! It’s vegan, gluten-free and so easy to make! Pair it with pita bread, crackers or fresh cut vegetables for a delicious snack that won’t weigh you down. This perfect Oil-Free Hummus is great for everyday snacking or party appetizers.
Save this Post!
With 3 growing kids in the house, it seems to always be snack time around here. While they are perfectly happy to grab a piece of fruit or handful of pretzels, I like to provide a more well-balanced option.
This Oil-Free Hummus takes just 15 minutes and makes about 2 cups, so it’s easy to always have a container in the fridge. The kids can pull it out whenever they are hungry and take a few tablespoons for dipping their pretzels, veggies, tortilla chips or pita bread.
It also makes great party food!
Ingredients you need
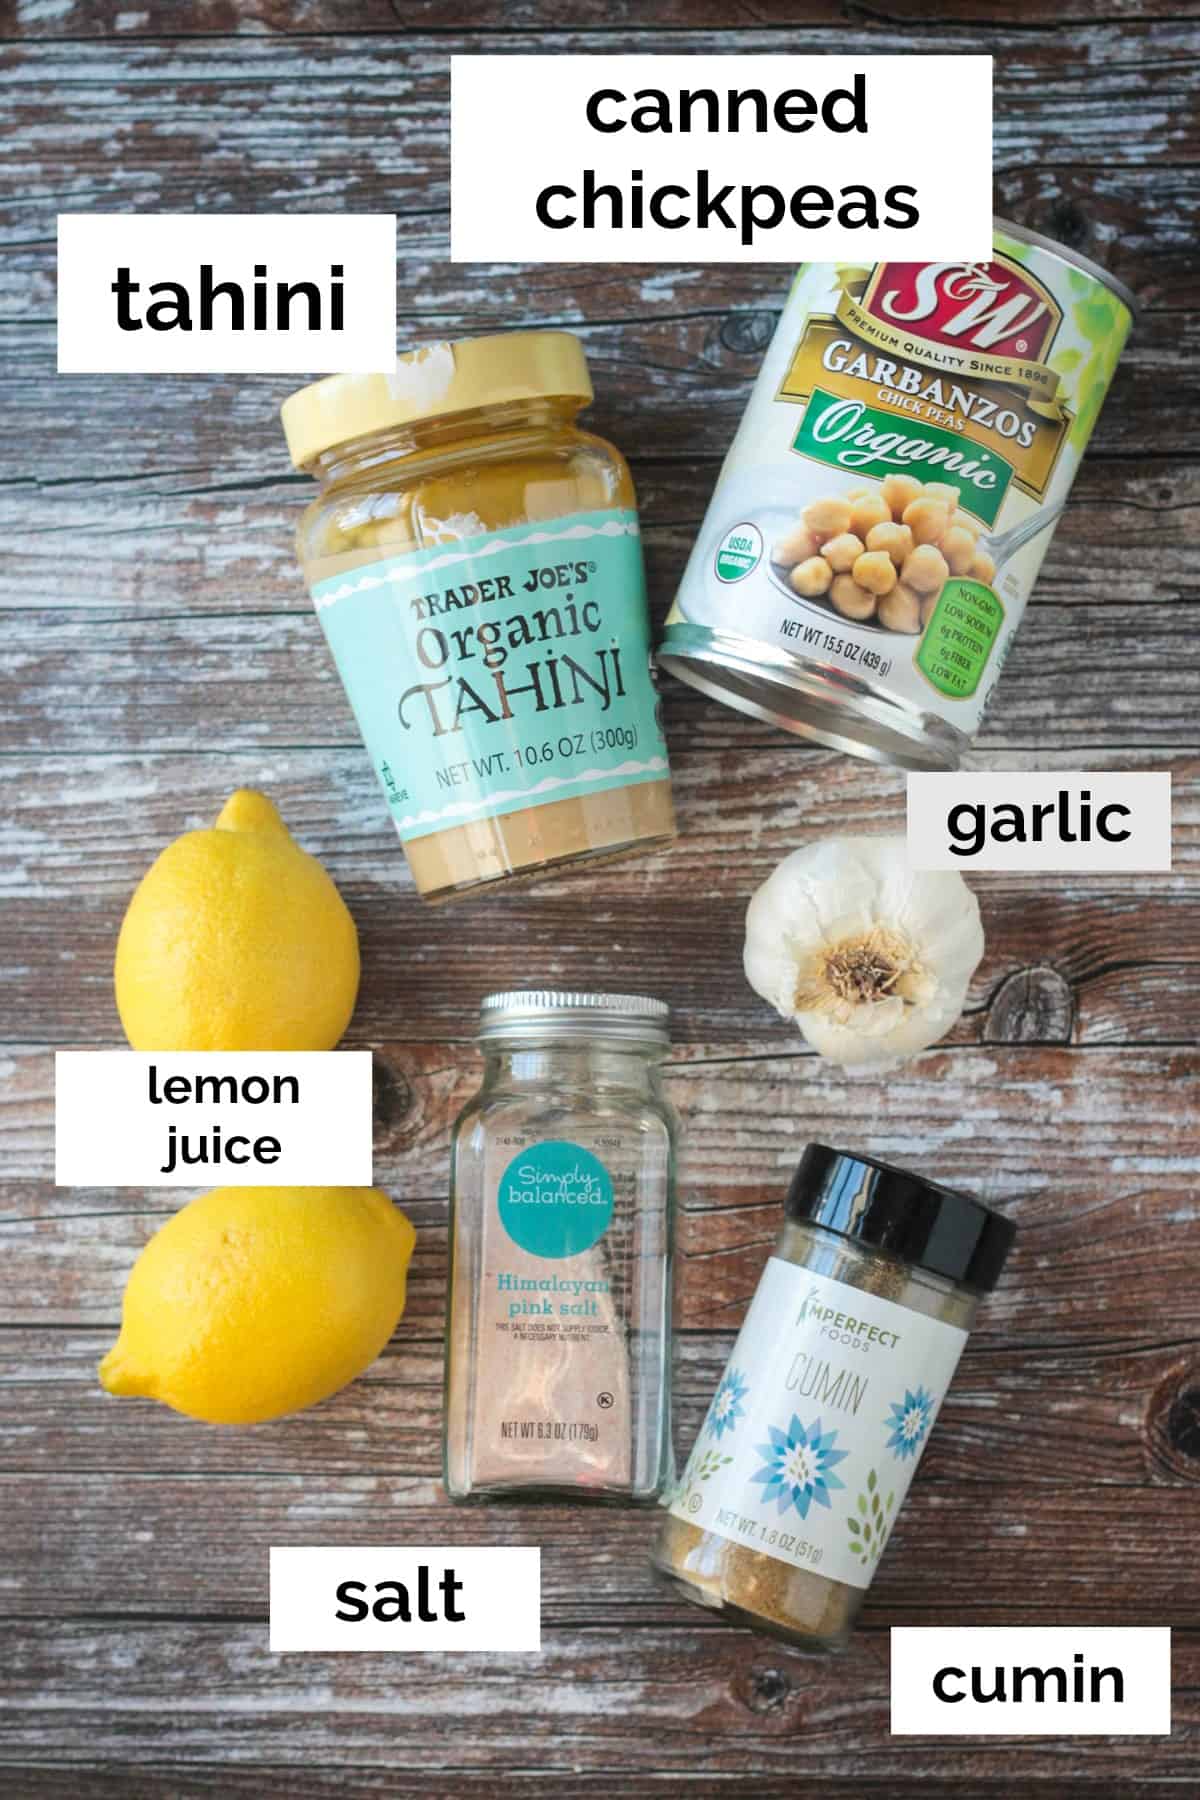
Ingredient notes and substitutions
Chickpeas ~ Chickpeas are the base of our hummus. They blend up smooth and creamy!
White beans may be used in place of chickpeas, if you prefer.
Tahini ~ Tahini is a paste made from sesame seeds. It is similar in texture to nut butters, but typically runnier. It has an earthy, nutty flavor and is a key ingredient in authentic hummus recipes.
Garlic ~ Fresh garlic adds great flavor. Jarred chopped garlic can be used in a pinch. I do not recommend garlic powder. If you hate garlic, you can leave it out.
Lemon juice ~ To get the best results, always use fresh lemon juice. It is bright and crisp. Bottled juice contains preservatives and, sometimes, even lemon oil, and can leave it tasting a bit off. Bottled 100% juice can be used in a pinch, but taste and adjust seasonings as necessary.
Spices & Seasonings ~ I keep this recipe pretty basic with just cumin and salt. A little smoked paprika would be a nice addition or a few shakes of hot sauce for a little kick of heat.
How to make the recipe
I used canned chickpeas for convenience. It means I can whip up a batch of hummus anytime I want with little to no prep time.
If you prefer to cook your chickpeas from scratch, see this article All about Chickpeas for methods and cook times. I suggest you overcook the chickpeas for this recipe to ensure it becomes smooth and creamy.
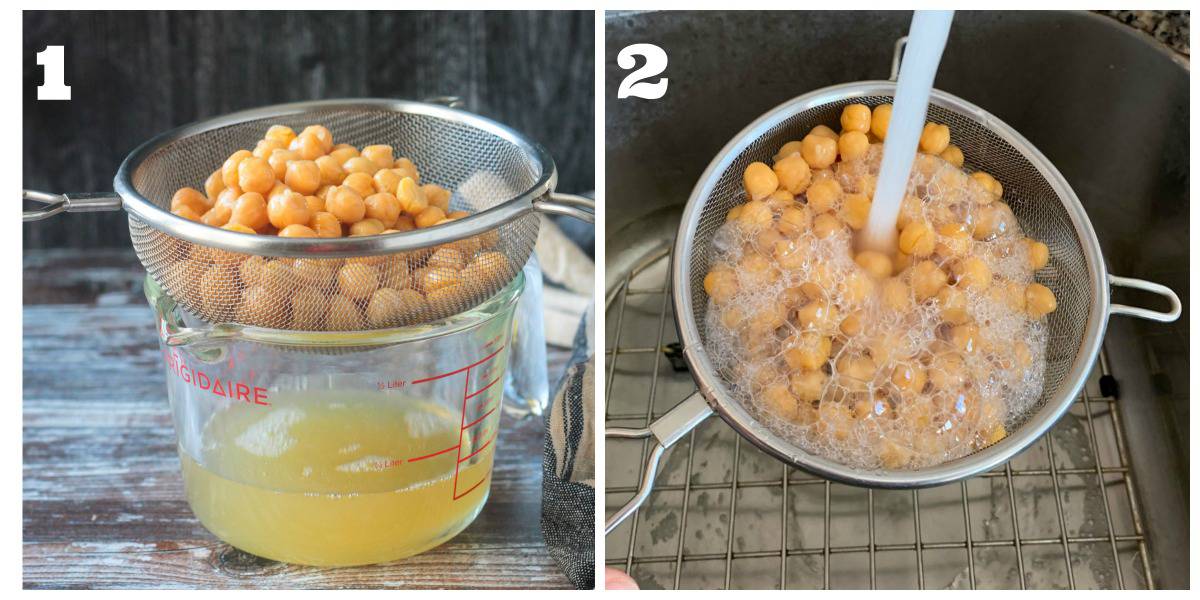
First, drain the can of chickpeas over a measuring cup or bowl (1). You want to make sure to save the liquid from the can! We’ll be using it in the recipe.
Then, rinse off the chickpeas with cold water (2). This step is optional since we will be adding back the liquid from the can anyway, but it will help to reduce some of the sodium and the tinny taste you can sometimes get from the can.
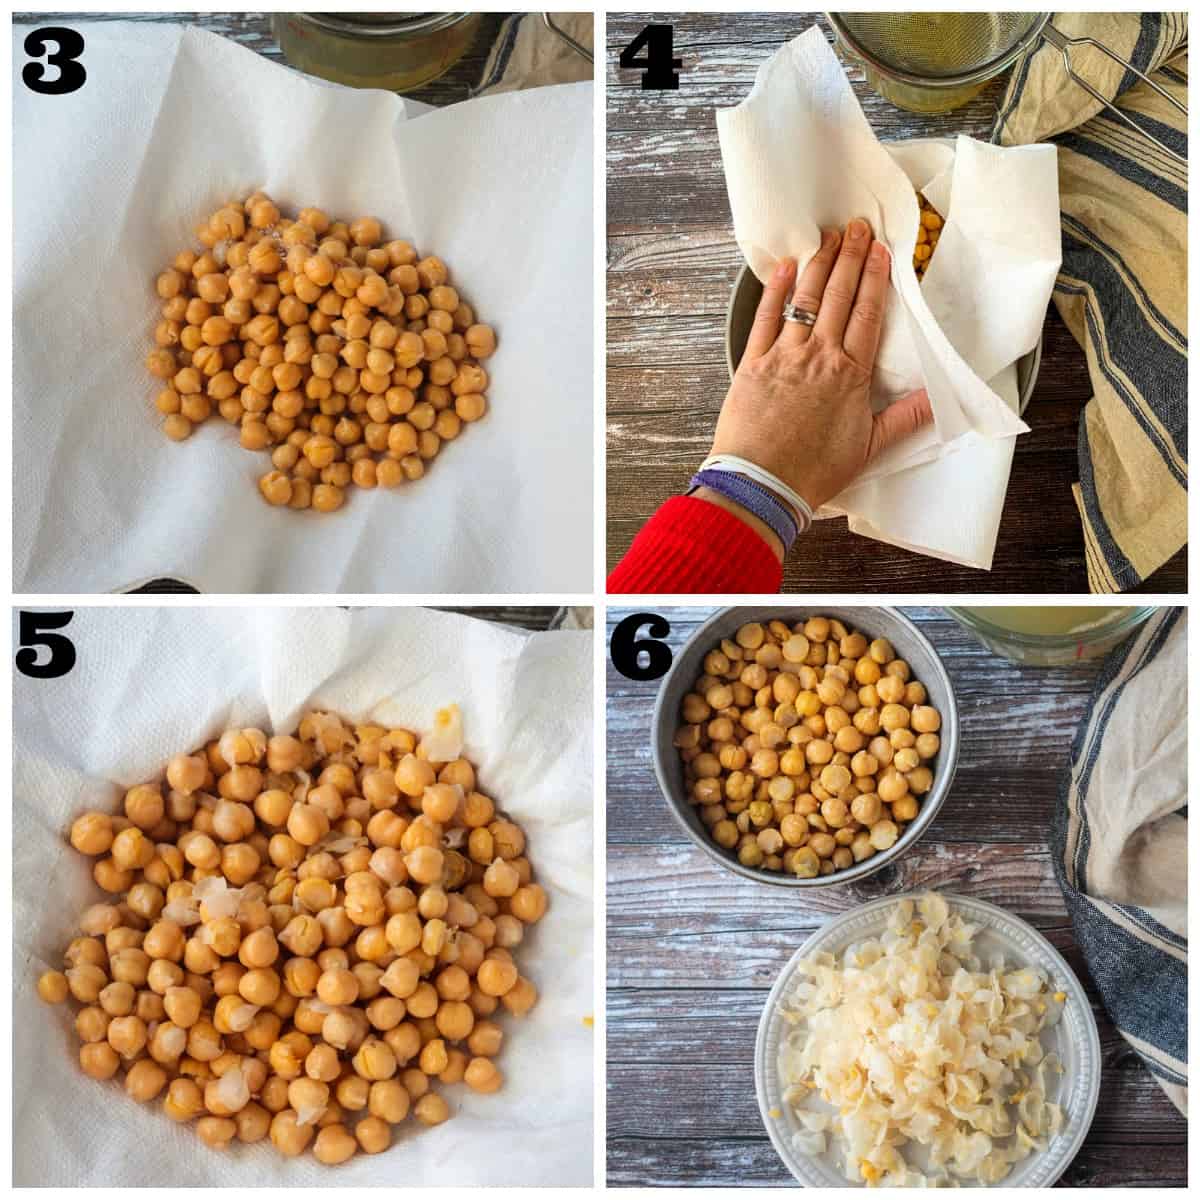
After rinsing, spread out the chickpeas on some paper towels (3) or clean kitchen cloths and rub them dry (4). You want them to start to breakdown as you’re rubbing them, so the skins start to come off (5).
Remove the skins from the chickpeas (6). It’s a bit of a tedious job, but should be quite easy. Many of the skin are probably already hanging off from rubbing them dry. For those they haven’t started to separate yet, simply pinch the chickpea between your thumb and first finger and it should slide right out of the skin.
It’s ok if you don’t get every single one, but removing the majority of the skins will ensure the hummus blends up super light and creamy.
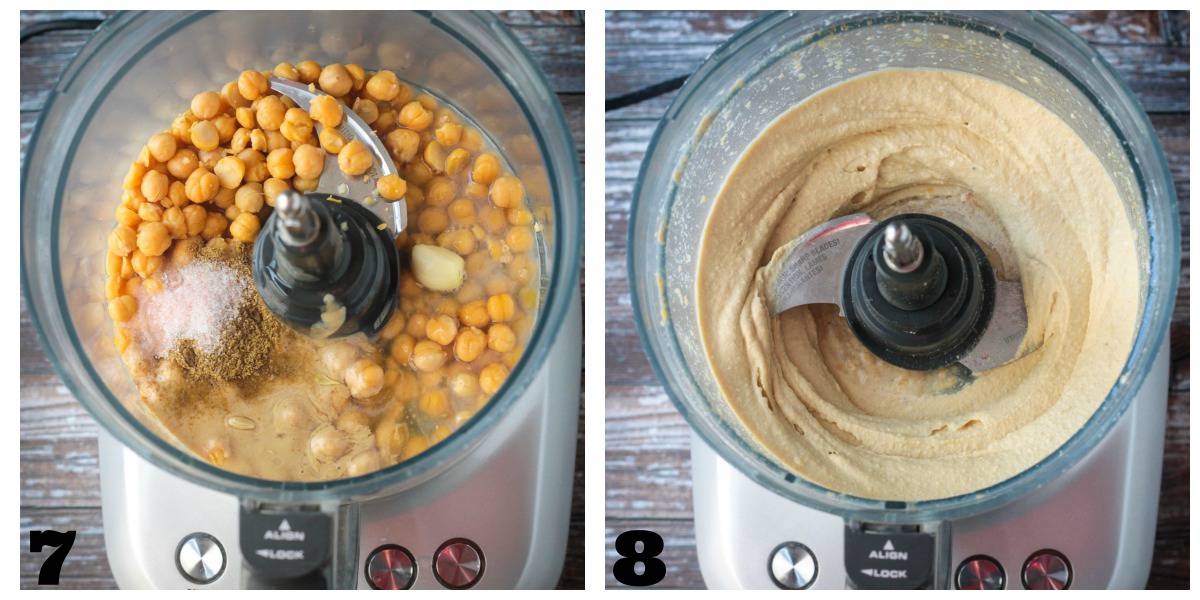
Place all of the ingredients into a food processor (7) and blend until smooth and creamy (8). Stop to scrape down the sides several times to make sure all the ingredients are fully incorporated. Don’t be afraid to let the food processor run for up to 5 minutes or so…this will ensure the perfect smooth texture.
Add a bit of water 2 tablespoons at a time to thin, blending well after each addition.
Storage and freezing
Fridge: Store hummus in an air tight container in the fridge for 5 to 7 days.
Freezer: You can also freeze hummus! Transfer it to a freezer safe container or plastic bag and freeze for up to 6 months. To thaw, transfer it to the fridge overnight.
Pro tips and tricks
~ Don’t forget to save the liquid from the can of chickpeas when draining.
~ Remove the skins from the chickpeas. It’s a tedious job, but so worth it for extra creamy oil-free hummus! Simply pinch each chickpea between your fingers and it should slide right out.
~ Blend really well. Let the food processor run for several minutes, maybe even up to 5 minutes, to get everything really smooth. Scrape down the sides a few times as necessary to ensure all the ingredients get fully incorporated.
~ Use cold water to thin, if necessary.
~ Taste and adjust seasoning to your liking. Add an extra squeeze of lemon or another pinch of cumin or salt.
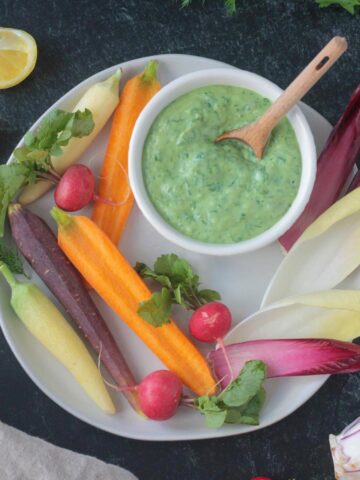
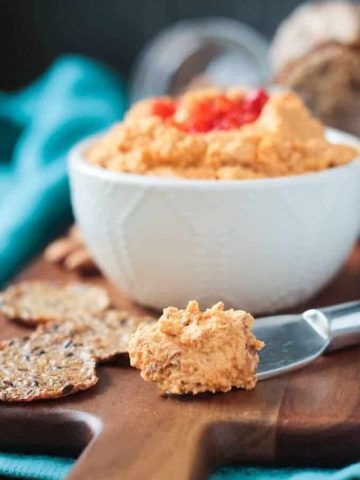
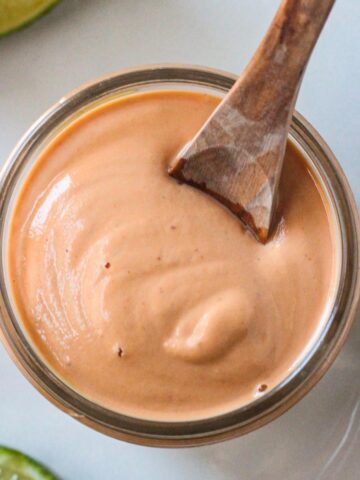
Hummus variations
This “plain” hummus is plenty flavorful and just perfect the way it is, but if you’re looking to jazz up your offerings, try one of these delicious hummus varieties.
FAQs
Hummus is a savory Middle Eastern dip or spread made from cooked chickpeas blended with tahini, lemon juice and garlic. It’s most often served as an appetizer or snack with pita bread or crudités. It can also be used as a sandwich spread, to make hummus toast, a sauce for pasta, blended into a dressing for salad, or as a condiment for meats, fish, falafel, grain bowls, etc.
Technically, no, chickpeas do not have to be peeled. The skins are perfectly edible and they will break down when processed. However, for ultra creamy smooth hummus, I do recommend removing the skins. I don’t typically fuss with removing the skins when making hummus just for our family, but if serving it at a party, I always take the extra step.
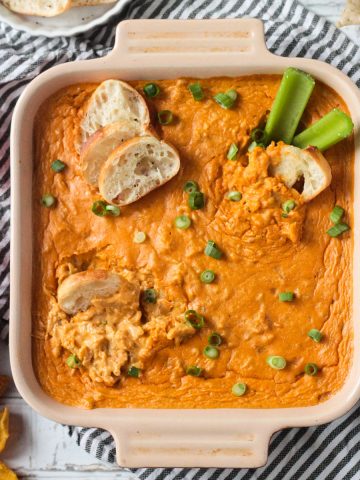
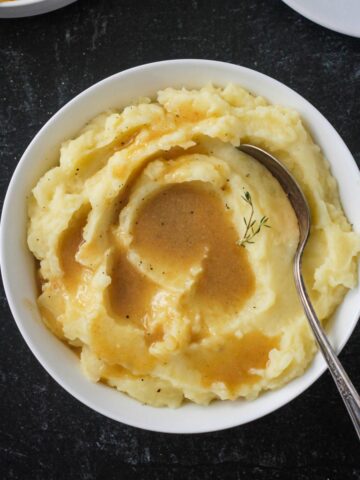
More vegan dip recipes

I hope you love this recipe as much as we do! If you tried it, please use the star rating system in the recipe card and leave a comment with your feedback. ⭐️⭐️⭐️⭐️⭐️
For even more easy family recipes, be sure to check out my cookbook, The Meatless Monday Family Cookbook!

Perfect Oil-Free Hummus
Recommended Equipment
Ingredients
- 1 can (15 ounces) chickpeas
- ⅓ cup tahini
- 3-4 tablespoons fresh lemon juice
- 3 tablespoons aquafaba (the liquid from the can of chickpeas)
- 2 medium garlic cloves or more to taste
- 1 teaspoon ground cumin
- ½ teaspoon salt or to taste
- 2-4 tablespoons cold water if needed, to thin
Instructions
- Drain the can of chickpeas over a measuring cup or bowl. Set the liquid aside for later.
- Rinse the drained chickpeas under cold water then transfer to a plate or bowl lined with paper towels or clean kitchen dish cloths and rub the chickpeas dry.
- Remove the skins from the chickpeas. The skins should already be starting to come off from rubbing them, but if not, simply squeeze a chickpea between your fingers and it should slide right out of it's skin.
- Place the skinned chickpeas and the remaining ingredients, except water, into a food processor. Purée until smooth and creamy, stopping to scrape down the sides as necessary to ensure all the ingredients are fully incorporated.
- If you want to thin out the hummus a bit, add water two tablespoons at a time through the top feed tube while the food processor is running, until the desired consistency is reached.
Notes
Nutrition
Nutrition values are calculated using online calculators and are estimates only. Please verify using your own data.

Joyce Stevens
Thank you! I have been in search of a oil free hummus. Looking forward to trying this and adding roasted garlic, or my other fav, everything seasoning.
Jenn Sebestyen
Sounds like delicious additions to me! I hope you love it!
Cheryl Sorrentino
Can this be made with chickpeas that are not from a can?
Jenn Sebestyen
Hi, Cheryl. Yes, it sure can! I’ve linked to cooking methods and directions for cooking them from scratch in the post…you just need to remember to save the cooking liquid. I also suggest overcooking them a bit so they are nice and soft. If you already have cooked chickpeas in your fridge, you can use cold water in place of the chickpea liquid. Just be sure to blend it really well so it whips up nice and fluffy and be sure to taste and adjust seasoning…you may need a little extra salt or tahini if using all water. Enjoy!