
This page may contain affiliate links. As an Amazon Associate I earn from qualifying purchases. Please see my Privacy Policy for more details. Advertisements displayed do not reflect endorsements or recommendations made by Veggie Inspired.


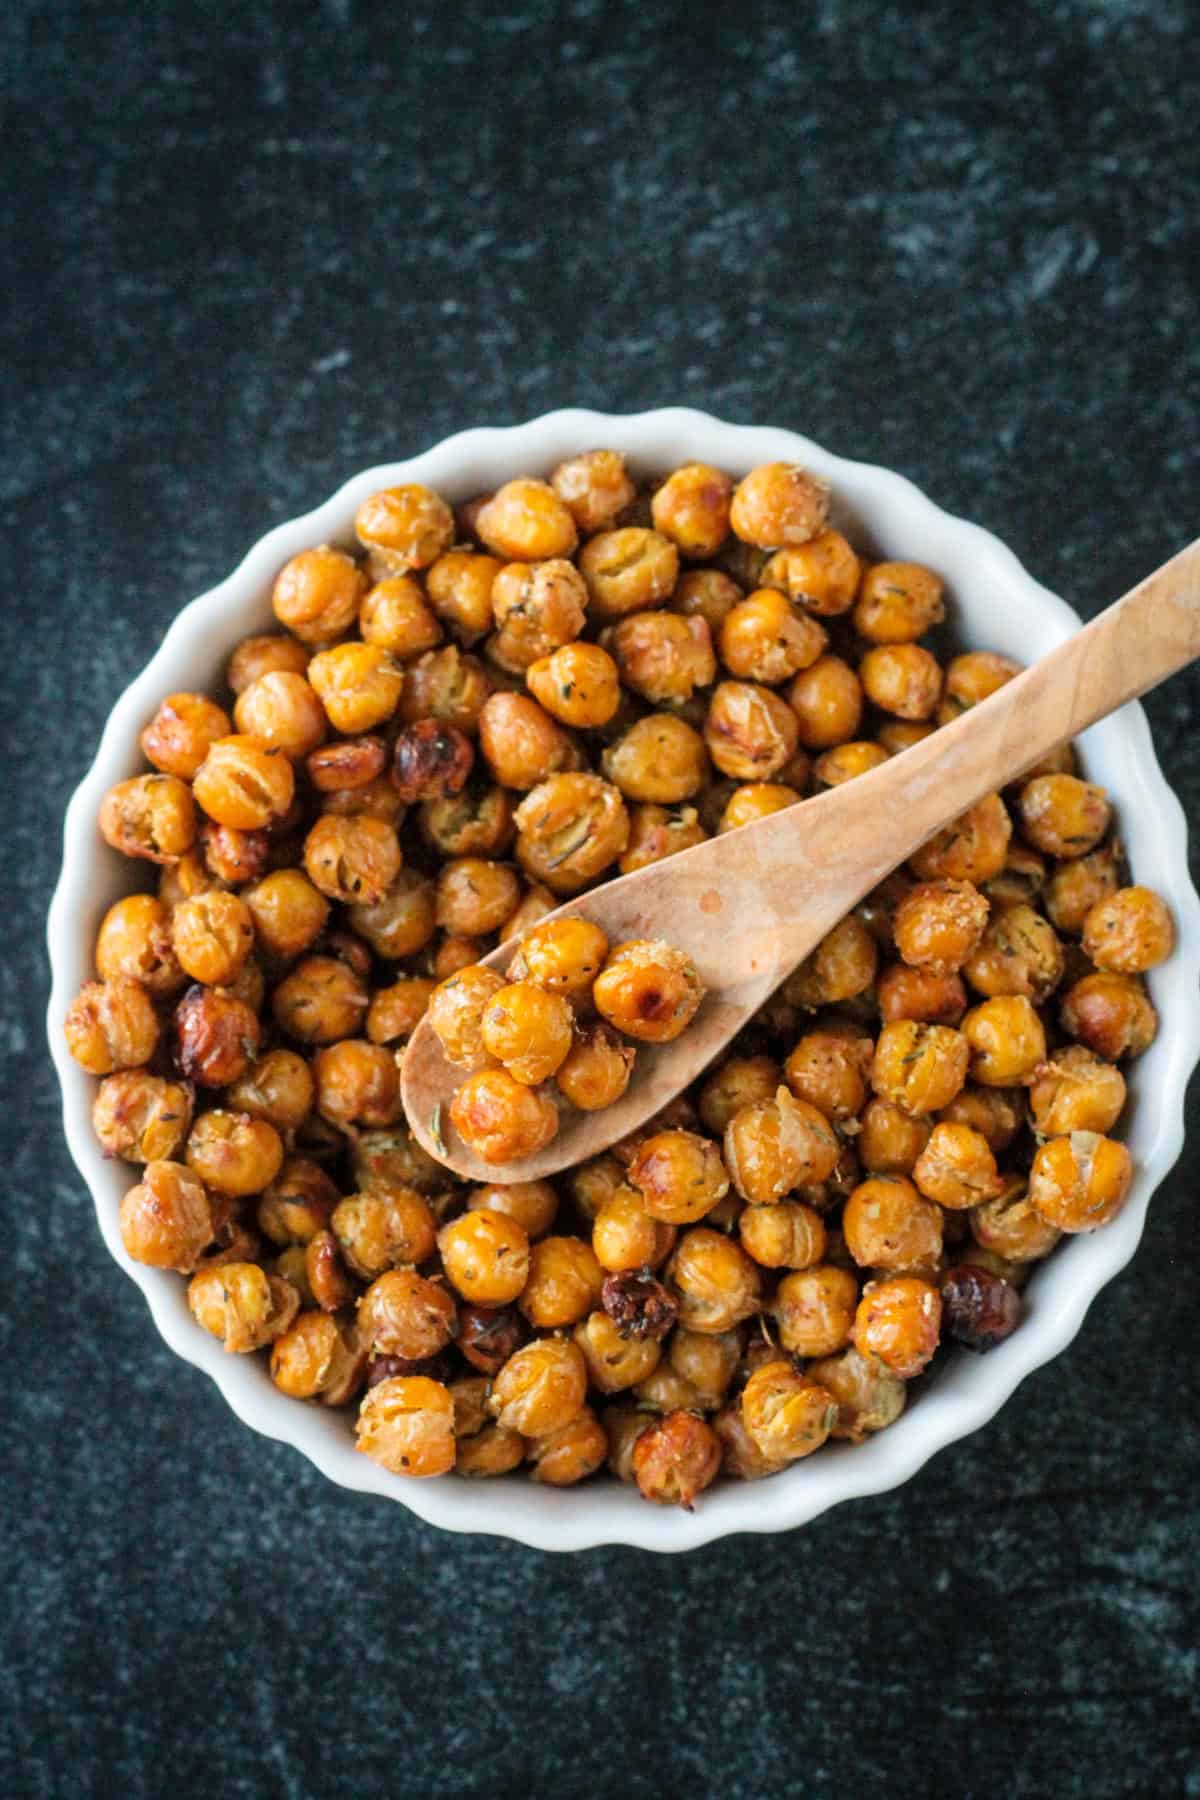
These Crispy Garlic Herb Seasoned Roasted Chickpeas are about to become your new favorite snack — and so much more. Tossed in a simple combination of olive oil, garlic powder, oregano, and thyme, then roasted until crunchy, they deliver big savory flavor in every bite. The herb and garlic seasoning is purposely versatile — bold enough to be satisfying on their own but neutral enough to complement almost anything you pair them with.
Save this Post!
Keep a jar of these on the counter for snacking, scatter them over salads for crunch, drop them into soups as a garnish, or pile them on grain bowls for a satisfying finishing touch. Once you start making them you’ll find yourself reaching for them constantly — they disappear fast in my house.
Why you’ll love this recipe
- Just 6 ingredients
- Ready in 35 minutes
- Completely vegan and gluten-free
- Incredibly versatile — snack, salad topper, soup garnish, bowl topping
- Easily customizable — swap the herbs and spices for endless flavor variations
- Can be made in the oven OR air fryer
- Kid and teen approved — crunchy and savory is always a winner
Ingredients you need
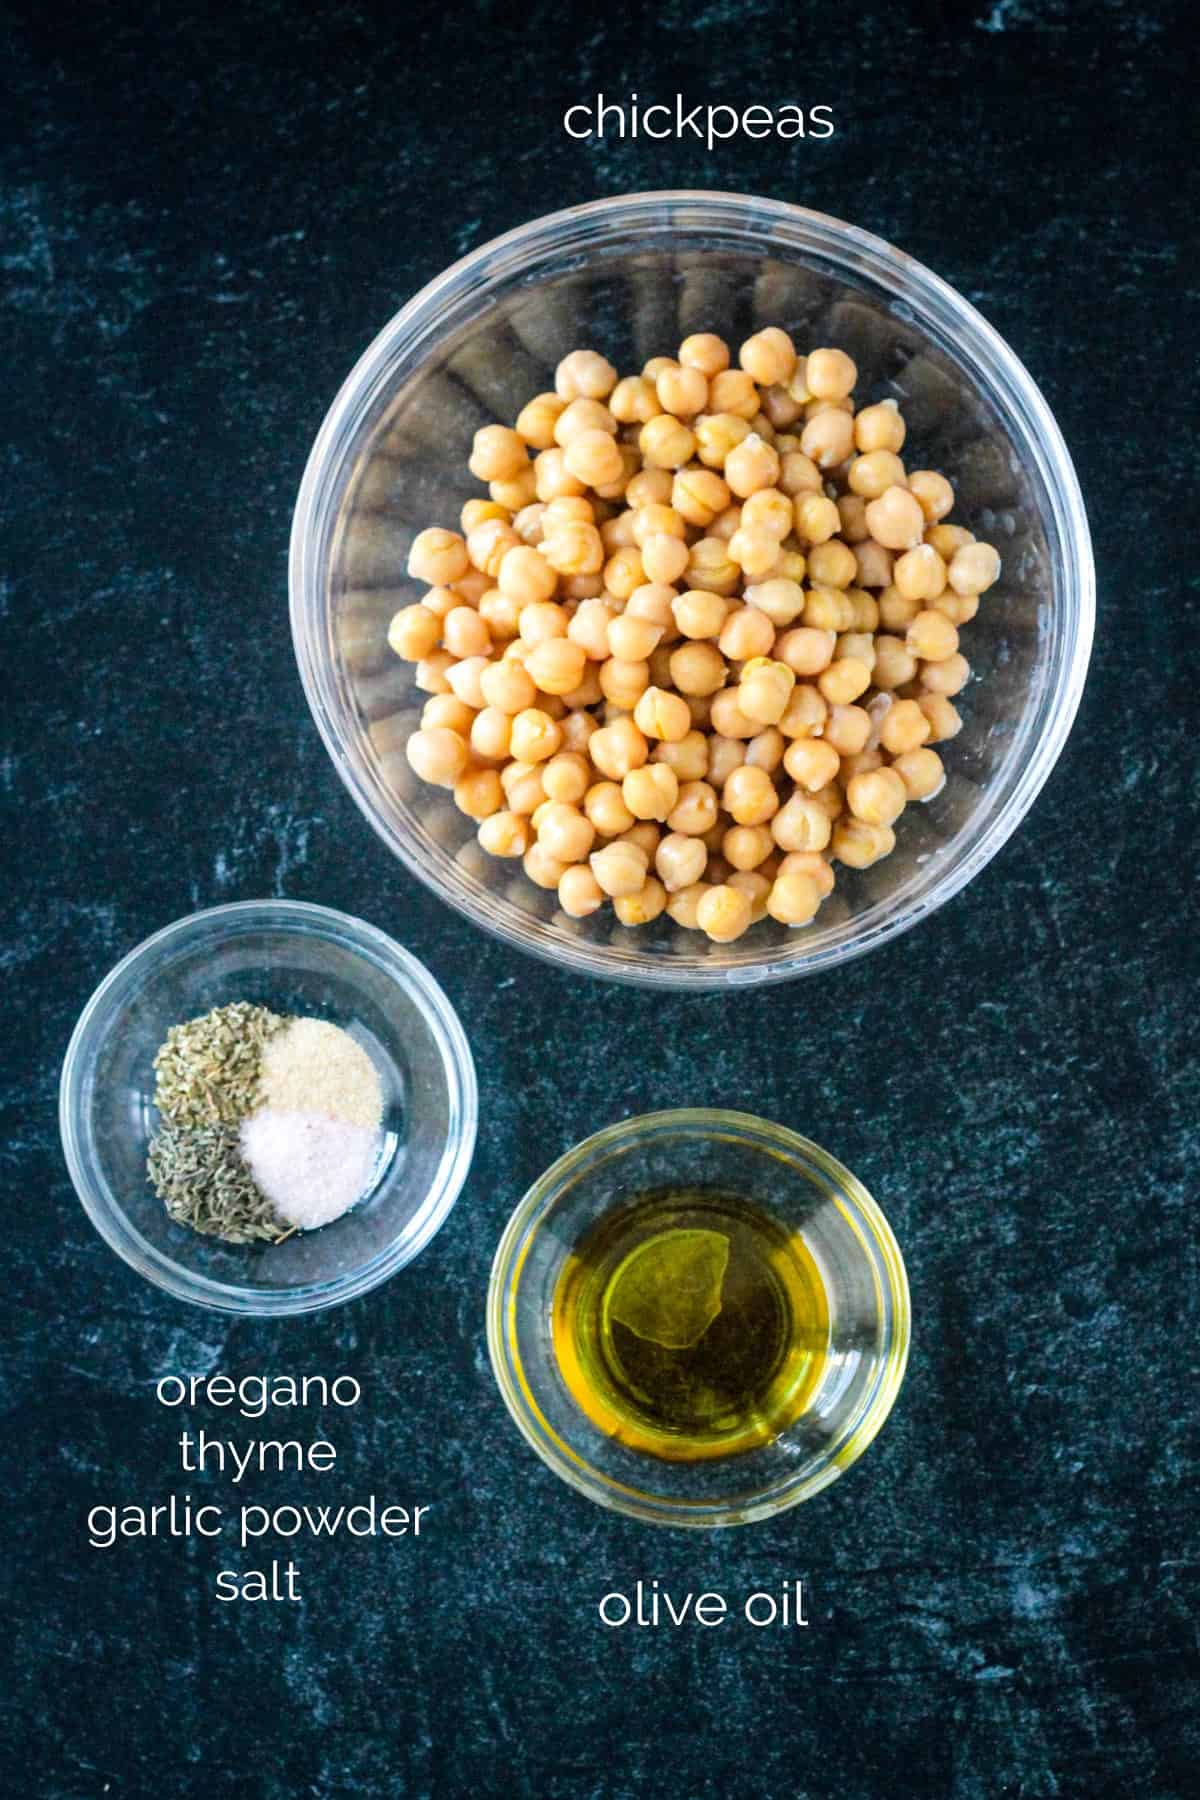
Ingredient notes and substitutions
- Chickpeas ~ Canned chickpeas are the most convenient option and work perfectly here — one 15-ounce can gives you about 1½ cups of cooked chickpeas, enough for 4 servings. Chickpeas cooked from scratch work equally well if you have them. The most important step regardless of which you use: drain, rinse, and dry them very thoroughly before roasting. This is the key to getting them truly crunchy.
- Oil ~ Just 2 teaspoons for the whole batch — enough to help the spices adhere and encourage crispiness without making them greasy. Use a neutral high-heat oil like olive oil, grapeseed oil, or avocado oil. All work well here.
- Herbs & spices ~ The combination of oregano, thyme, and garlic powder gives a savory, versatile flavor that pairs with almost anything. Feel free to mix it up — see the Variations section below for other great spice combinations. Almost any dried herb or spice works well with roasted chickpeas.
- Salt ~ Start with ¼ teaspoon and add more to taste after roasting if needed.
How to make the recipe
Please scroll down to the recipe card for exact ingredient measurements and instructions.
Step 1: Prep the chickpeas.
Preheat the oven to 400°F and line a rimmed baking sheet with parchment paper. Drain and rinse the canned chickpeas thoroughly under cold running water. Transfer to a paper towel or clean kitchen cloth-lined plate and pat them as dry as you possibly can — this is the single most important step for achieving maximum crunchiness. As you’re drying, remove any loose skins that come unattached — they’re very thin and will burn easily during roasting.
Step 2: Season.
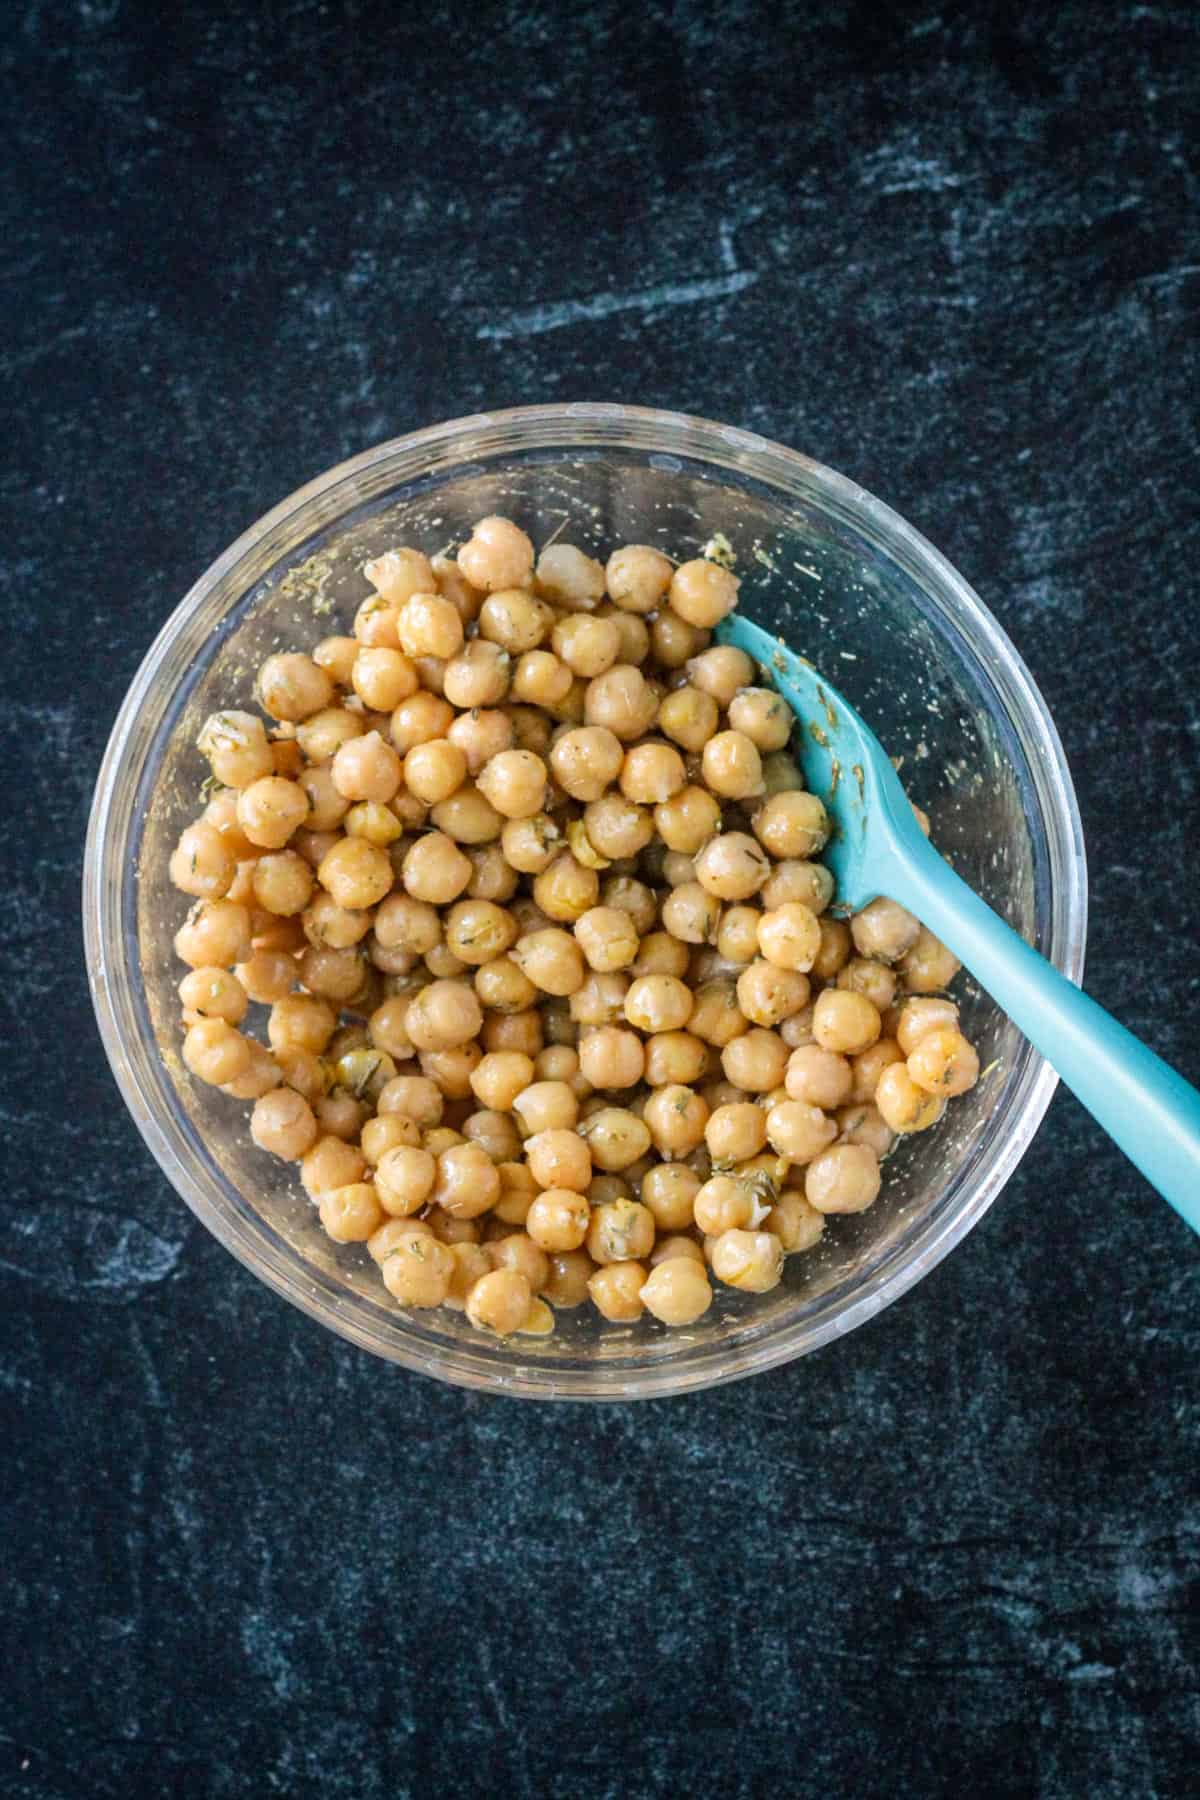
Transfer the dried chickpeas to a small mixing bowl. Drizzle with the olive oil and toss well to coat every chickpea. Add the oregano, thyme, garlic powder, and salt and toss again until evenly coated in the seasoning mixture.
Step 3: Roast.
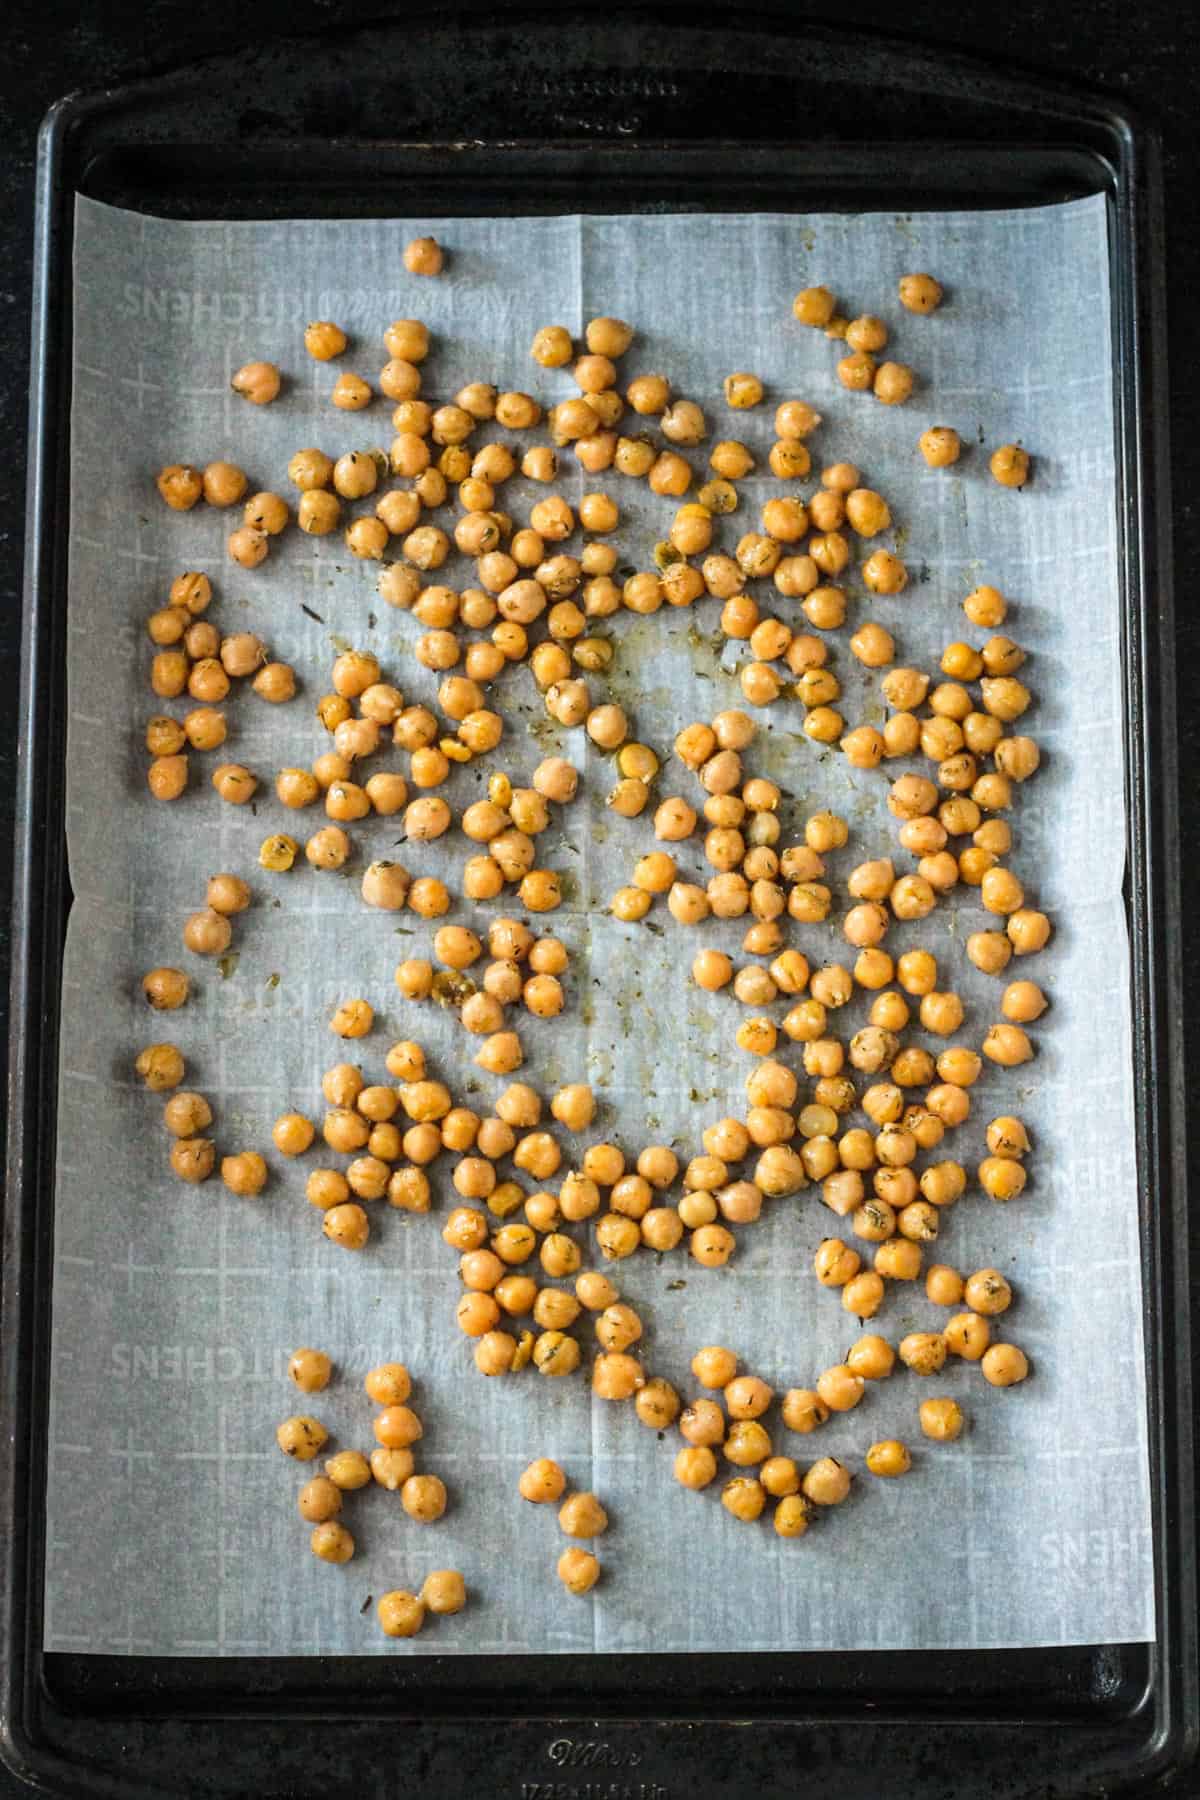
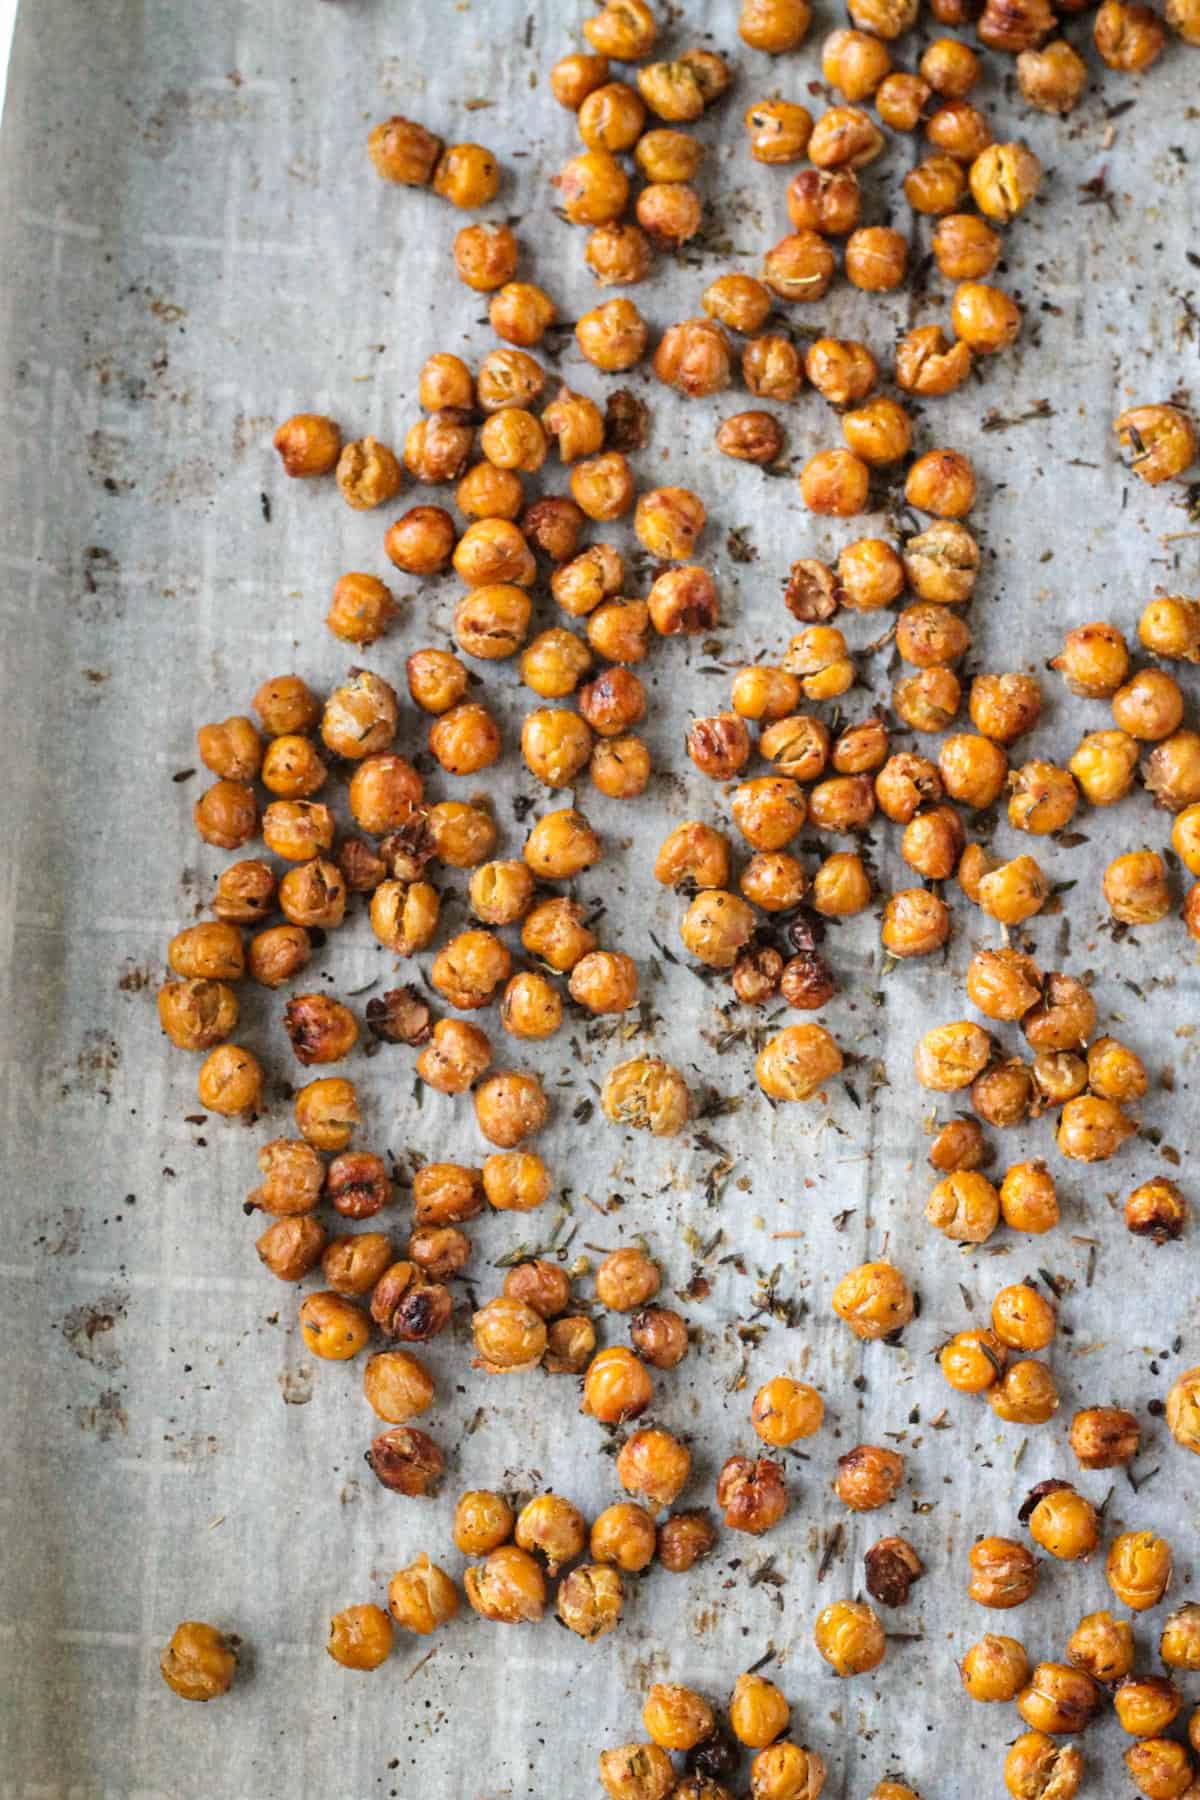
Spread the seasoned chickpeas onto the prepared baking sheet in one single even layer — don’t crowd them or they’ll steam rather than roast. Bake for 15 minutes, then shake the pan to stir up the chickpeas and redistribute them. Bake for another 15 minutes until they are golden and crunchy. Keep a close eye on them in the final 5 minutes — they can go from perfectly done to overdone quickly.
Step 4: Cool and serve.
The chickpeas will continue to crisp up as they cool. Let them cool for at least 5-10 minutes before serving or transferring to a storage container. Serve immediately for the best crunch.
Serving suggestions
These chickpeas are incredibly versatile — here are some of the best ways to use them:
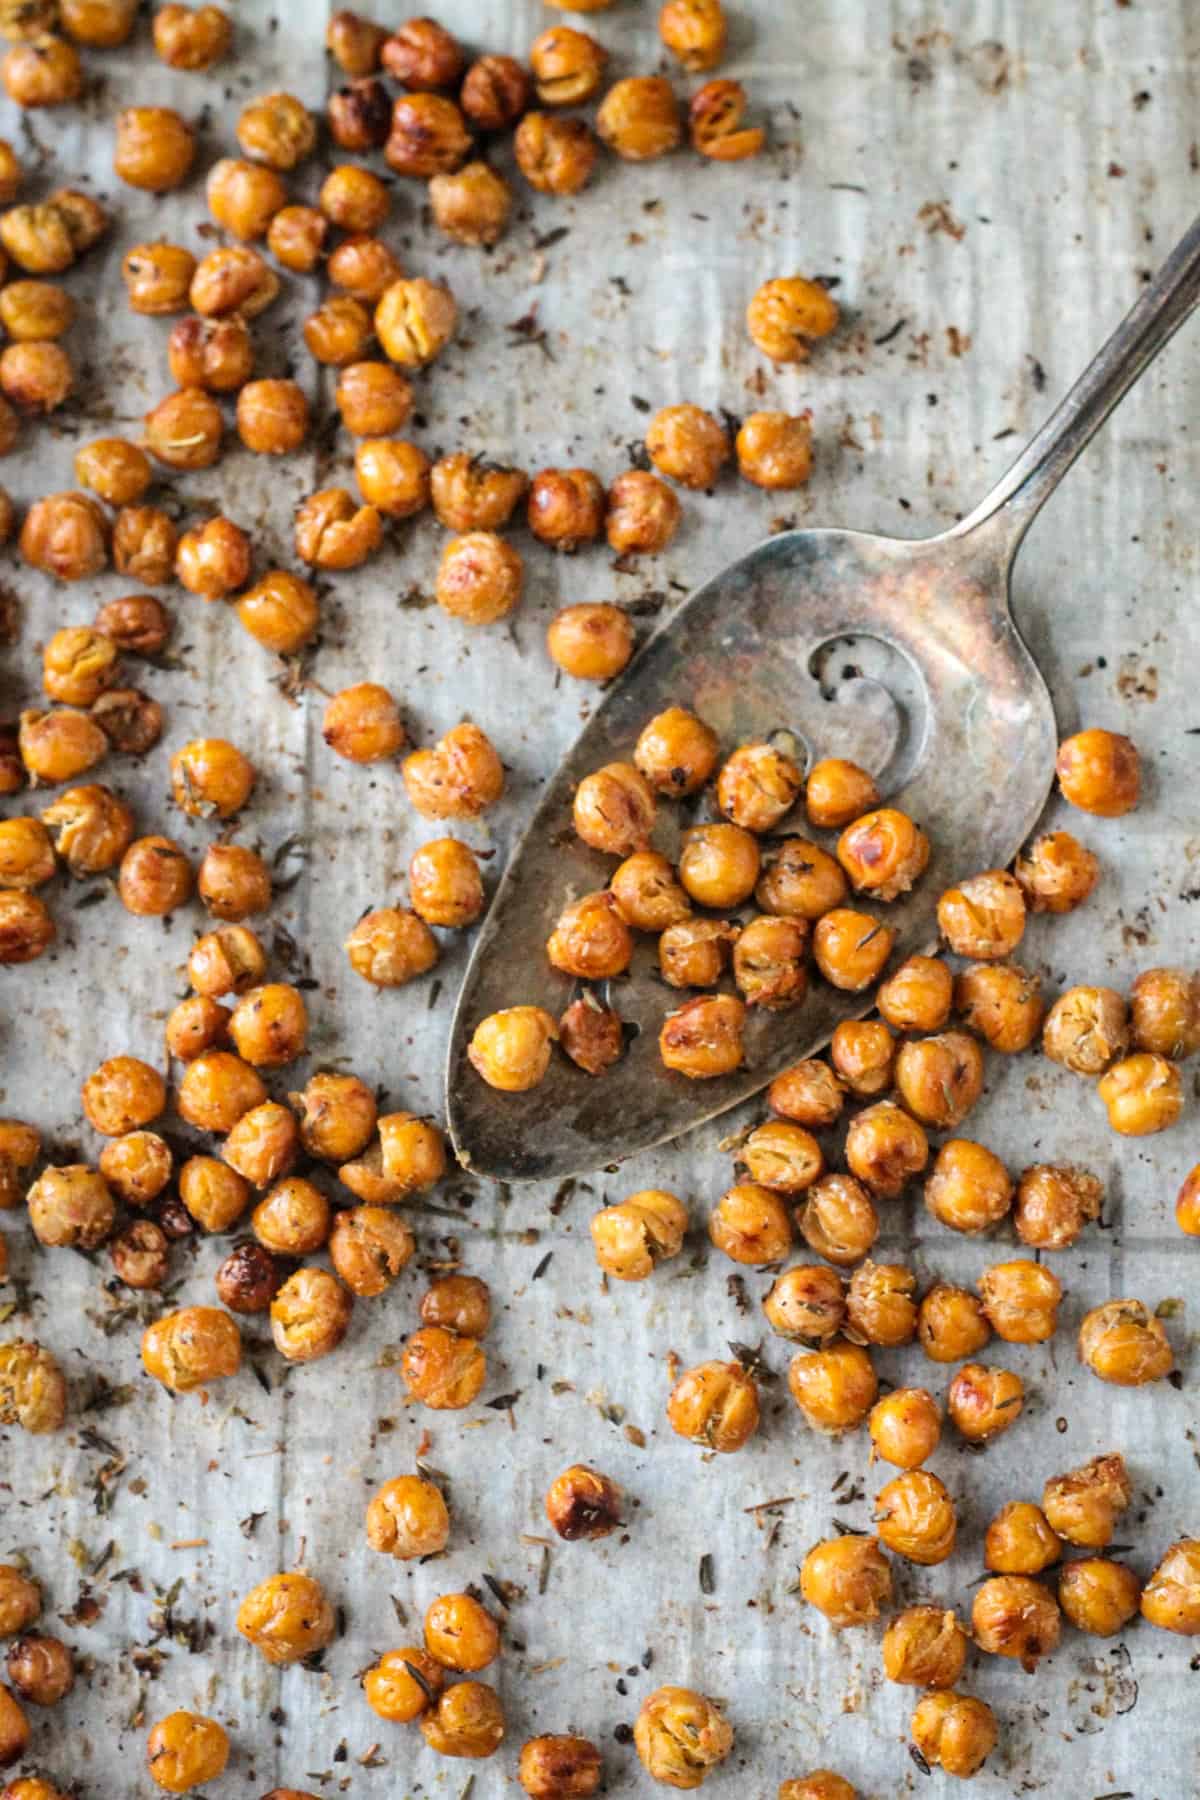
- As a snack — straight from the jar is the most popular way
- In trail mix — toss with your favorite nuts, seeds, and dried fruit for a savory-sweet snack mix
- On salads — adds a satisfying crunch in place of croutons. Try them on this Vegan Taco Salad or a simple green salad
- On grain bowls — pile them on top of these Roasted Veggie Rice Bowls or Mediterranean Grain Bowls for texture
- On soups — scatter over creamy soups like Creamy Vegan Tomato Soup or Vegan Carrot Soup for a delicious texture contrast
- In lunchboxes — pack in a small container as a savory snack alongside fruit and veggies
Variations
The garlic-herb combination in this recipe is intentionally versatile, but here are some other flavor profiles worth trying:
Smoky & Spicy: Smoked paprika, cumin, chili powder, garlic powder, and a pinch of cayenne — great for a Tex-Mex flavor profile.
Italian: Oregano, basil, rosemary, garlic powder, and a pinch of red pepper flakes — perfect for topping pasta salads and Italian-style grain bowls.
Curry: Curry powder, cumin, coriander, turmeric, and black pepper — wonderful on Indian-inspired bowls and soups.
Ranch-Style: Dried dill, onion powder, garlic powder, and dried chives — a plant-based take on ranch that’s great for snacking.
Lemon Herb: Garlic powder, dried rosemary, dried thyme, and a squeeze of fresh lemon juice — bright and fresh.
Everything Bagel: Everything bagel seasoning in place of the herbs and spices — so good on avocado toast and grain bowls.
Sweet cinnamon sugar: Try my recipe for Crunchy Cinnamon Sugar Chickpeas!
Pro tips and tricks
Dry them really, really well. Moisture is the enemy of crunch. The drier the chickpeas before they go in the oven, the crispier the result.
Remove loose skins. They burn easily before the chickpeas finish roasting. Remove any that are already coming off — but there is no need to remove every single one.
Use a rimmed baking sheet. Chickpeas are round and will roll off a flat baking sheet. A rimmed sheet keeps everything in place.
Don’t crowd the pan. Spread them in one even layer with a little space between each one. Crowding causes steaming rather than roasting.
Cool completely. The chickpeas continue to crisp up significantly as they cool. Always taste them after cooling — not straight out of the oven.
Switch up the spices. This technique works with basically any seasoning combination — use it as your base method and experiment freely with flavors
Storage
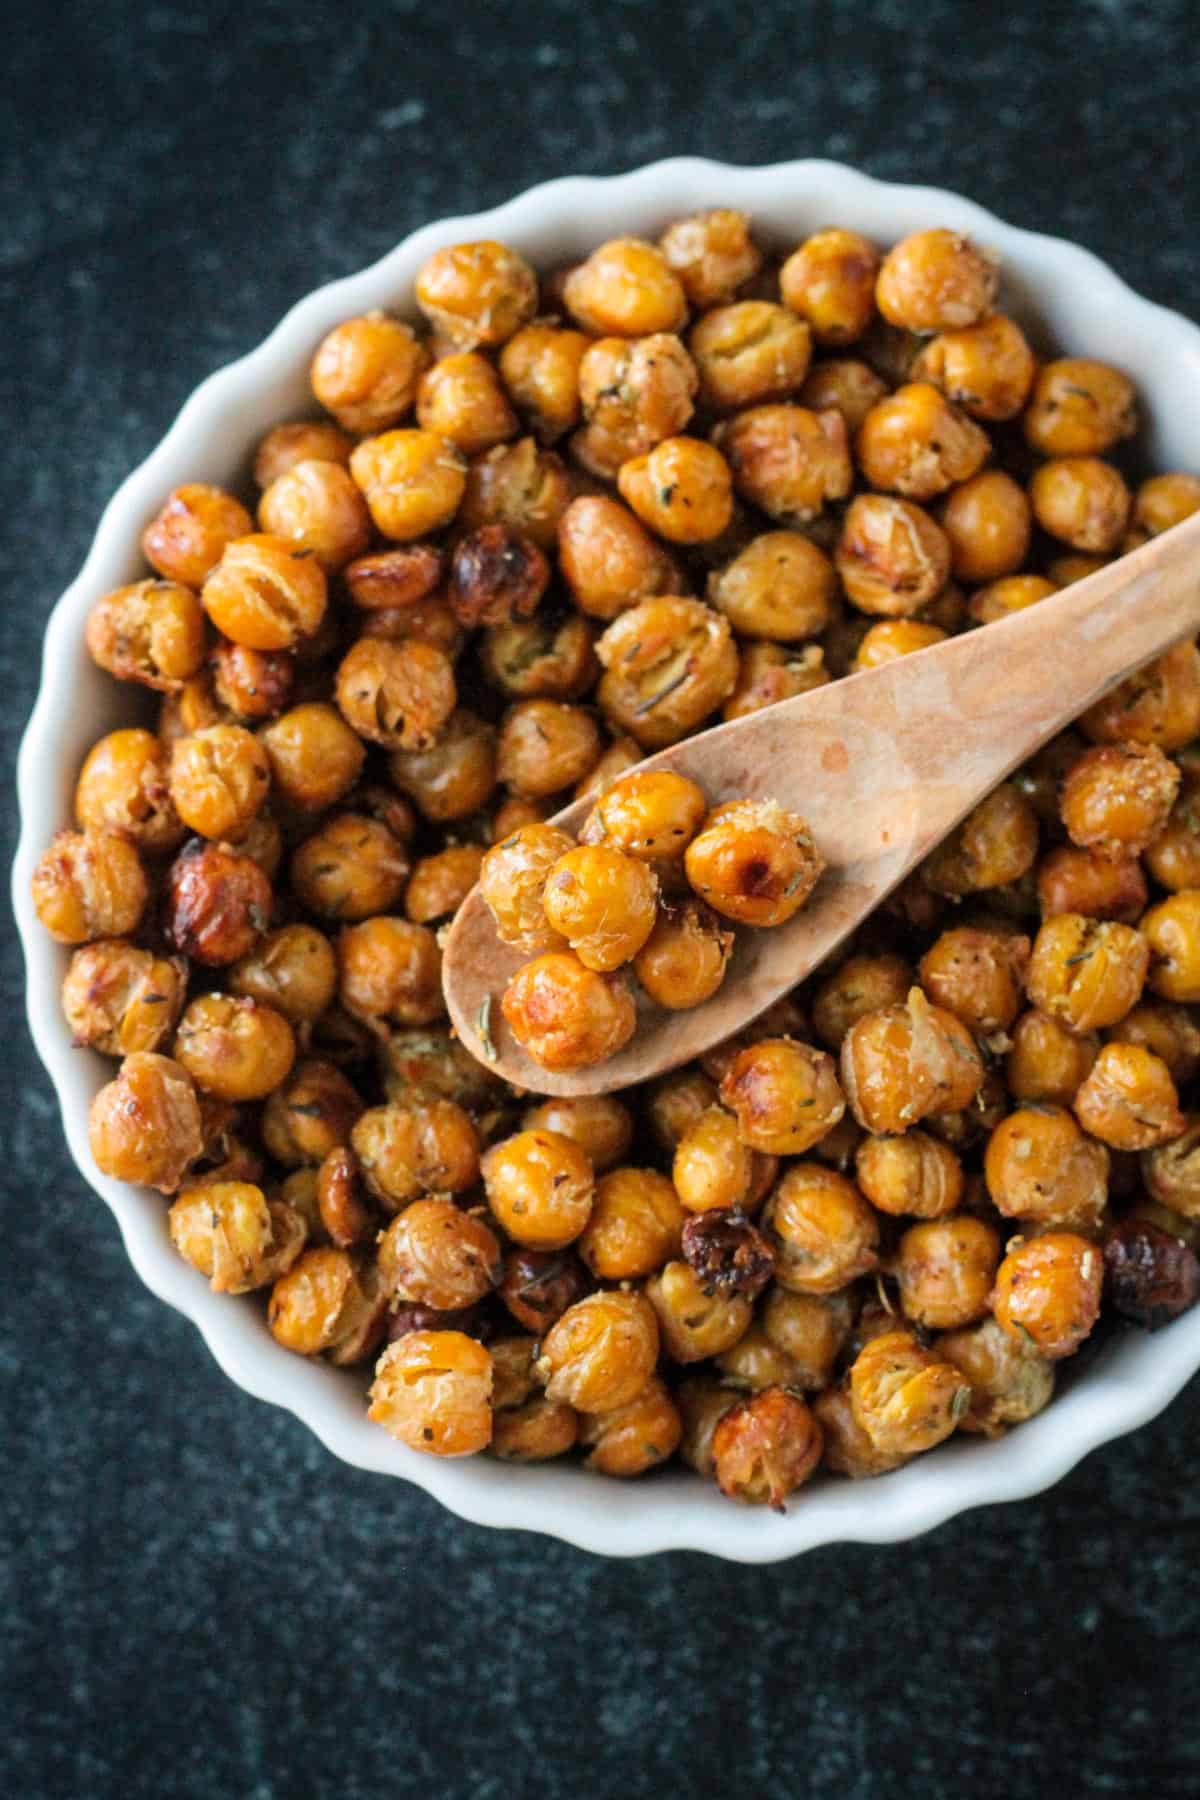
Counter: Store completely cooled chickpeas in an airtight container on the counter for 2-3 days. They are crunchiest the day they are made.
Do not refrigerate — the moisture in the fridge will make them lose their crunch quickly.
Refresh them: If they’ve softened after a day or two, spread them on a baking sheet and pop them in a 350°F oven for 5-8 minutes to crisp back up.
FAQs
The likely cause is moisture — either the chickpeas weren’t dried thoroughly enough before roasting, or they were too crowded on the pan and steamed rather than roasted. Make sure to dry them really well, use one even layer, and don’t skip the full 30 minutes of roasting time. They’ll also continue to crisp up as they cool, so give them time before judging the final texture.
Yes! Reader Suzy tested this method and said they came out perfectly crunchy. Preheat your air fryer to 400°F. Add the seasoned chickpeas in a single layer and air fry for 12-15 minutes, shaking the basket two or three times. Start checking at the 12-minute mark since air fryers vary.
Store in an airtight container on the counter for 2-3 days. Do not refrigerate — the fridge moisture will make them soft. If they soften, pop them back in a 350°F oven for 5-8 minutes to refresh the crunch.
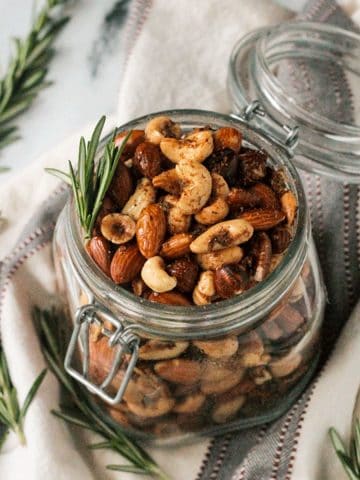
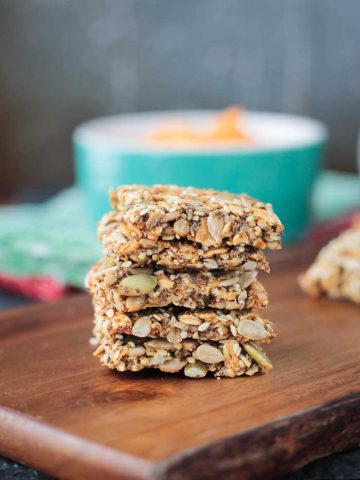
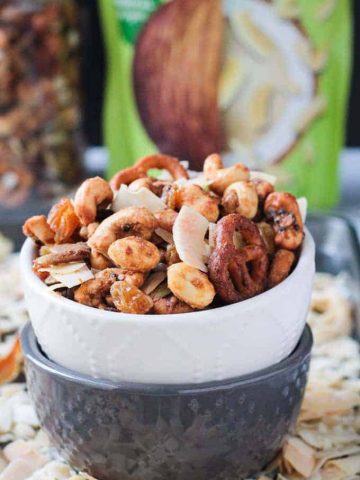
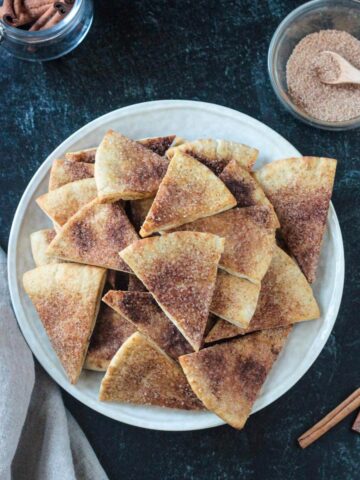
More crunchy vegan snacks
I hope you love this recipe as much as we do! If you tried it, please use the star rating system in the recipe card and leave a comment with your feedback. ⭐️⭐️⭐️⭐️⭐️
For even more easy family recipes, be sure to check out my cookbook, The Meatless Monday Family Cookbook!
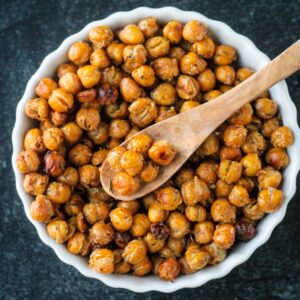
Crispy Garlic Herb Seasoned Roasted Chickpeas
Recommended Equipment
Ingredients
- 1 can (15 oz) chickpeas drained, rinsed and dried really well
- 2 teaspoons olive oil
- ¾ teaspoon dried oregano
- ½ teaspoon dried thyme
- ½ teaspoon garlic powder
- ¼ teaspoon salt or to taste
Instructions
- Preheat the oven to 400°F. Line a rimmed baking sheet with parchment paper and set aside.
- If you haven't already, rinse and drain the canned chickpeas. Dry them really well by gently rubbing them with a clean dish cloth or paper towels. Remove any loose skins that come unattached as they will burn easily.
- Place the chickpeas in a small mixing bowl and drizzle them with the oil. Mix well.
- Add the spices and herbs to the chickpeas and toss well until evenly coated.
- Spread out the seasoned chickpeas onto the prepared baking sheet into one even layer.
- Bake for 15 minutes. Shake the pan so the chickpeas get mixed up a bit. Bake for another 15 minutes until they are crunchy.
- Serve immediately for best results.
Notes
Nutrition
Nutrition values are calculated using online calculators and are estimates only. Please verify using your own data.
Suzy
I love the spice mixture! I made them to go over the grain bowl. I pre-heated my air fryer to 400 degrees while I was prepping the chickpeas and picking out the skins. I put them in a bowl, drizzled with olive oil and then the spices. I fried them for about 13 minutes shaking twice. They were done perfectly and the crunch added so much to the salad! Thanks!!
Jenn Sebestyen
I’m so glad you loved them! And thank you for detailing how you did them in the air fryer as I’m sure others will be interested in that method, too!
Suzy
I’ll be making these to go with the grain bowls. Just wondering if they would adapt to being air fried (with a few shakes to keep them apart, etc.)?
Jenn Sebestyen
Probably. I don’t have an air fryer, so I can’t tell you how to do it, but I know many people do air fry chickpeas. Enjoy!